Mastering the art of zooming in and out while recording videos is crucial for creating dynamic and engaging content. The Final Cut Camera App offers robust zooming features that can help you achieve professional-quality footage with ease.
Whether you’re a beginner or an experienced videographer, understanding how to utilize these tools will enhance your videography skills. Here’s a step-by-step guide on how to zoom in and out in the Final Cut Camera App.
Zooming in allows you to focus on specific details, bringing them into clearer view, while zooming out can provide a broader perspective of your scene. This can be particularly useful in various scenarios, such as capturing the intricate details of a product for a review or providing an expansive view of a breathtaking landscape.
Read: How To Backup To iCloud On iPad
Zoom IN & OUT In Final Cut Camera App
To begin, open the Final Cut Camera App on your device. Ensure that your app is updated to the latest version to access all the features and improvements.
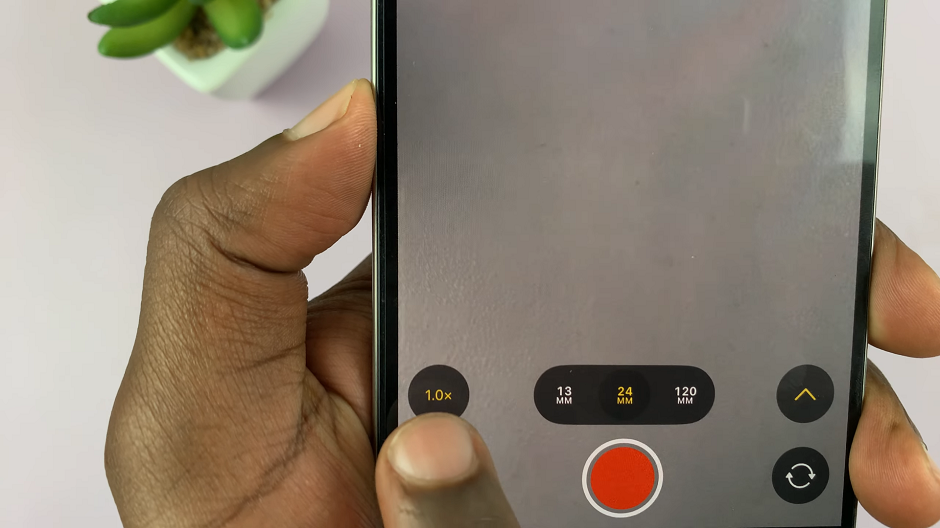
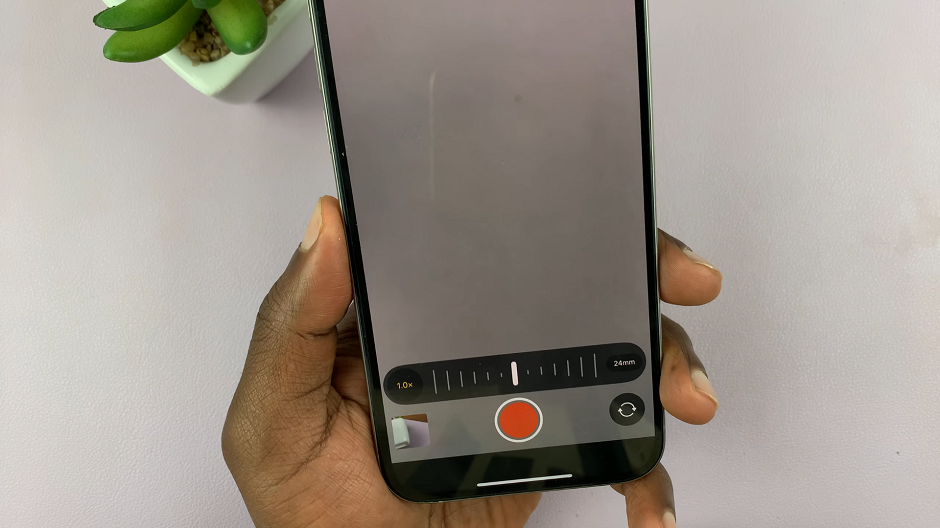
Once the app is open and you’re ready to start recording, locate the zoom button, usually positioned on the bottom-left of the interface, represented by a 1.0x notation. Tap on it to reveal the zoom slider.

Drag the slider to the right to zoom in, and to the left to zoom out. The zoom slider offers finer control over your zoom levels, making it easier to achieve the exact framing you desire. This depends on the lens you chose. Once you choose a lens, it maintains whether you zoom in or out.

Maintaining Video Quality
While zooming in and out, it’s essential to maintain video quality. Excessive digital zooming can lead to pixelation and a loss of detail. To avoid this:
Use optical zoom if your device supports it.
Avoid zooming in too much if you’re relying solely on digital zoom.
Consider moving closer to your subject physically when possible to retain clarity and sharpness.
Tips & Tricks for Smooth Zooming
Practice Smooth Movements: Sudden zooming can be jarring for viewers. Practice smooth, gradual zooms to create a more professional-looking video.
Plan Your Shots: Before you start recording, plan your shots and determine when and where you’ll need to zoom. This preparation can lead to more deliberate and effective use of zooming.
Use a Tripod: For steady zooms, especially in close-up shots, using a tripod can eliminate shaky footage and provide a more polished result.
Troubleshooting Common Issues
If you encounter issues while zooming in the Final Cut Camera App, here are some common problems and solutions:
Laggy Zoom: Ensure your device has enough processing power and memory available. Closing other apps running in the background can help.
Poor Video Quality: Check your camera settings and ensure you’re recording at the highest possible resolution. Avoid overusing digital zoom.
Unresponsive Zoom Controls: Restart the app or your device. If the issue persists, reinstalling the app might resolve any glitches.
Mastering zooming in the Final Cut Camera App can significantly enhance your videography. By understanding and utilizing pinch gestures, the zoom slider tool, and maintaining video quality, you’ll be able to create compelling and visually appealing content. Practice these techniques, experiment with different shots, and soon you’ll be zooming like a pro!
Watch: OnePlus Watch 2: How To Enable Power Saving Mode | Turn ON Power Saving Mode

