AirPods 4, like any other Apple appliance, rely on firmware updates to keep up with peak performance, new features, and resolution of bugs or compatibility issues. Firmware update plays a pivotal role for a device to function seamlessly with other Apple products, enhancing the security and new developments in audio technology.
Contrary to the tradition of downloading and installing updates manually, AirPods updates do not require a person to carry out the strenuous task. Apple designed the update process for AirPods to be automatic and seamless so that their users can easily have a current status without them even being aware.
This guide will show you how to update your AirPods 4 firmware version, get ready for updates, and finish successfully the process.
Watch: How To Pair AirPods 4 To Samsung Smart TV
Update Airpods 4
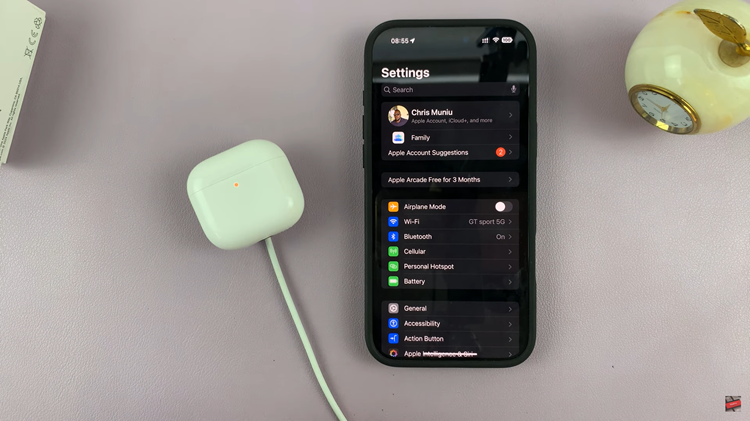
Updating your AirPods 4 is quite a simple and easy process. To do this, ensure that your AirPods 4 are connected to your iPhone and ensure that they’re in close proximity. Then, place the AirPods 4 into the charging case.
Following this, you need to connect the AirPods 4 to a charger. Grab the charger and plug it into a power source. Then, attach the AirPods 4 charging case to the charger. This will automatically allow the AirPods 4 to udpate automatically.

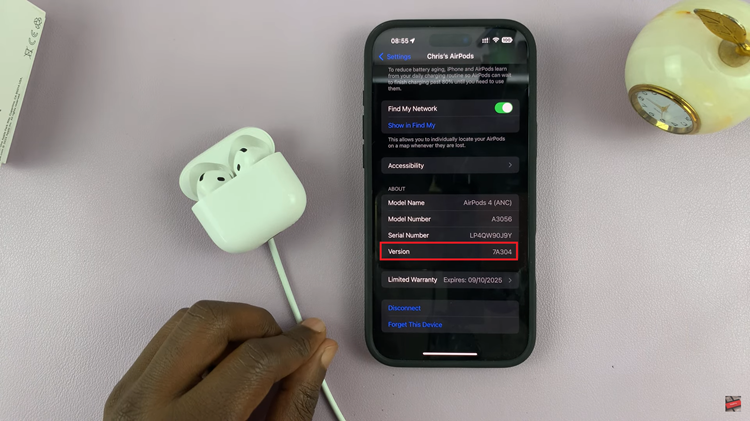
Once the firmware is installed, you can see the update version from the iPhone. Launch the settings on your iPhone and select your AirPods 4. From here, scroll down and find the Version option. Here, you’ll see the updated version of the AirPods 4 firmware.

In conclusion, updating your AirPods 4 will be the simplest yet vital process to keep them at their best performance. By following the guides in this article, you will check what current firmware you are running, set up your devices, and troubleshoot issues.

