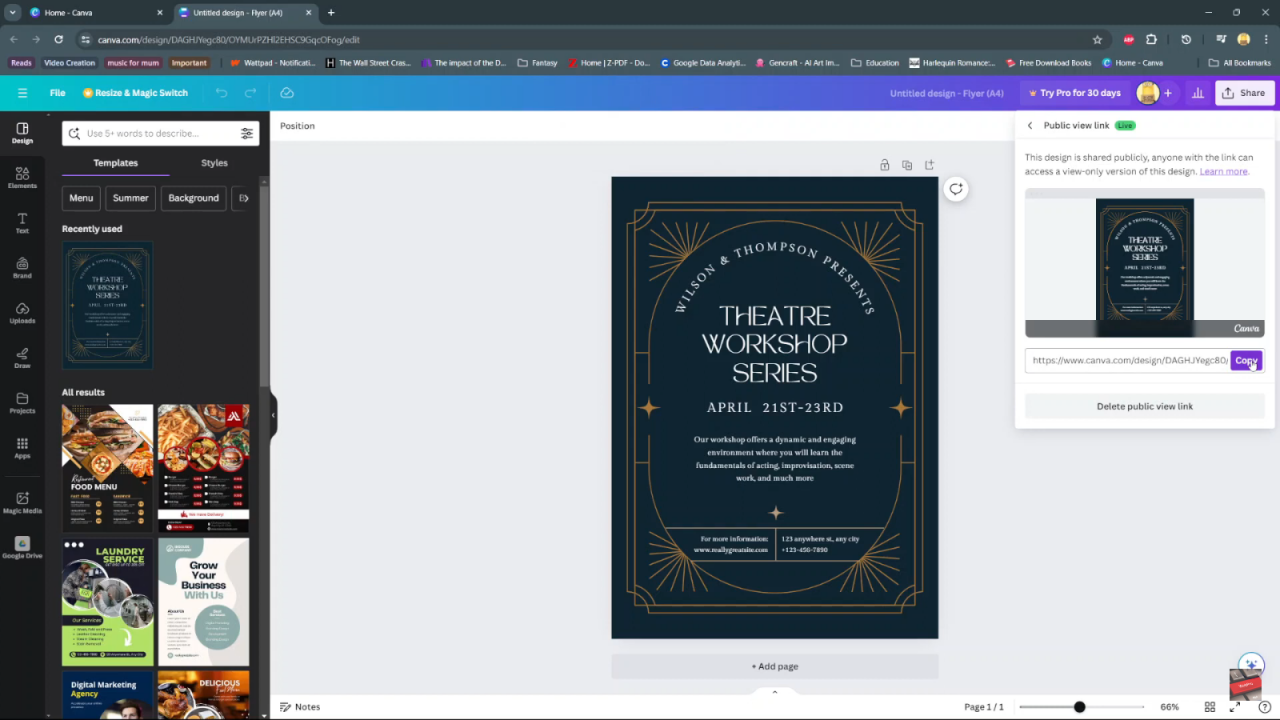
Creating a shareable public view link in Canva is crucial for showcasing designs and collaborating effectively. Canva’s user-friendly platform allows users to generate view-only links effortlessly.
Designers can present their projects to clients, colleagues, or a wider audience. Understanding how to share a public view link enhances your ability to receive feedback and ensures that many people see your creative vision.
Sharing a public view link in Canva also streamlines collaboration, making it easier for teams to work together. Providing a view-only link maintains control over your design while inviting input. This feature is beneficial for remote teams or multiple stakeholders reviewing the project.
A public view link ensures accessibility from any device, increasing convenience for all involved. Mastering this skill is practical and crucial for effective communication and collaboration in design.
Watch:How to Flip Text in Canva
Sharing a Public View Link In Canva
Here’s how you do it;
Step 1: Open Your Project
To start, open your project in Canva. Ensure that the design you want to share is ready. This initial step is crucial as it prepares your project for the sharing process.
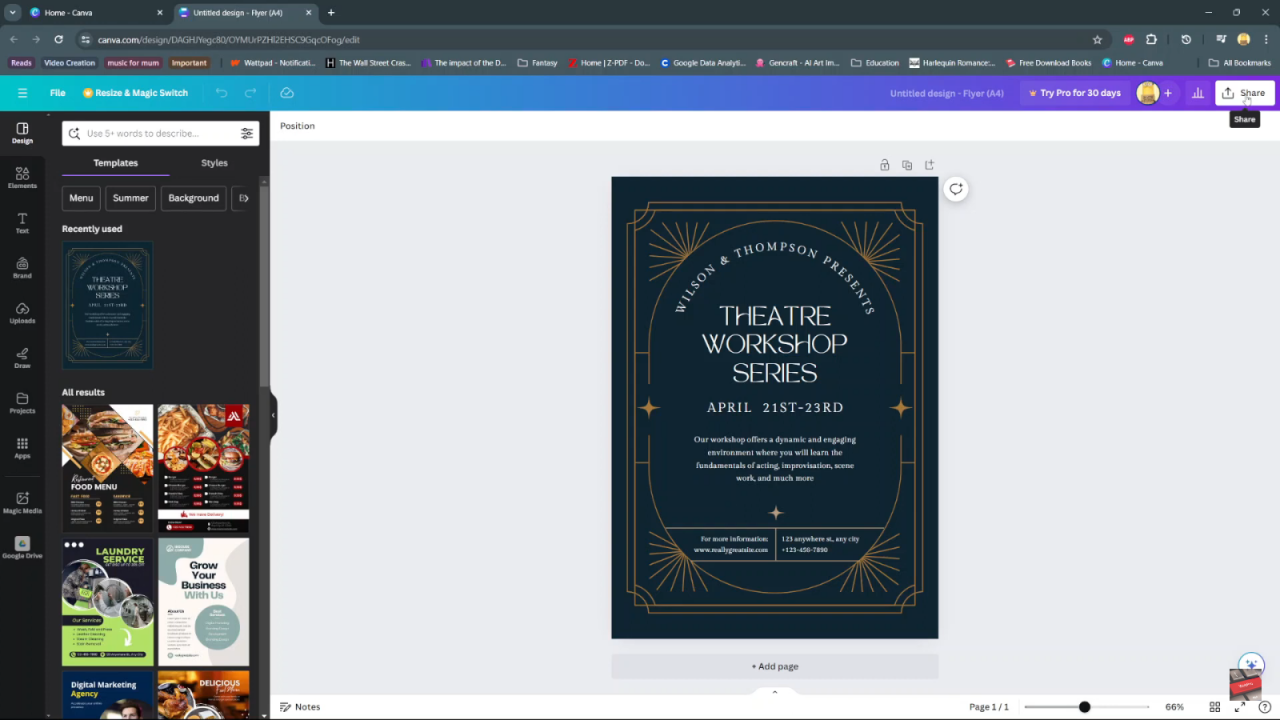
Step 2: Select the Share Button
Next, locate and click on the “Share” button at the top of your screen. Typically found in the toolbar, this button is essential for accessing Canva’s sharing options.
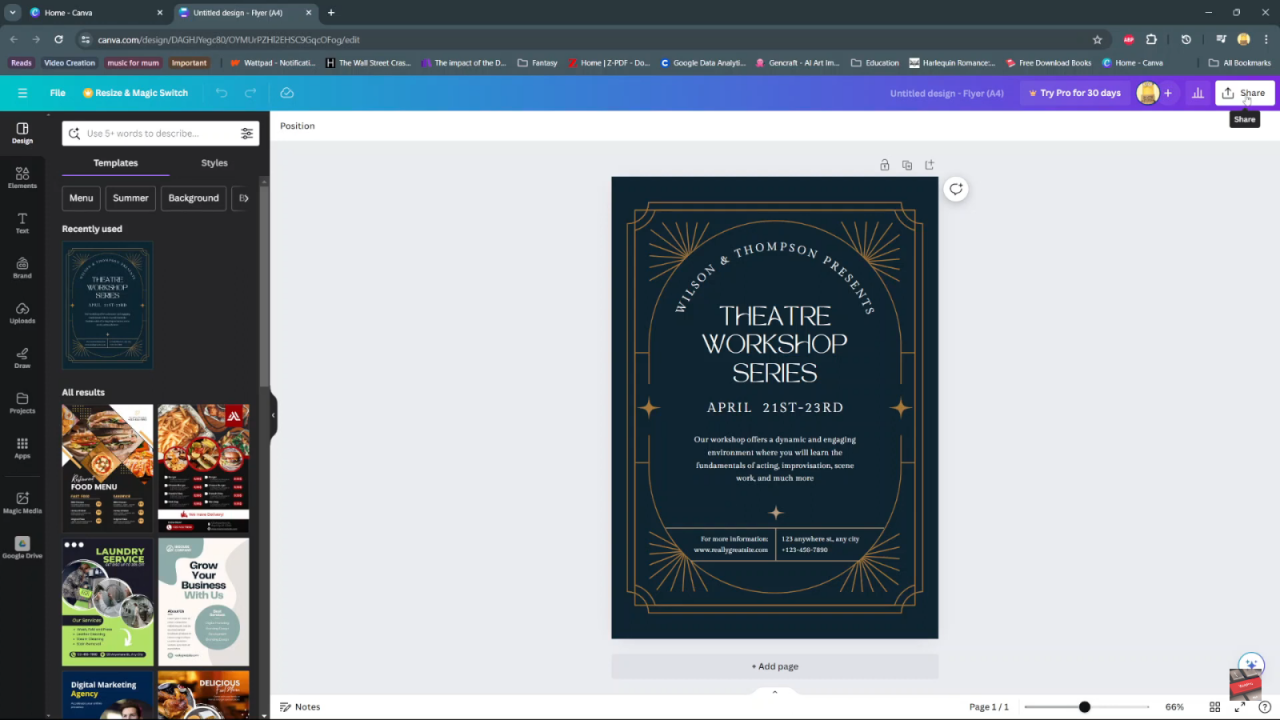
Step 3: Access More Options
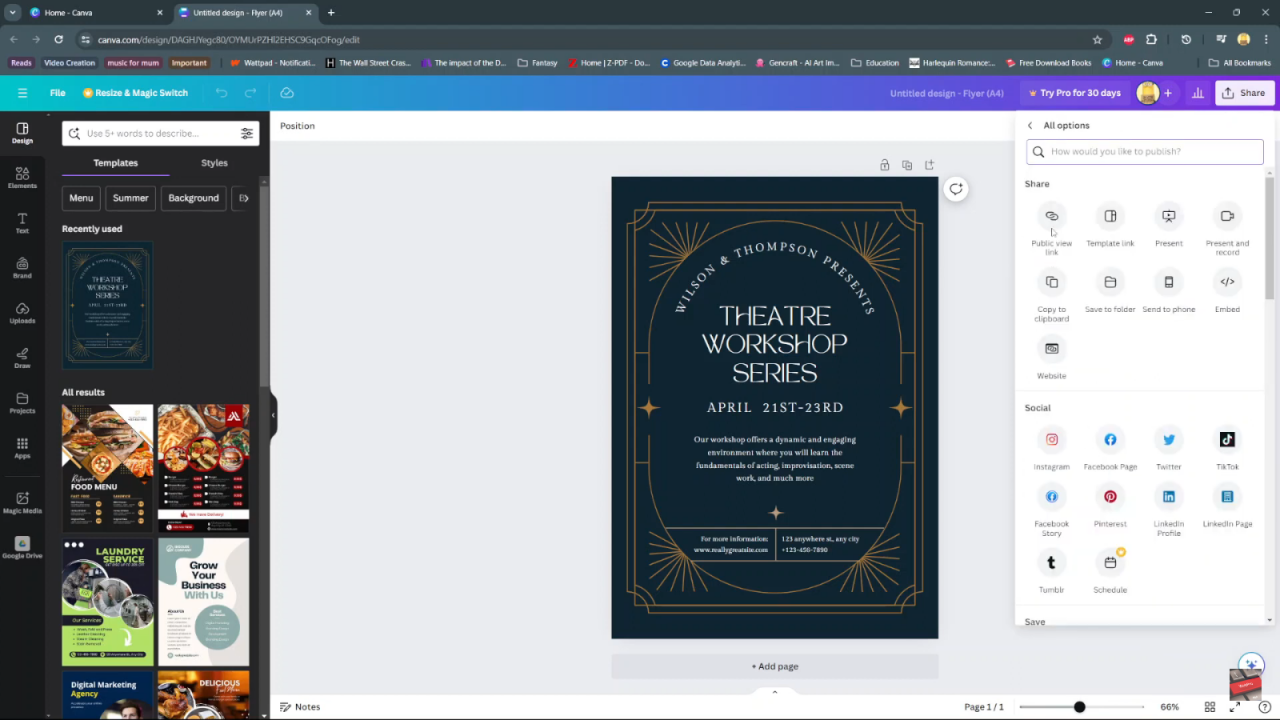
After clicking the “Share” button, a Share page will open. Here, select the “More” option to expand additional sharing settings. This step provides more detailed sharing capabilities.
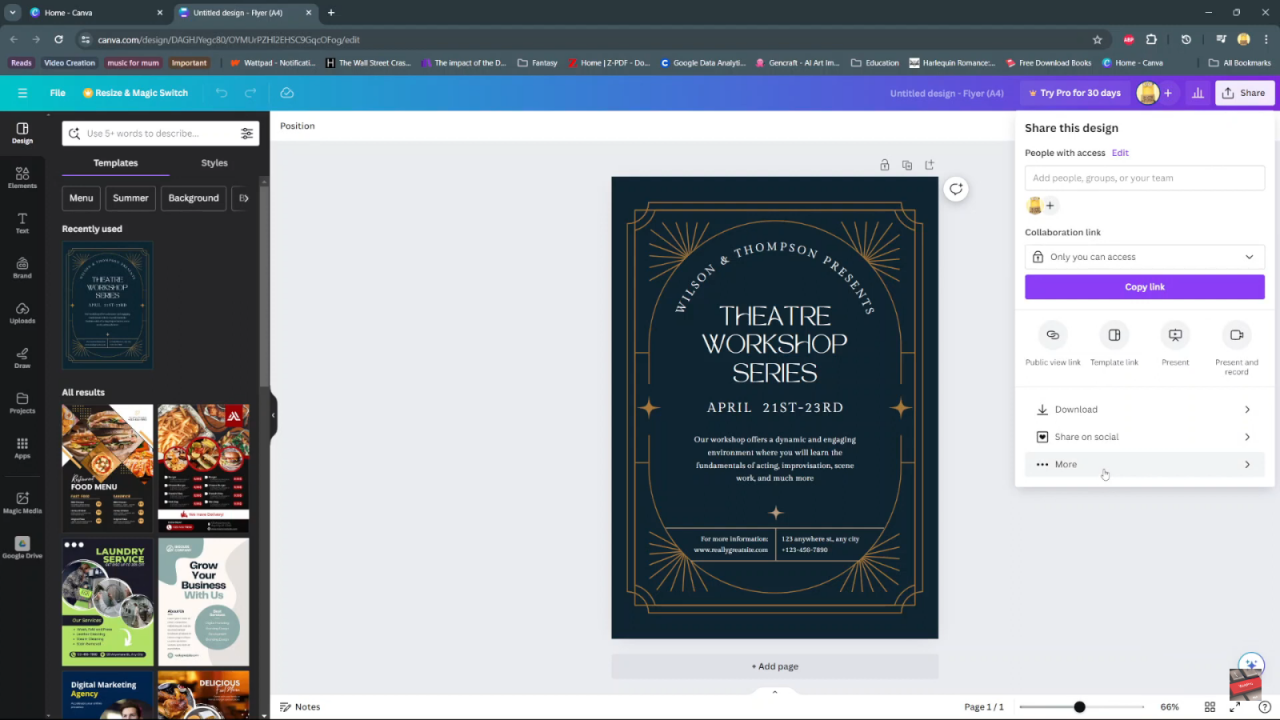
Step 4: Choose “Public View Link”
Within the expanded More options, find and click on “Public view link.” By choosing this, you are enabling the generation of a link that others can use to view your design without making any changes.
Step 5: Understand Public View Link
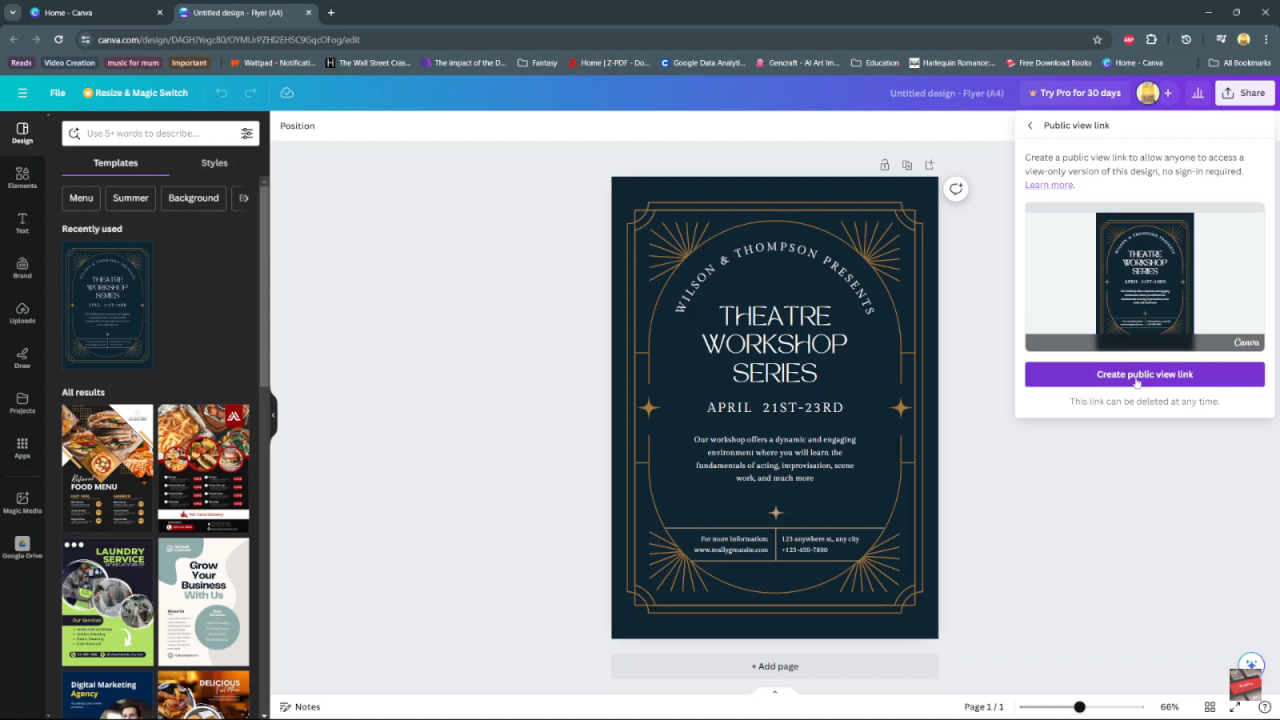
Once you select the Public view link option, you will notice that it allows anyone to access a view-only version of your project. This feature ensures that your design can be viewed but not edited by others.
Step 6: Create Public View Link
Then, click on “Create public view link.” The link will be generated and automatically copied to your clipboard. This step is crucial as it provides the actual link needed for sharing.
Step 7: Copy or Share Link
Following the creation of the link, you can paste it wherever needed. Additionally, there is an option to copy it again if required. This flexibility ensures you can share the link as needed.
