In this guide, we’ll walk you through the step-by-step process of setting up personalized spatial audio on your AirPods 4. This innovative feature creates a sound environment tailored specifically to your ear shape, providing a more immersive and natural listening experience. Whether you’re streaming your favorite movies, diving into a gaming session, or just enjoying your playlist, personalized spatial audio elevates the way you experience sound.
The setup is quick and straightforward. From calibrating your device to enabling the feature, we’ll cover every detail to ensure you get the best results. With just a few taps on your iPhone, you’ll unlock a whole new level of sound quality.
Personalized spatial audio adapts to the unique contours of your ears, delivering sound that feels like it’s coming from all around you. By learning how to enable and configure this feature, you’ll enjoy optimized audio that enhances every dialogue and sound effect.
Read: How To Enable Noise Cancellation with One Airpod On Airpods 4
How To Set Up Personalized Spatial Audio On Airpods 4
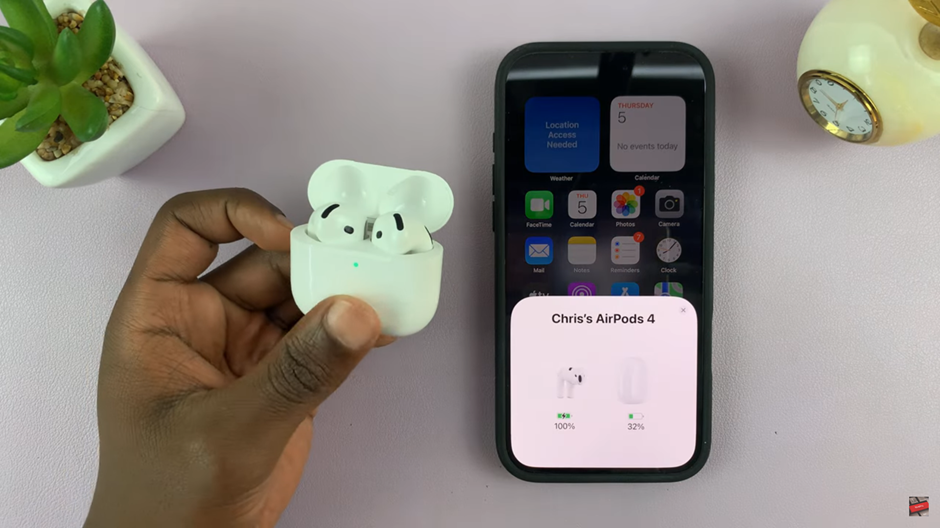
Start by ensuring your AirPods 4 are ready to pair with your device. Open the case near your device, and wait for the connection prompt to appear on your screen. If your AirPods are already paired, they’ll connect automatically when the case is opened.

Once your AirPods 4 are connected, head to your device’s Settings app. Scroll down and locate the AirPods app . Tap on it to access the AirPods settings menu
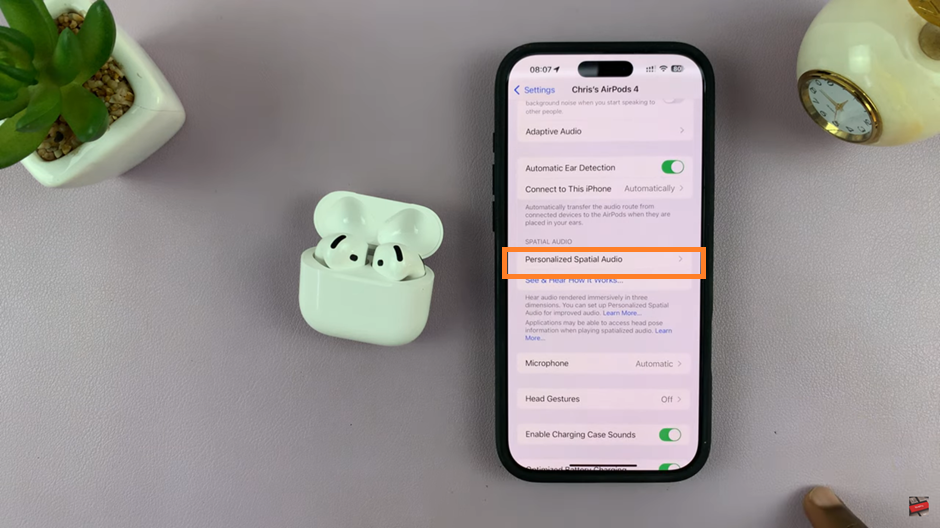
Within the AirPods settings menu, Scroll down and look for the Personalized Spatial Audio option. Tap on the option to proceed.

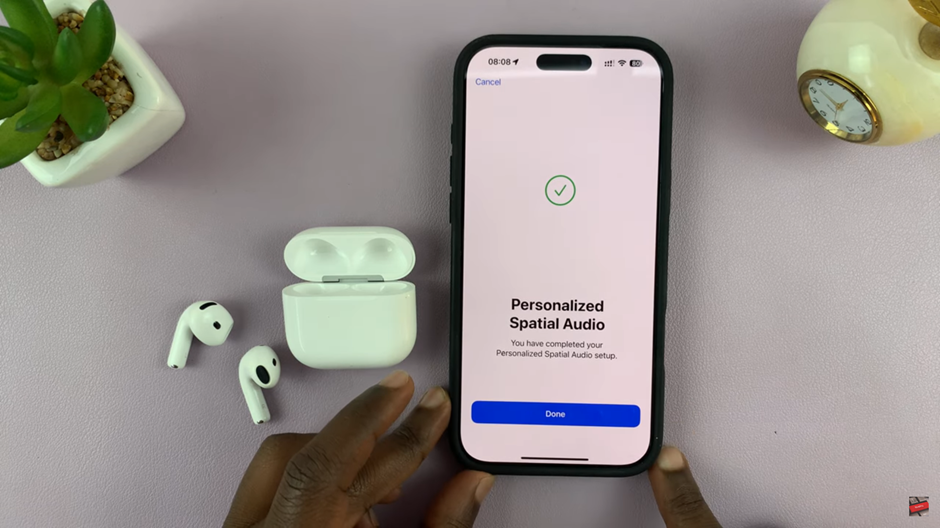
The tutorial will guide you through scanning your ear shape using your device’s camera. Follow the instructions carefully to capture images of both ears. Once the scan is complete, the device will process the data and apply a custom audio profile tailored to your hearing preferences.

Watch: How To Enable / Disable Automatic Ear Detection On Airpods 4

