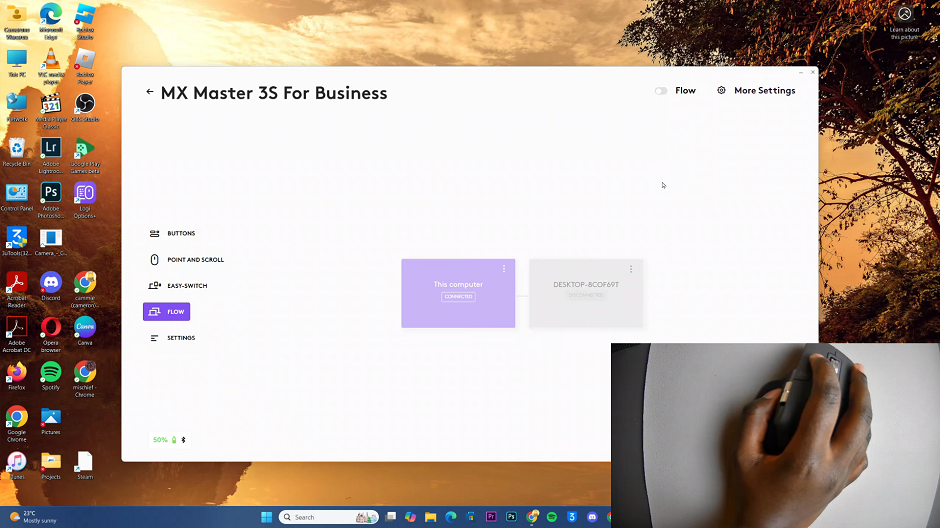
The Logitech MX Master 3S is one of the best productivity mice on the market, designed for seamless multitasking and workflow efficiency. One standout feature of this mouse is its ability to connect to three devices simultaneously and switch between them.
In this article, we’ll guide you through the step-by-step process to set up multiple connection on the MX Master 3S. Switch between multiple connections whether you’re using Windows, macOS, or other compatible devices.
The ability to connect your MX Master 3S to up to three devices is a game-changer for multitaskers. It allows them to seamlessly switch between your desktop, laptop, and tablet without re-pairing. They can also work across different operating systems (Windows, macOS, or Linux).
This will enable multitaskers to boost productivity with Logitech’s Flow feature, which even allows you to transfer files between devices.
Read: How To Invert Left / Right Mouse Buttons On MX Master 3S
Set Up Multiple Connections On MX Master 3S
As usual, you’ll need your Logitech MX Master 3S mouse and a Bluetooth-compatible device (e.g., Windows laptop, MacBook, iPad, etc.) or the Logi Bolt USB Receiver and the Logi Options+ software installed.
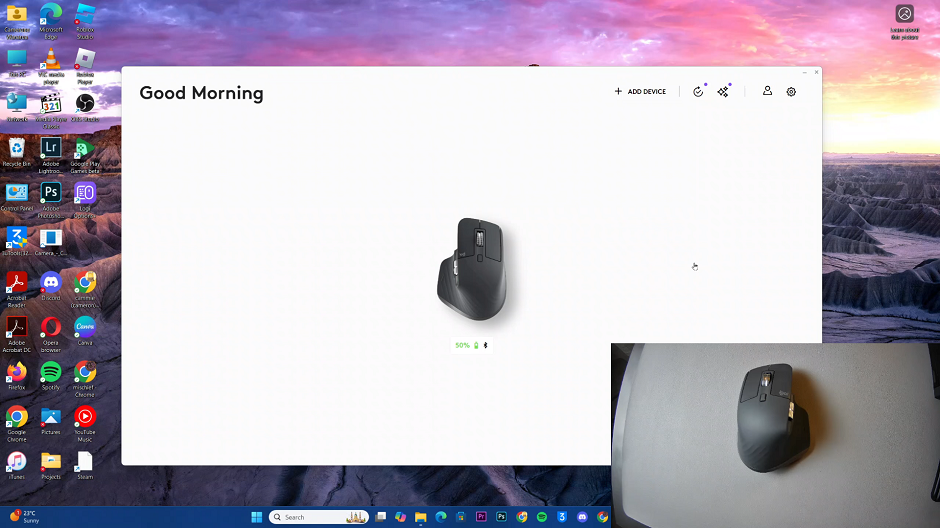
Begin by launching the Logi Options+ software on your computer, and your mouse should appear on the dashboard. Once you have Logi Options+ running, select Your MX Master 3S by clicking on it in the software interface.
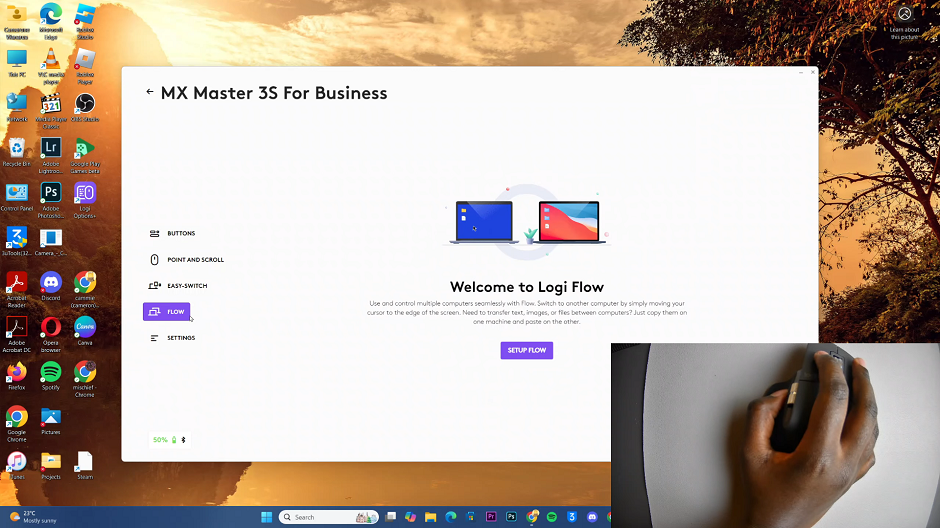
In the left-hand side panel, select the Flow option. Here, you select the Setup Flow option.
In the Connect Your Computer(s) page, the current computer that you’re using should be active and labelled Ready. On the second computer, install Logi Options+.
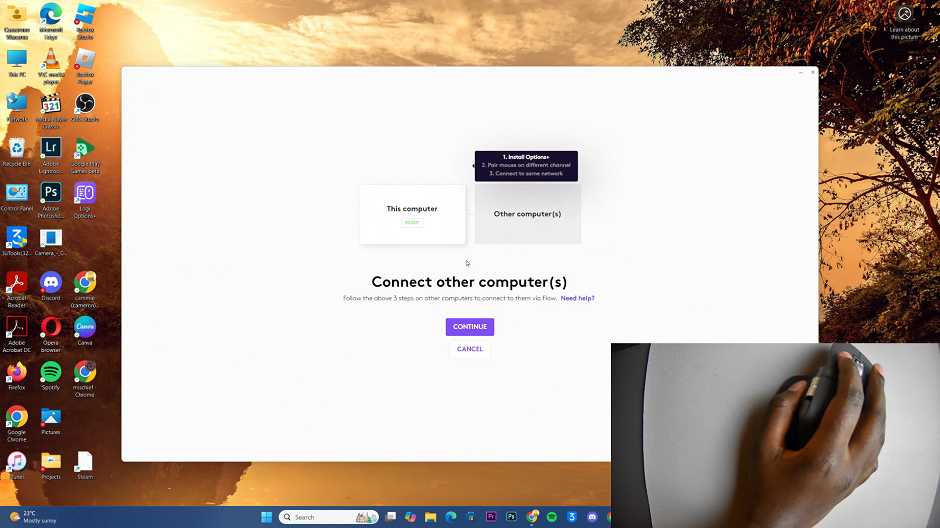
Next, pair the mouse on a different channel. Select either channel 2 or 3 (the LED next on the number will light up). The first device should be connected to the first channel. This can be confirmed when you check the bottom of the mouse.
Ensure that the devices are on the same Wi-Fi network, then click on Continue. This will successfully connect the second device, as confirmed in the next page.
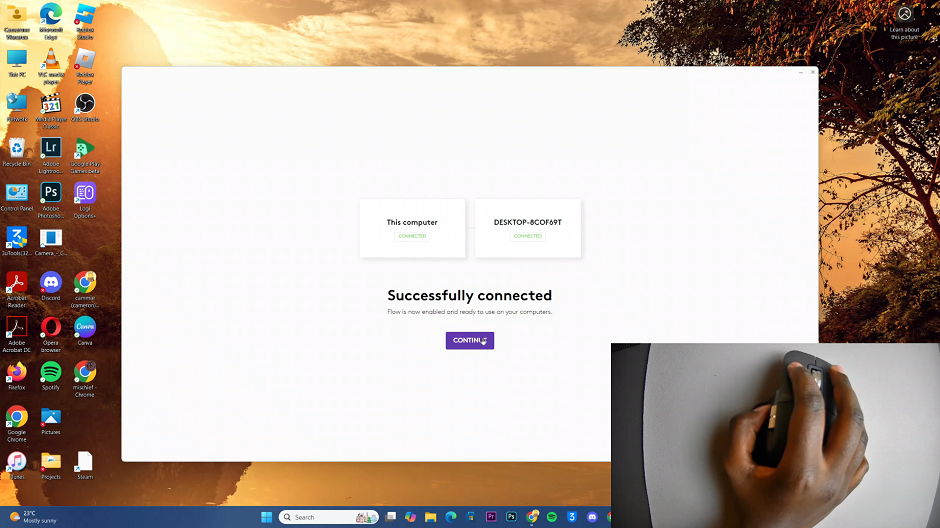
Once the connection is successful, click on Continue once again. You should now see the two connected devices under the Flow category.
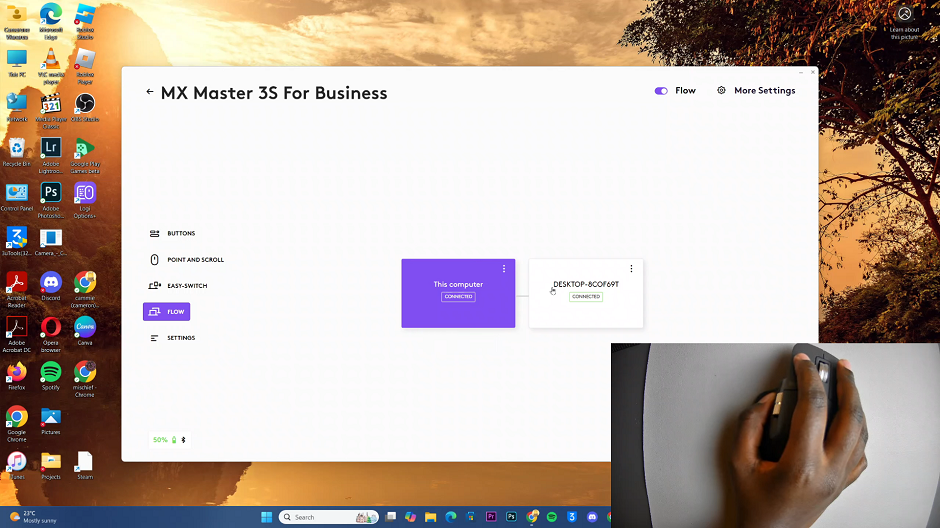
Follow the same steps to connect a third device in the third slot or channel. Your mouse can now seamlessly switch between two or three devices, depending on the number of devices you set up.
The cursor will move seamlessly between the devices, allowing you to control each one with the single MX Master 3S mouse. Control multiple computers and even transfer files, text, or images between them.
You can now customize the side buttons for specific tasks on each device, as well as check your mouse battery status and receive low battery alerts.
To stop the multiple connection, toggle off the Flow switch at the top of the Flow category.
