eSIM technology offers convenience and flexibility, allowing you to activate your cellular plan without the need for a physical SIM card. Whether you’re switching carriers, traveling internationally, or simply looking for a seamless way to manage your mobile connectivity.
In this article, we’ll show you how to set up the eSIM on your OnePlus 13. You only have the option to insert two physical Nano-SIM card or set up eSIM cards.
However, while the OnePlus 13 is a Dual SIM phone, only two SIM cards can be active at a time. With eSIM, you can enjoy the benefits of multiple carriers on a single device without the hassle of swapping SIM cards.
Read: How To Insert SIM In OnePlus 13 (Dual SIM)
Set Up eSIM On OnePlus 13
To begin, make sure you meet the prerequisites for setting up an eSIM on your OnePlus 13. This includes ensuring you have a compatible cellular plan, and a stable internet connection.
Go to the Settings app on your OnePlus 13 via the app drawer or quick settings. Under Settings, tap on Mobile Network, then tap on the eSIM option.
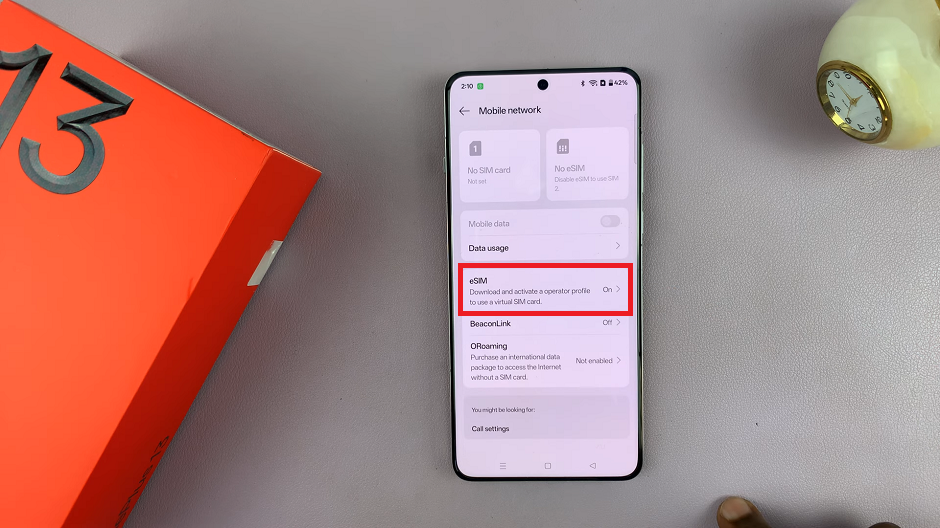
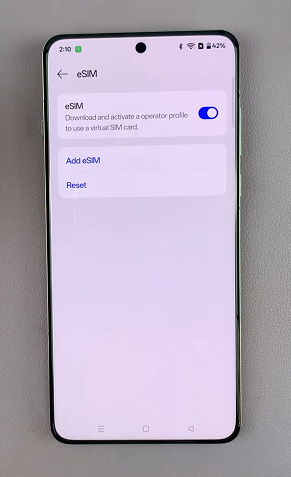
In the eSIM settings, ensure the toggle for eSIM is turned on. You’ll should then see the option Add eSIM. Tap on it.
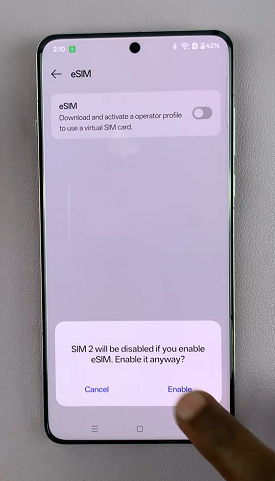
You’ll receive a prompt to choose how you want to add the eSIM. Choose either Set Up an eSIM or Transfer a SIM From Another Device.
Set Up an eSIM: Different network carriers have different ways to add the eSIM profile. eSIMs in my region are added by scanning a QR Code provided by the carrier, on a card with my other network details. It may be different for you.
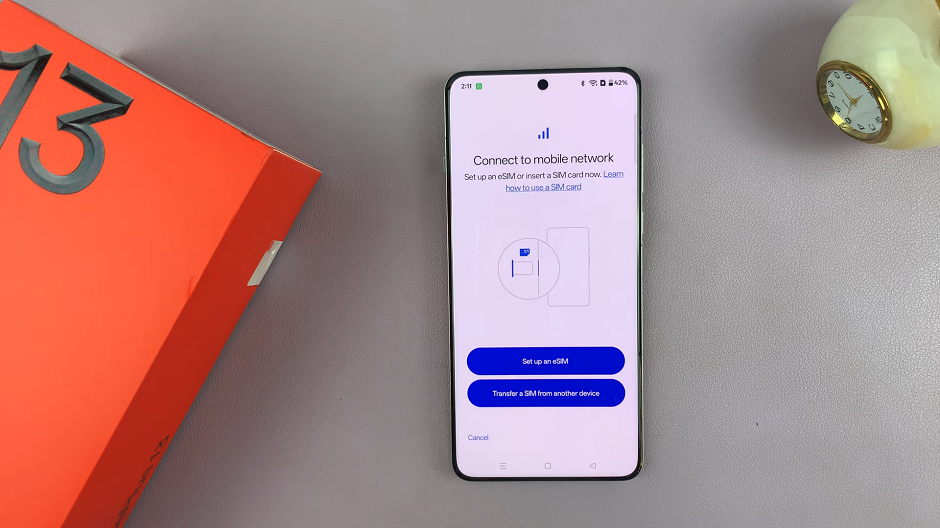
Transfer a SIM From Another Device: This option allows you to transfer an eSIM from a device that is in proximity to yours, only if your carrier allows it. If it is isn’t allowed, you have to delete the eSIM from the other device and set it up on the new one.
Choose Set Up an eSIM. You’ll receive a prompt to scan the QR code from your operator, enter an activation code or scan from photo.
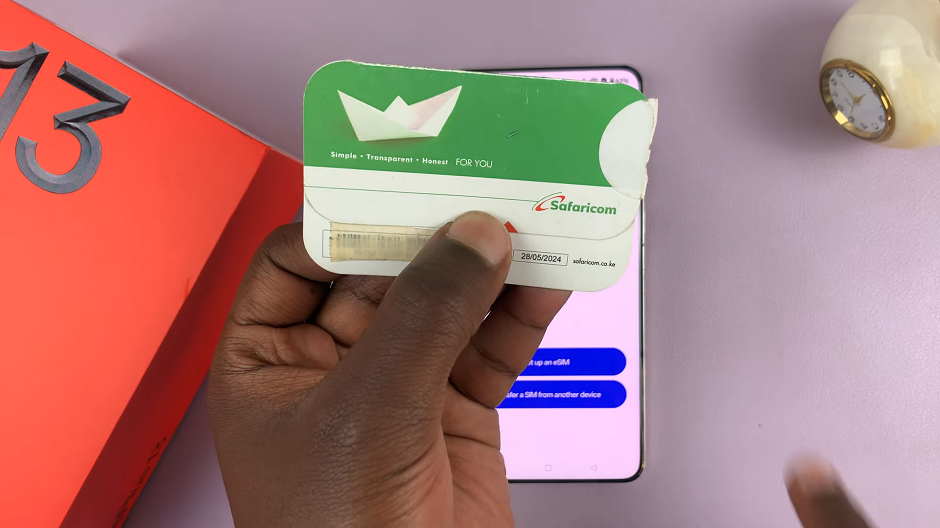
Scan QR Code: This option allows you to scan a QR Code provided by the carrier, on a card with your network details.
Enter Activation Code: Some carriers send you an activation code that you enter to proceed with the set up process.
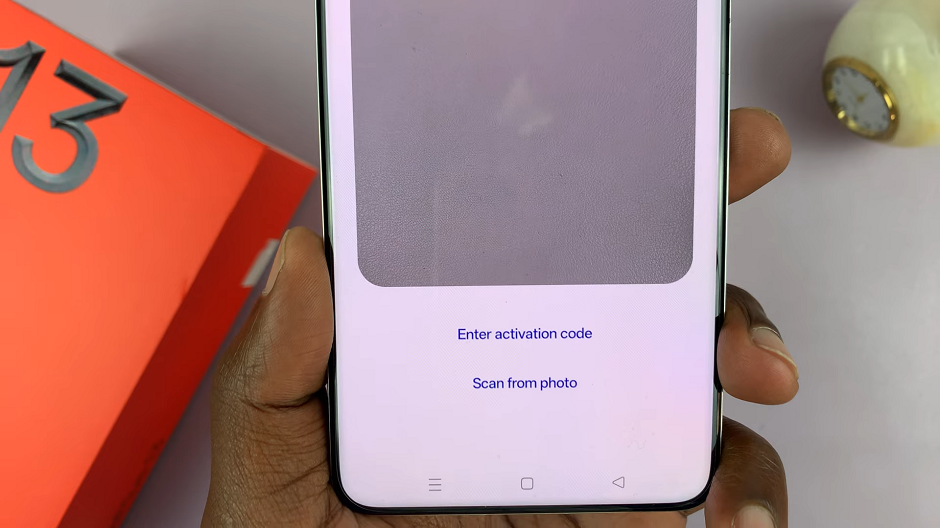
Scan From Photo: If you have been sent your QR Code via email, you can take a photo of it, then scan the QR code with the camera to install the eSIM.
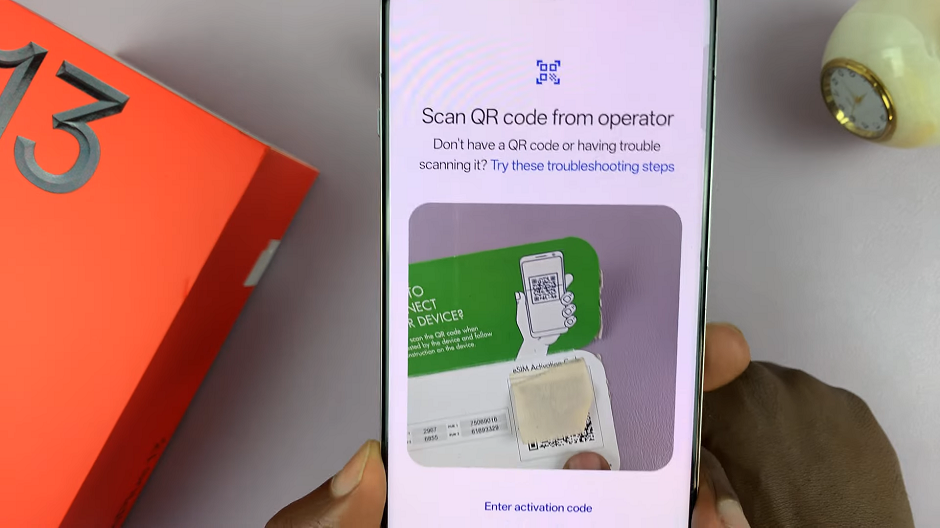
Once you scan the QR Code successfully, you’ll need to tap on Set Up to download the available number from your network carrier. This will require some form of internet connection, either Wi-Fi or mobile data.
If you have a SIM PIN, you’ll receive a prompt to enter it. It’s usually on the eSIM document.
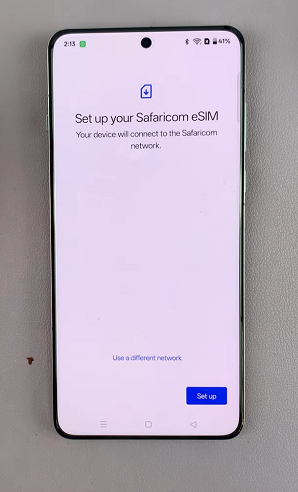
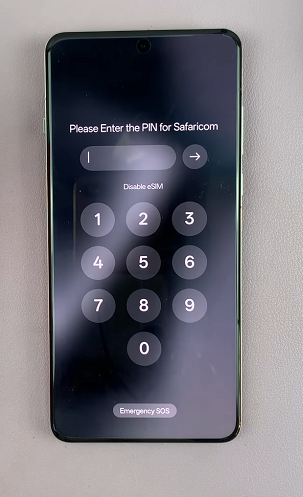
After the eSIM profile downloads, tap on Finish to go back to the eSIM manager. You should now be able to see the eSIM added there and enabled. The network bars will also be visible.
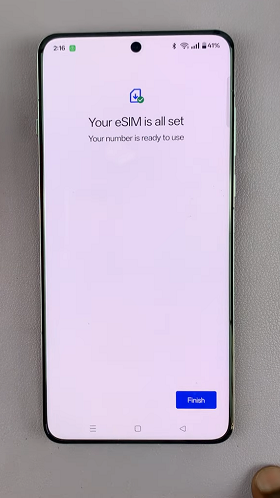
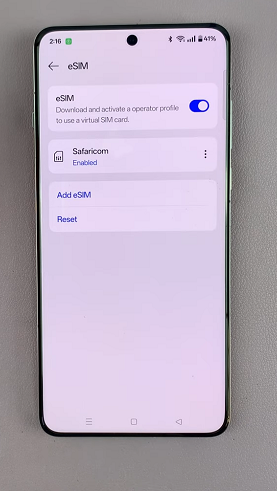
Once the activation is successful, your OnePlus 13 will be ready to use with the newly activated cellular plan.
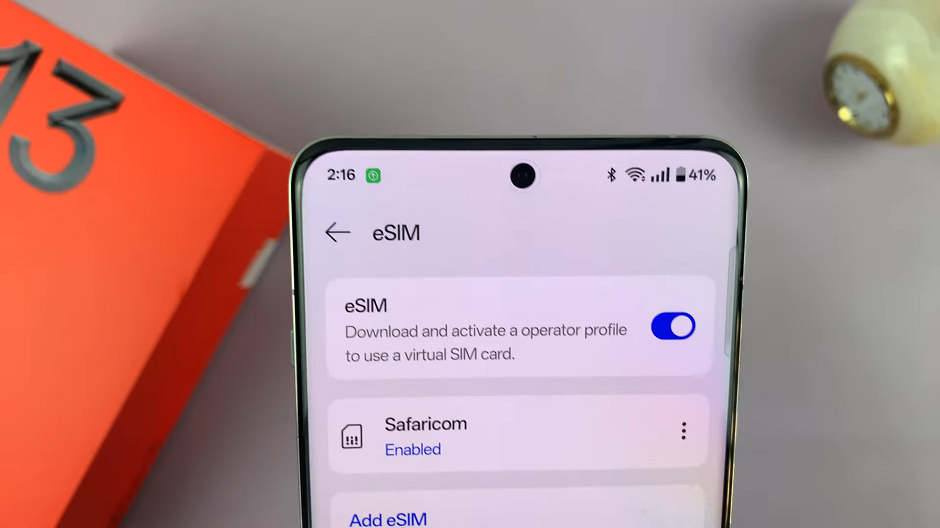
One of the key advantages of eSIM technology is its support for multiple profiles on a single device. If you wish to add additional eSIM profiles, simply repeat the steps outlined above for each new profile you want to activate.
Note: You can add as many eSIM profiles as possible. The only caveat is that, only two can be active at a time. this applies to the physical Nano-SIM cards as well. You can have either two Nano-SIMs, two eSIMs or one eSIM and a Nano-SIM active at any given time.
Watch: Insert SIM In OnePlus 13
