Audio messaging on the iPhone is a quick, convenient, and personal way to communicate. It allows you to share your thoughts, emotions, and updates without the hassle of typing.
In this guide, we’ll walk you through the process of recording and sending audio messages on your iPhone, to ensure your messages are sent smoothly.
Audio messages have several advantages like efficiency. you can quickly convey complex information without typing long texts. It also offers a personal touch by capturing tone and emotion that can be lost in written messages. Multitasking is another advantage, it’s ideal for when your hands are busy or you’re on the go.
Read: How To FIX Clear History and Website Data Option Greyed Out On iPhone
Send Audio Messages On iPhone
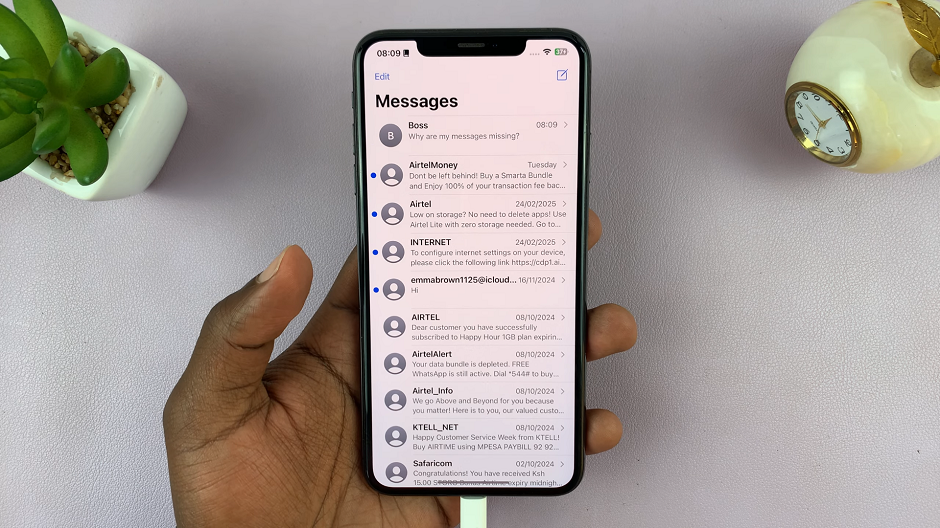
Begin by launching the Messages app on your iPhone. Open an existing conversation or start a new one by tapping the compose icon.
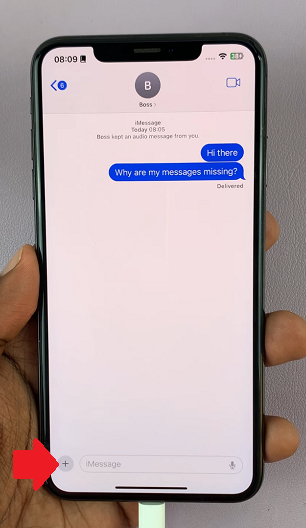
Next to the text input field, you’ll see a + icon. Tap on it and select the Audio option. The recording will start.

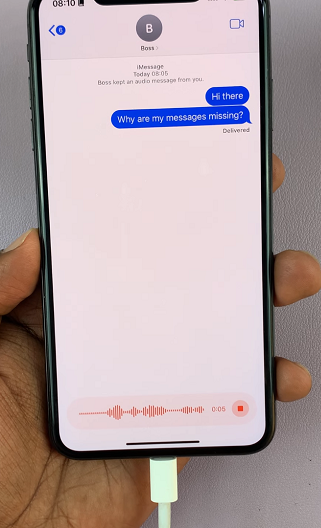
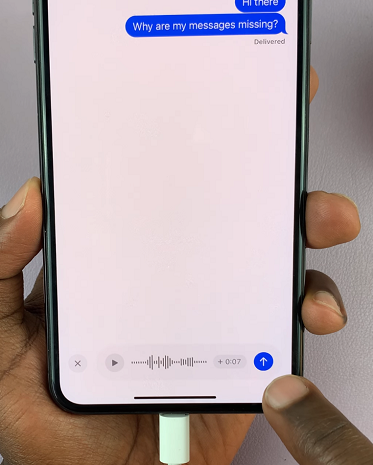
As you speak, keep an eye on the recording indicator to know your message is being captured. Once you’ve finished speaking, tap on the Stop icon.
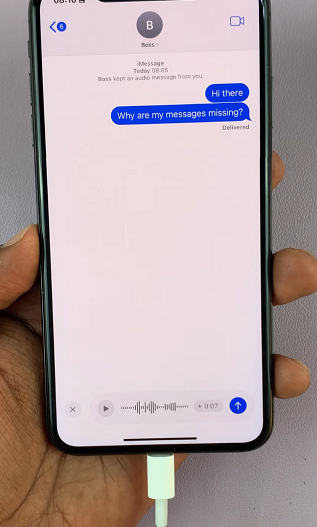
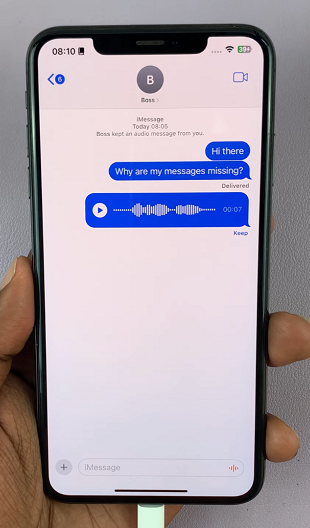
Tap on the Play button to listen to your recording before sending it. If you don’t like it, you can tap on the x icon to delete it and record another one. Tap on the Send button if you’re happy with it, to send.
To send a follow up audio message, press and hold the audio (voice waves) icon in the bottom-right corner, to start recording your audio message. Once you’ve finished speaking, release the icon and tap on Stop.

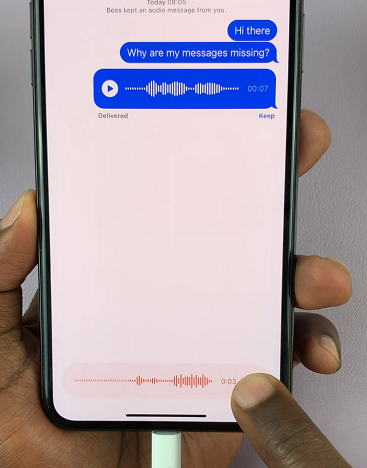
Once again, review your message to send or cancel it. You can record as many audio messages as you want.
Tips for a Clear Audio Message
Environment: Record in a quiet place to minimize background noise.
Clarity: Speak clearly and at a moderate pace.
Practice: If you’re new to audio messaging, try a few practice runs to get comfortable with the process.
Watch: FIX Clear History and Website Data Option Greyed Out On iPhone

