Need to capture something on your Mac screen? Whether you want to save an image, share information, or document something important, taking a screenshot is a handy skill every Mac user should know. macOS offers several ways to take screenshots, allowing you to capture your entire screen, a selected portion, or even specific windows with ease.
In this guide, we’ll walk you through the different methods for taking screenshots on your Mac, including keyboard shortcuts and built-in tools. Whether you’re a new Mac user or just looking for more efficient ways to screenshot, this tutorial will help you master the process in no time.
Read: How To Stop Mac From Opening Previous Windows During Start Up
How To Screenshot On Mac
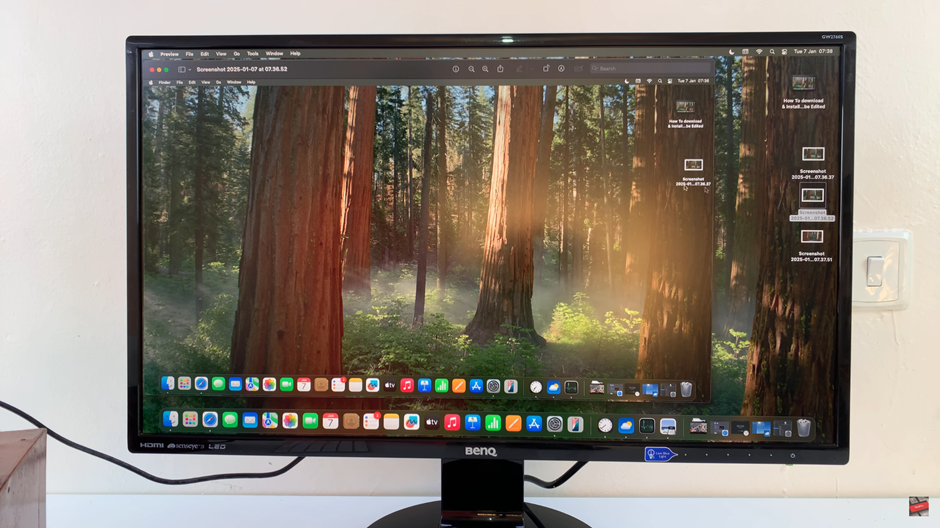
This will capture the entire screen and save the screenshot to your desktop.
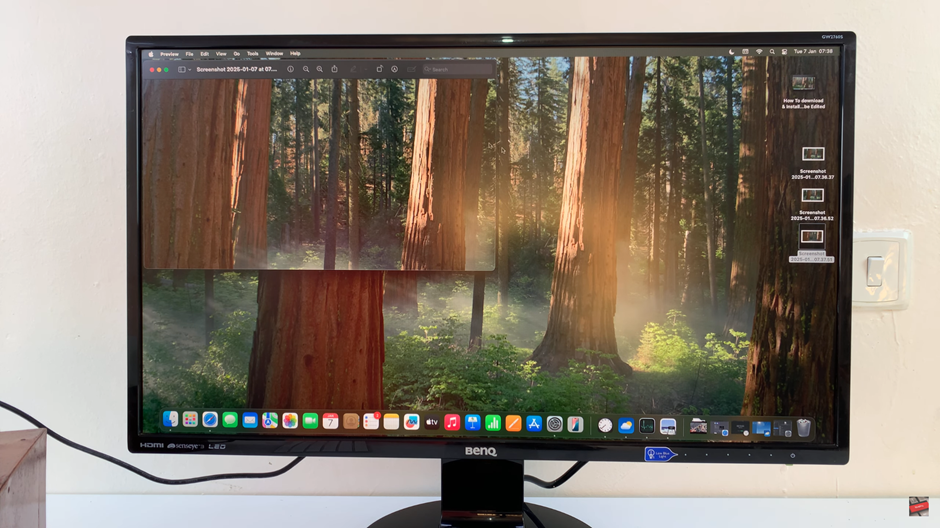
After pressing these keys, your cursor will change to a crosshair. Click and drag to select the area you want to capture, and release the mouse button to take the screenshot.
Taking screenshots on your Mac is a quick and simple process, thanks to the easy-to-remember keyboard shortcuts. Whether you’re capturing the entire screen or just a specific section, these methods make it simple to save important information, share content, or document something for later use. With the power of macOS built-in screenshot tools, you can easily enhance your productivity and keep your workflow organized. Try out these shortcuts today and start capturing your screen with ease

