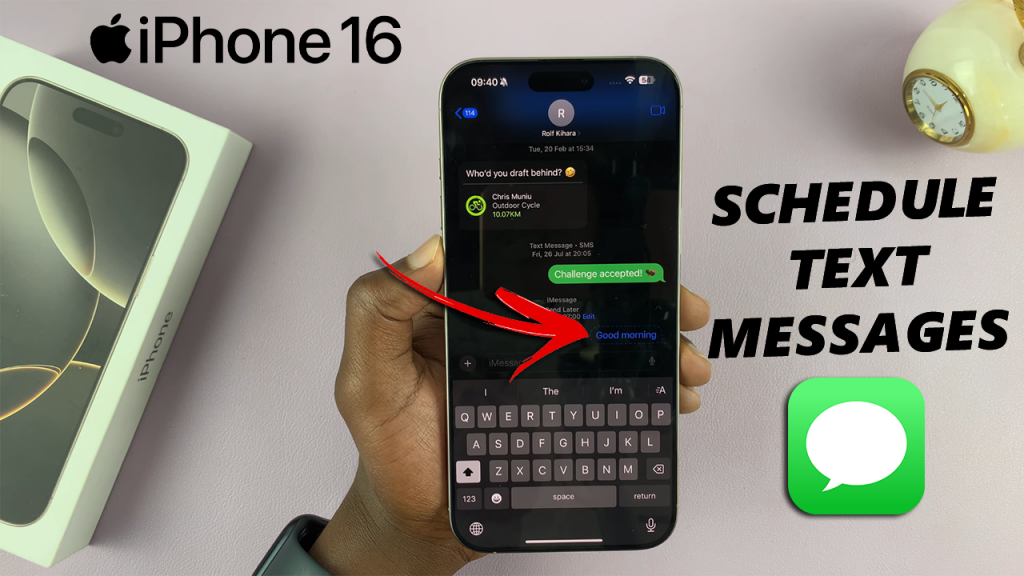
Scheduling messages can be incredibly useful for managing communication, whether you want to send reminders, birthday greetings, or professional messages at a specific time. If you’re an iPhone 16 or iPhone 16 Pro user, Apple has made this task easier than ever with iOS’s built-in text message scheduler
In this article, we’ll walk you through how to schedule messages on your iPhone 16 / 16 Pro. Scheduled messages are not exclusive to the iPhone 16 models, but all iPhones running the latest iOS 18.
With the new and improved iMessage features on iOS 18, you can send birthday wishes right on time, work messages and ensure your important reminders are never forgotten by scheduling text messages when need be.
Watch: Camera Control Light Press Not Working On iPhone 16
Schedule Messages On iPhone 16
Start by opening the iMessage app on your iPhone 16, select the contact you want to send to and type your message as you normally would.
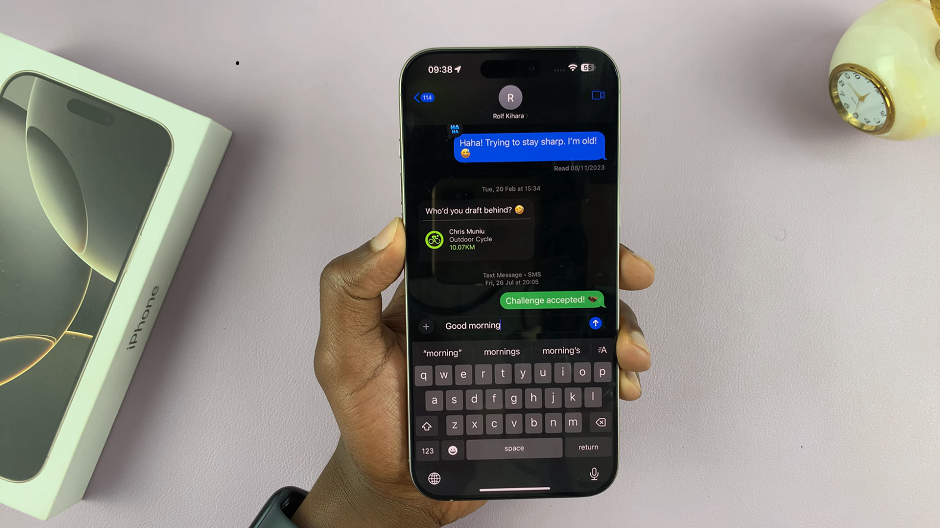
Once your message is ready, tap on the + to the left of the message text box. From the resulting options, select Send Later.
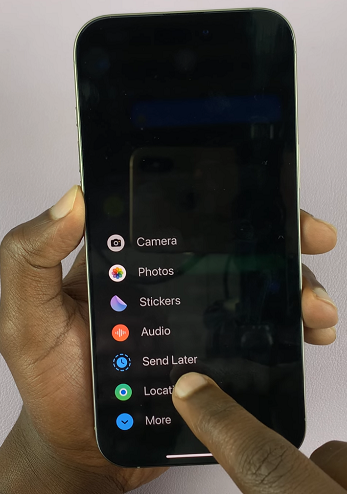
A date and time picker will appear. Select the desired date and time for your message to be sent. After selecting the date and time, tap on the Send button to confirm your scheduled message.
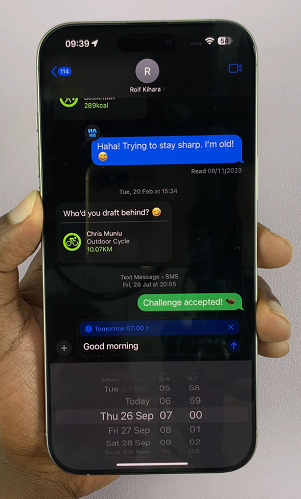
You can now tap on the x button to close the editor. Your message will now be enshrined within a dotted bubble. This indicates that it’s a scheduled message.
To change the date and time, or edit the scheduled message, tap on the Edit option. It should be just above the scheduled message.
From the options, choose one of Send Message, Edit Time or Delete Message. Follow the instructions based on the option you chose.
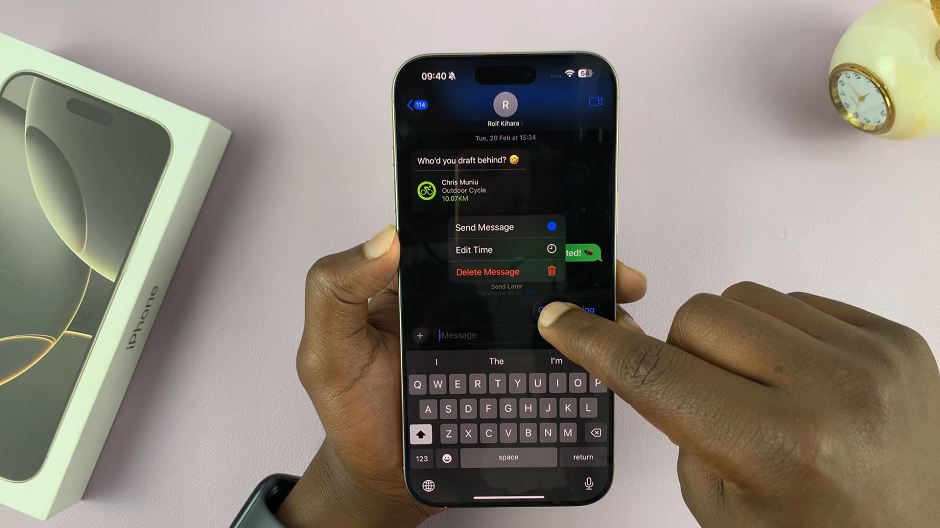
Send Message: This option will send the text message immediately.
Edit Time: Brings up the date and time picker, allowing you to reschedule or change the date and time to send your text message. This is handy if you made an error or if plans changed.
Delete Message: This will delete the scheduled message altogether. You may need to confirm this is the option you want.
