Scanning documents on the OnePlus 13 is a quick & efficient way to digitize paperwork without needing extra devices. Whether you need to save receipts, contracts, or handwritten notes, the built-in scanning option provides a simple solution.
With just a few taps, you can capture clear, high-quality scans directly from your phone. This eliminates the hassle of using a traditional scanner & makes document management much more convenient.
The OnePlus 13 offers multiple ways to scan documents, allowing users to choose the method that suits them best. You can use the built-in camera or a dedicated app to ensure clear & readable scans.
Once scanned, documents can be saved, shared, or edited right from the device. Whether for work, school, or personal use, knowing how to scan documents on the OnePlus 13 can help keep important files organized & easily accessible.
Watch:How To Use Assistive Ball On Oneplus 13
Scan Documents On OnePlus 13
Step 1: Prepare The Document
Ensure the document is placed on a flat surface with good lighting to avoid shadows. Keep the camera parallel to the document for a clear scan.
Step 2: Open The Camera App
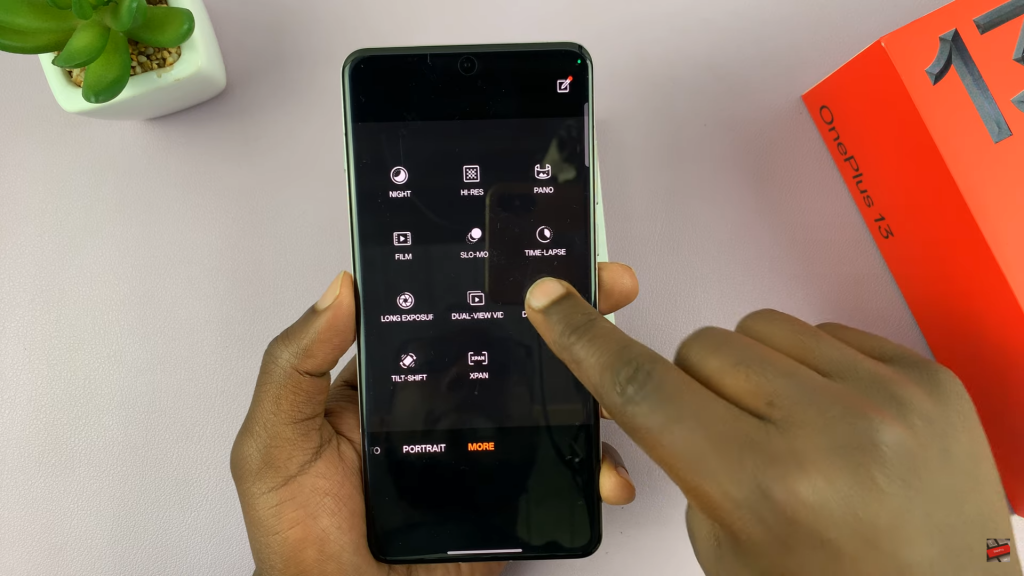
Launch the Camera app on your OnePlus 13. Swipe through the menu and tap on More to find additional options. Select Doc Scanner to start scanning.
Step 3: Allow Necessary Permissions
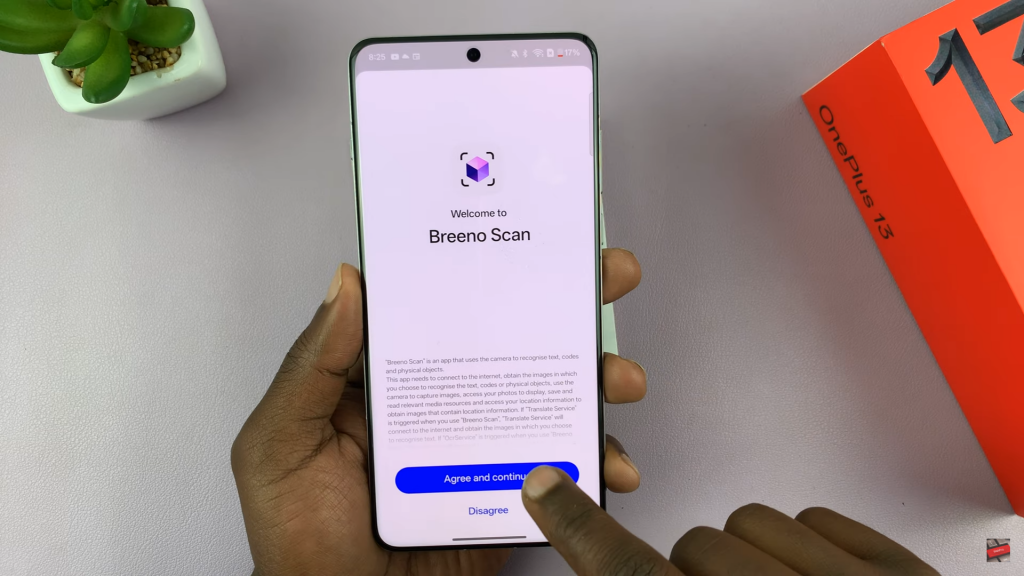
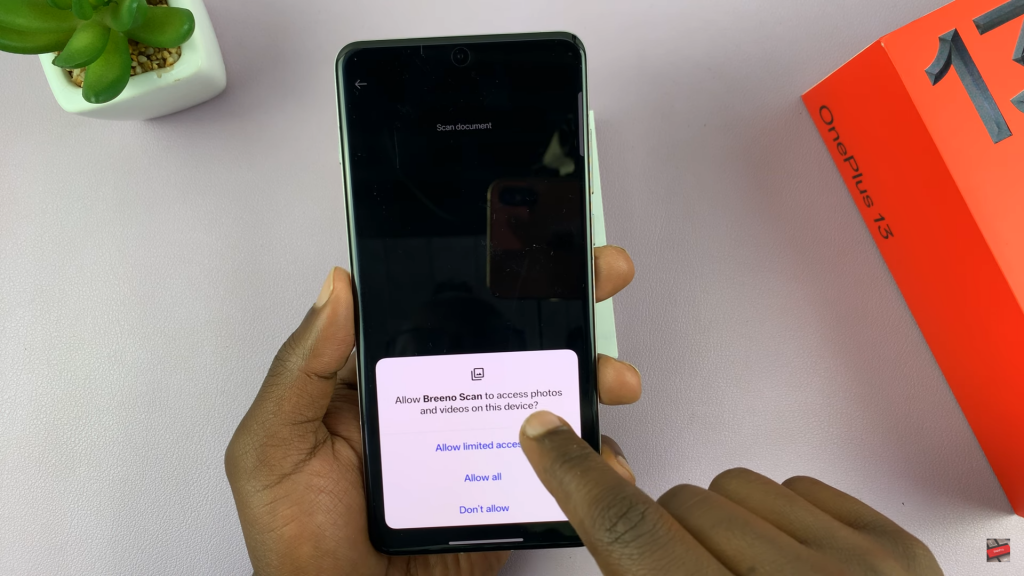
If using it for the first time, agree to the terms and continue. Grant access to the camera and storage when prompted.
Step 4: Scan The Document
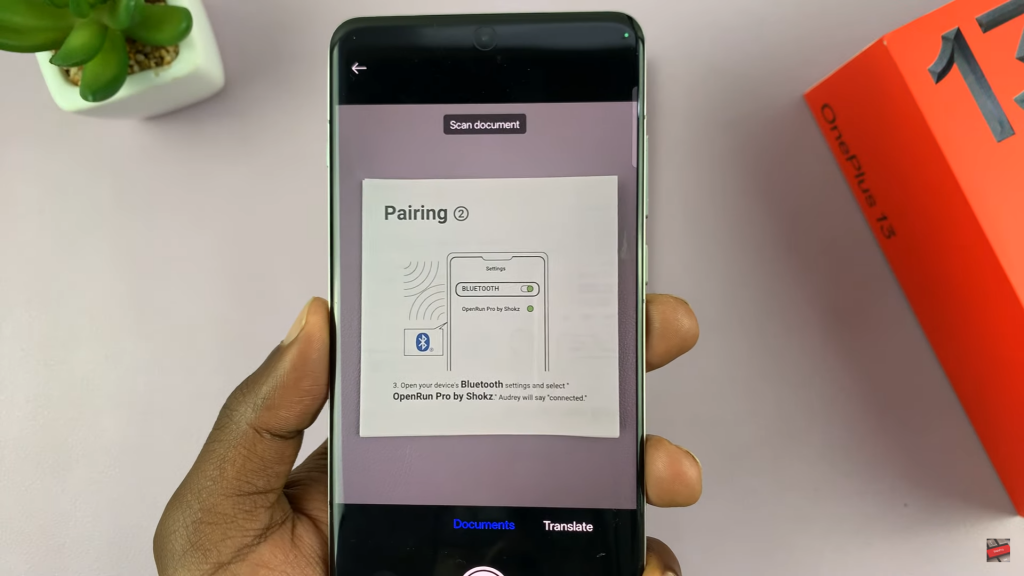
Position the document within the viewfinder and tap the shutter button to capture it. If scanning multiple pages, place the next page and repeat the process.
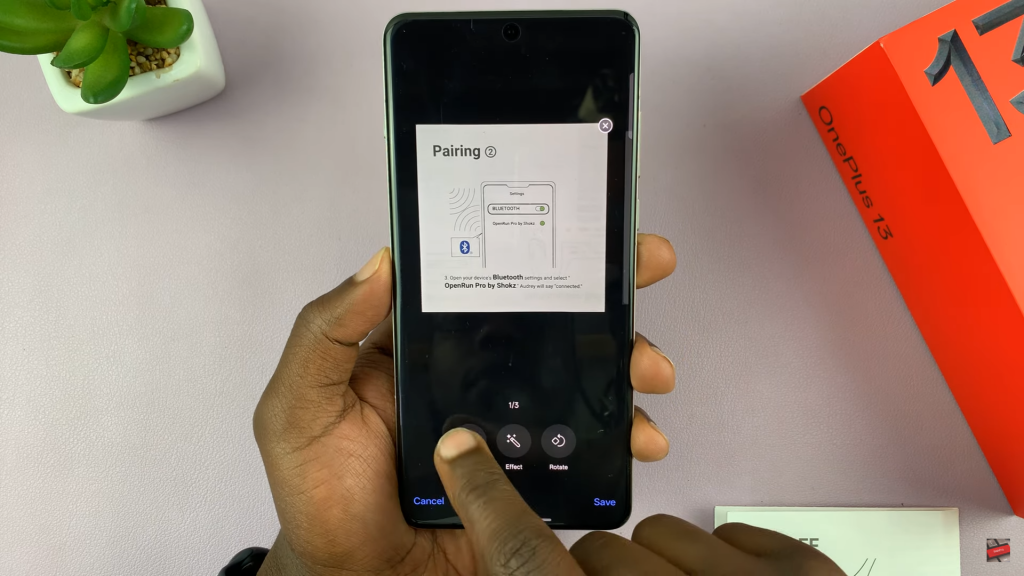
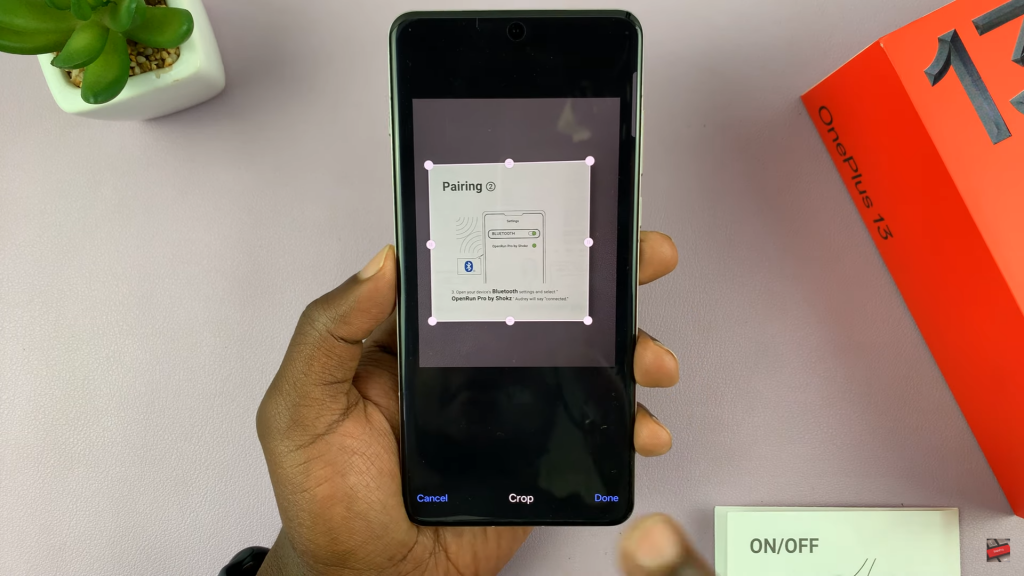
Step 5: Edit & Adjust The Scan
Review the scanned document and crop unwanted areas if necessary. Rotate pages if they are not aligned correctly.
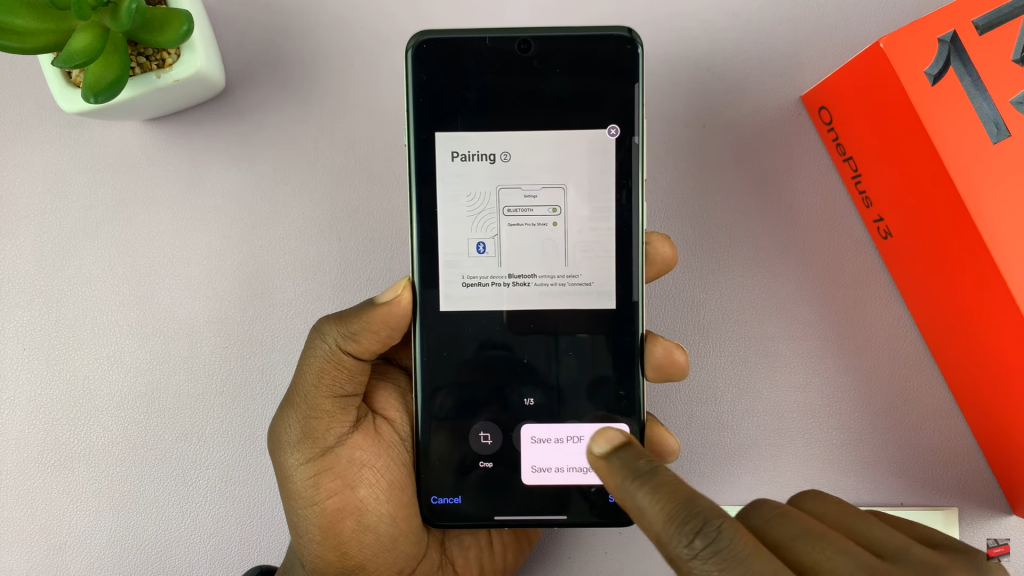
Step 6: Save The Document
Tap Continue once satisfied with the scan. Choose to save the file as PDF or Image based on your preference.
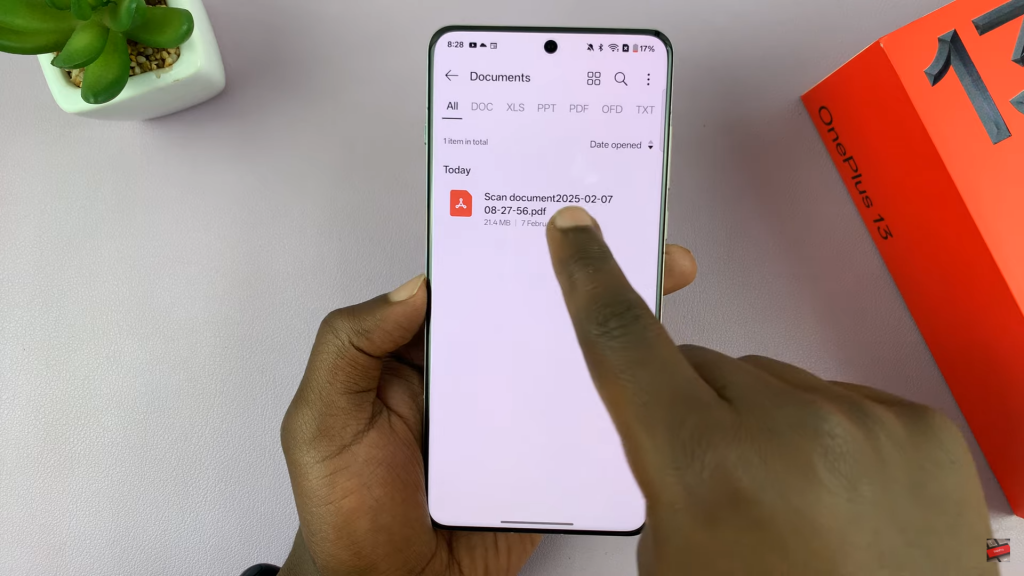
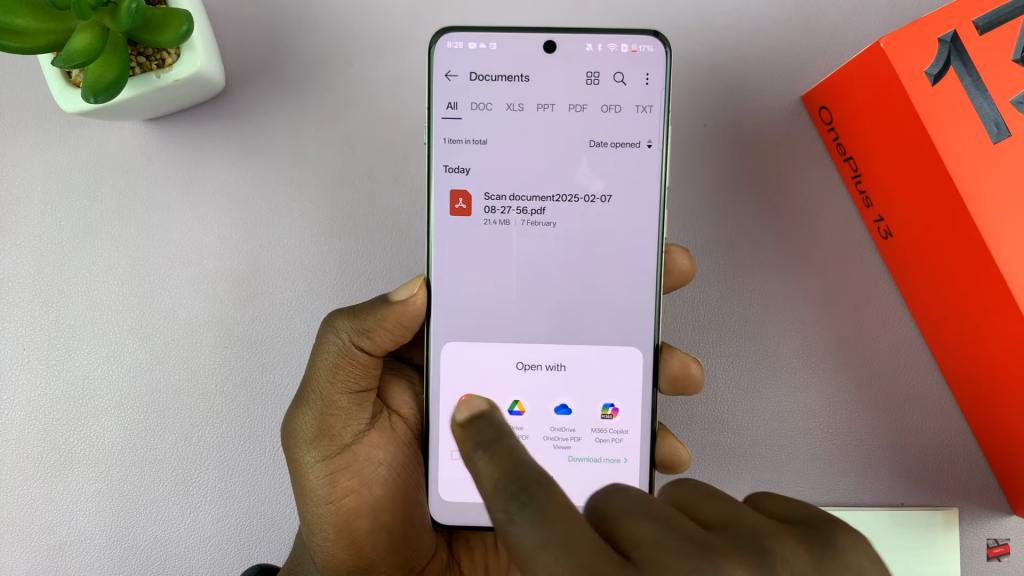
Step 7: Access The Scanned Document
Open the Files app on your device. Navigate to Documents to find the saved file. Use any PDF viewer to open and share the document.

