In this guide, we’ll walk you through how to scan documents on the iPhone 16 / iPhone 16 Pro. This will also be convenient enough to allow you to edit your scans, and share them in just a few taps, at your convenience.
All iPhone models come with powerful built-in tools that can transform your smartphone into a portable document scanner. This makes it easy to scan important papers, receipts, or contracts, through iPhone’s Notes app.
There will be no need for additional apps or expensive scanners, everything you need is right at your fingertips. If you have the iPhone 16 models, it isn’t any different. Carrying around physical documents can be cumbersome.
The iPhone’s scanner allows you to quickly digitize your documents, making them easy to store, search, and share. It’s also a great way to organize important papers while reducing clutter, increasing efficiency and convenience.
The iPhone’s advanced camera produces clear and professional-looking scans. Therefore, you can easily categorize and store your scans in the Notes app or share them via email or cloud storage.
Read: How To Add Google Account On iPhone 16
Scan Documents On iPhone 16
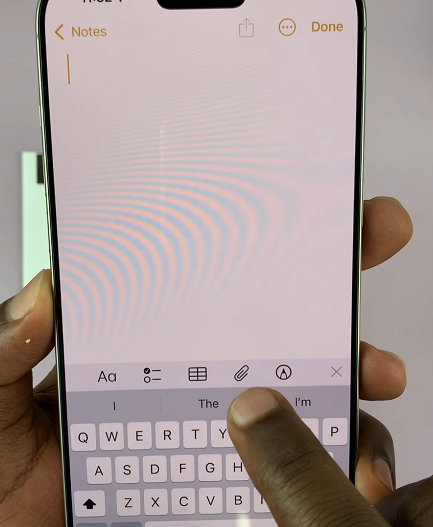
Begin by launching the Notes app and tap on the New Note icon in the bottom-right corner of the screen. Next, tap on a section on the new note to bring up some menu options.
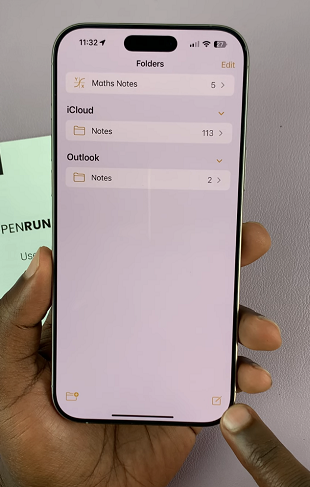
From the options, select the Attach option (clip icon). A menu will come up, from which you should tap on Scan Documents. This will open the document scanner.
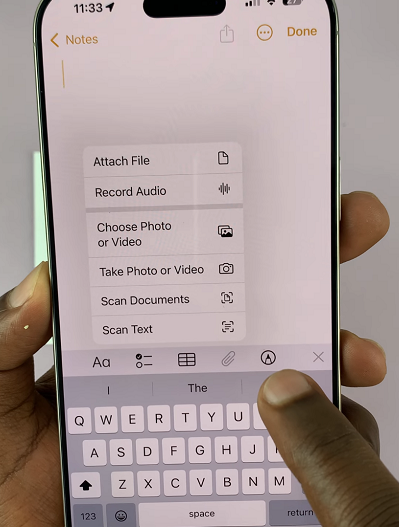
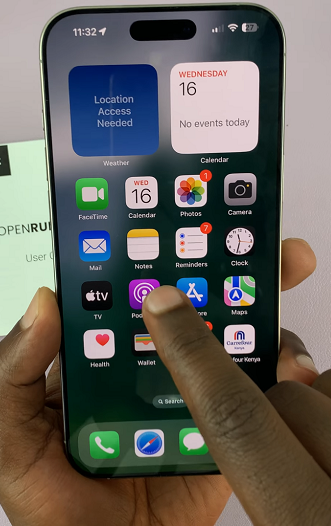
As a shortcut, you can also long press on the Notes app icon from the home screen. From the menu that appears, tap on Scan Documents.
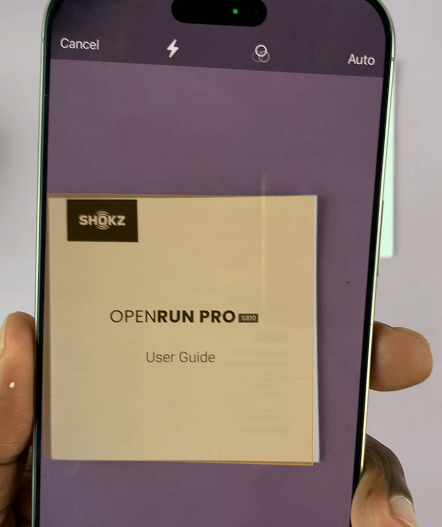
Hold your iPhone over the document you want to scan. Ensure that the document is on a flat surface, is well-illumined and fits within the camera frame displayed on your screen. Also, ensure to clean your camera lens to remove any dirt that may interfere with the image.
The Notes app will automatically detect the document and capture it. If necessary, adjust the corners of the scan area to fit the document perfectly. You can tap on the thumbnail to preview the scan.
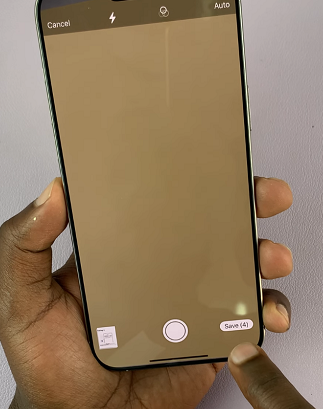
Once you preview the scan, tap on Done in the top-left corner to go back to the scanner. Add more scans of different pages if your scan should include them.
Once you’re satisfied with the scan(s), tap Save [x] in the bottom-right corner to save it. You can then choose to add more scans to the same note or proceed to save the note with the scanned document.
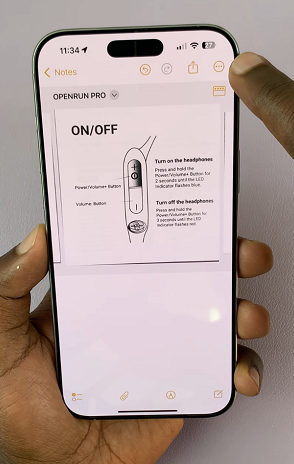
To save the scan, tap on the Share icon in the top-right corner of the app page. From the resulting options, select Save to Files. This will open the Files app for you to select a save location.
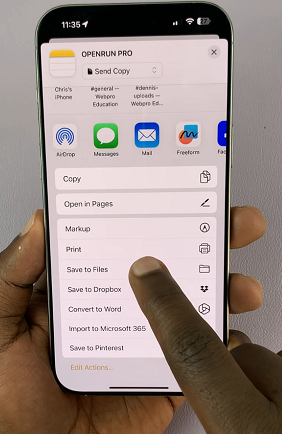
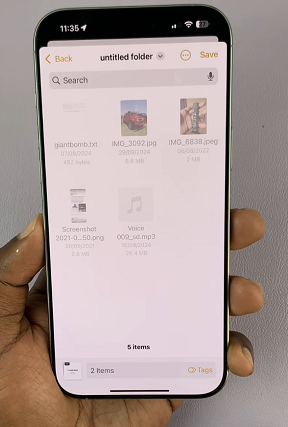
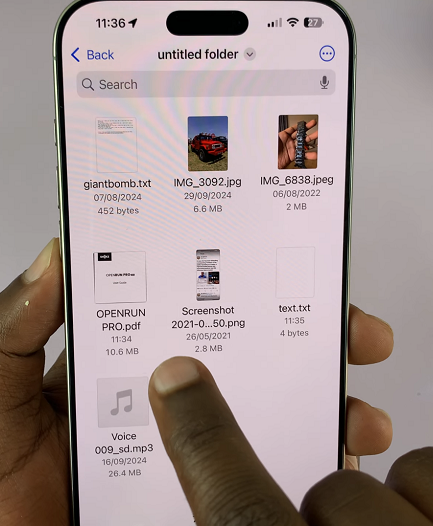
Choose the folder you want to use to store the scan. Then tap on Save in the top-right corner. You will now be able to access your scan in the Files app, which you can edit and share at your convenience.
Good lighting is essential for a clear scan. Make sure your document is well-lit but avoid harsh shadows.
Use a flat surface and make sure the document is free of wrinkles for a professional-looking scan.
