Learning how to resize a shape to exact dimensions in Canva can significantly enhance your design precision and flexibility. Initially, you might rely on visual adjustments using the shape’s handles, but achieving perfect accuracy often requires a more detailed approach. Fortunately, Canva offers straightforward tools that enable you to input exact dimensions, ensuring your shapes fit precisely within your design.
Moreover, this process not only improves the overall aesthetics of your project but also maintains consistency across different elements. By following a few simple steps, you can quickly adjust your shapes to match specific measurements, which is especially useful for creating professional and polished designs. Consequently, mastering this technique will streamline your workflow and elevate the quality of your Canva creations.
Watch:How To Delete a Public View Link In Canva
RESIZE a Shape To EXACT DIMENSIONS In Canva
Here’s how you do it;
Step 1: Select a Shape
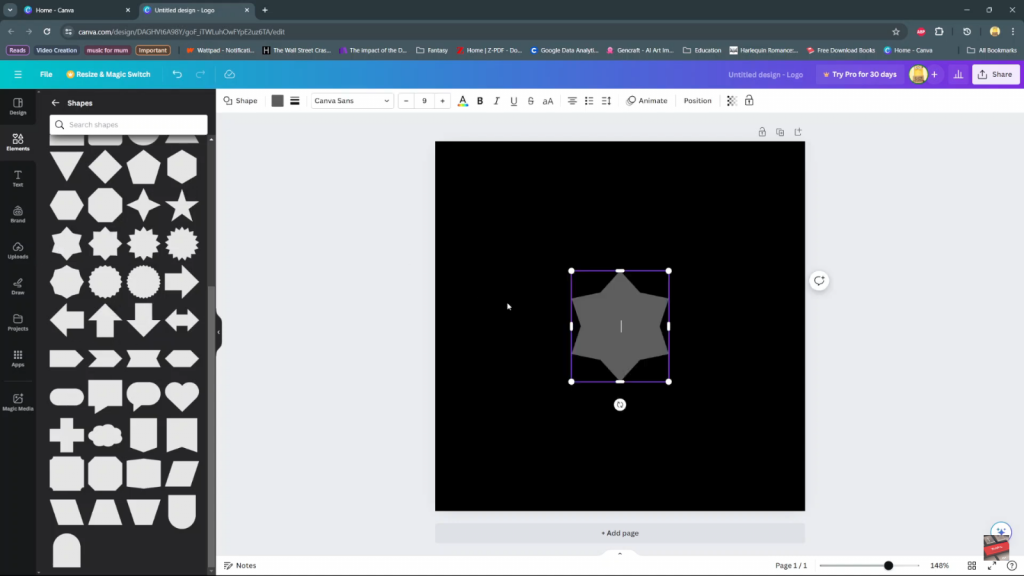
Begin by navigating to Elements in Canva. Once there, under the Elements section, select Shapes. Next, use the search function to find and choose the shape you want to resize, such as a star. By doing so, you prepare the shape for further customization.

Step 2: Add the Shape to Your Canvas
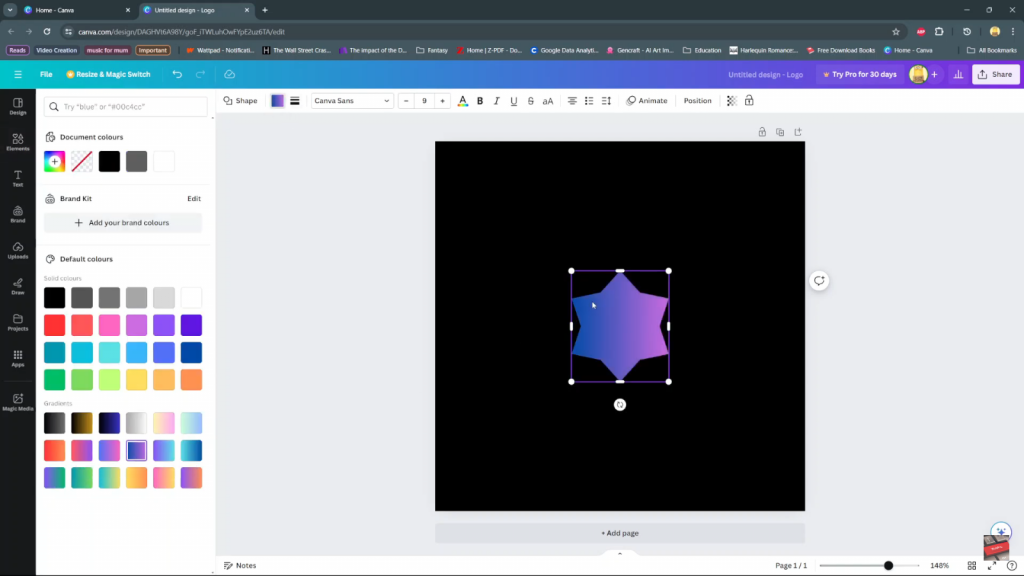
After selecting your desired shape, add it to your canvas. At this stage, you have the option to change the color of the shape if needed. This step sets the foundation for your resizing process and ensures that the shape is correctly placed in your design layout.


Step 3: Resize Using Handles
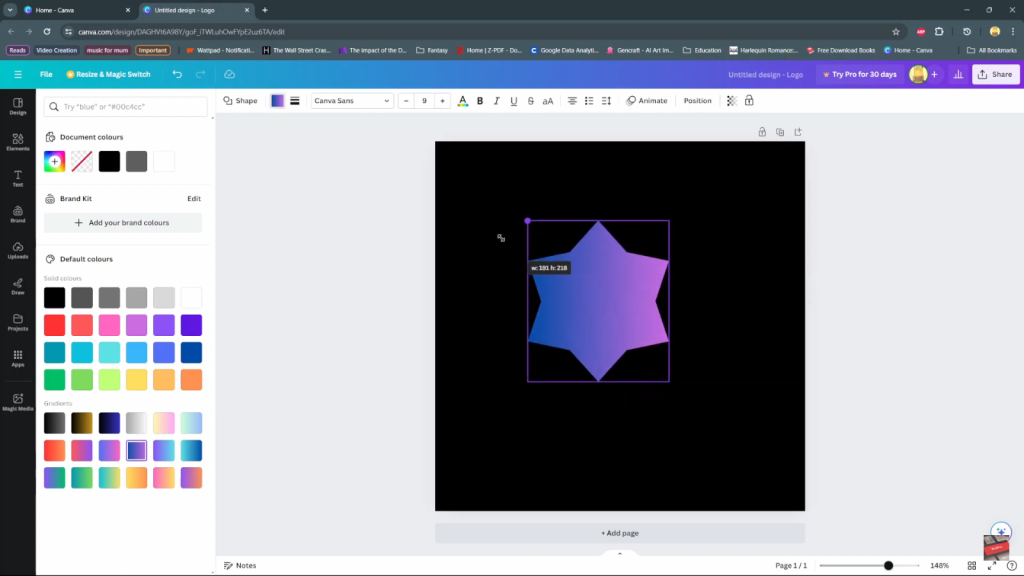
To begin resizing, utilize the handles that appear around the shape. These handles allow you to scale the shape up or down to approximate dimensions. Consequently, this initial adjustment helps you get closer to the size you envision for your design.

Step 4: Set Exact Dimensions
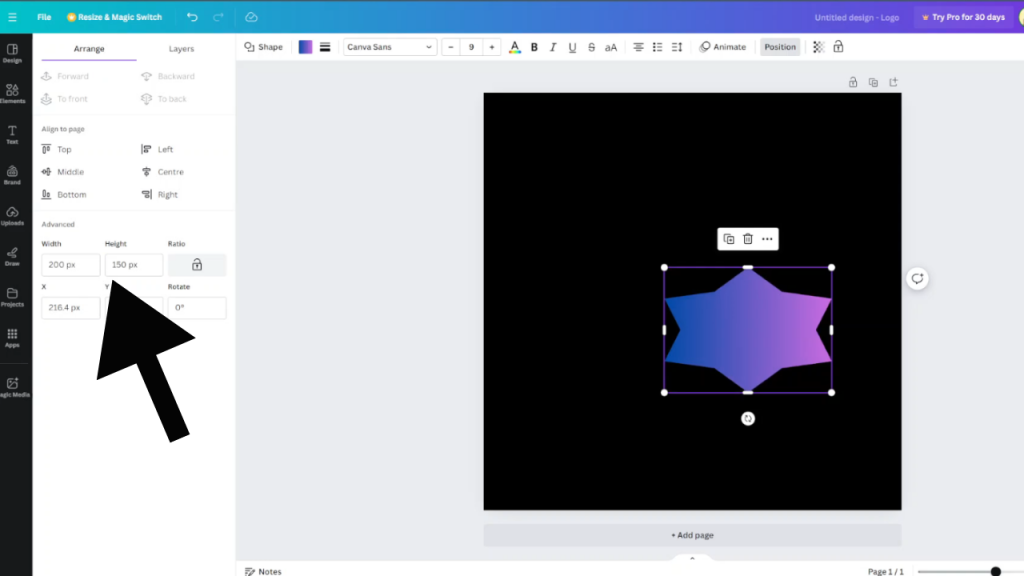
To achieve precise resizing, ensure the shape is selected. Then, go to the Position section. Under the Arrange tab, select Advanced. Here, you can enter your exact desired dimensions, such as a Width of 200 and a Height of 150. This step ensures that your shape meets the specific size requirements.

Step 5: Adjust Dimensions
Once you have entered the exact dimensions, click on an empty space on the canvas to apply the changes. As a result, the shape will automatically adjust to the specified dimensions, providing a precise fit for your design needs.
Step 6: Resize Images
Similarly, to resize images, click on the image you want to adjust. Then, go to Position and input your desired Width and Height, such as Width: 600 and Height: 280. This process ensures that the image will resize to fit the new dimensions, just like the shapes, completing the adjustment process for your design.


