Renaming pages in Canva plays a crucial role in organizing and managing your design projects effectively. It provides a method to label and identify different sections or iterations within a project, facilitating clarity and ease of navigation. This feature enhances collaboration by ensuring team members can easily understand and contribute to the project at various stages.
Moreover, mastering page renaming in Canva contributes to maintaining a structured workflow, essential for efficient project management and presentation preparation. Whether working on presentations, documents, or visual content, the ability to rename pages in Canva promotes streamlined organization and enhanced productivity.
Understanding how to effectively rename pages in Canva is instrumental in maintaining project clarity and organization. By assigning descriptive names to each page, users can communicate content and purpose clearly within their projects. This practice supports cohesive collaboration among team members, allowing for seamless sharing and review of project components.
Furthermore, integrating page renaming into your Canva workflow promotes efficient project navigation and facilitates revisions or updates as needed. This capability ensures that projects remain organized and accessible, enhancing overall productivity and professional presentation.
Watch:How To Create Stretch Text Effect In Canva
Rename Pages In Canva
Here’s how you do it;
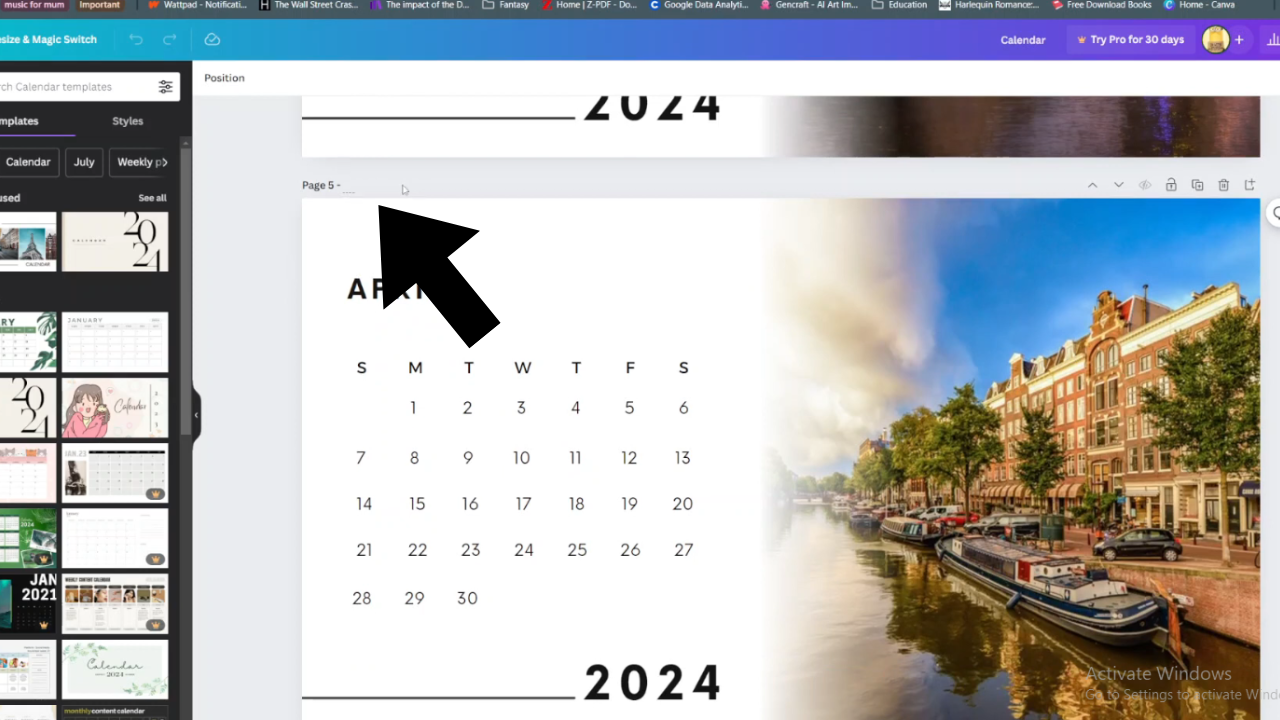
Step 1: Begin by opening your Canva project, where you’ll encounter multiple pages like a calendar. Simply navigate to the top of the page and click on the current page title to initiate the renaming process.
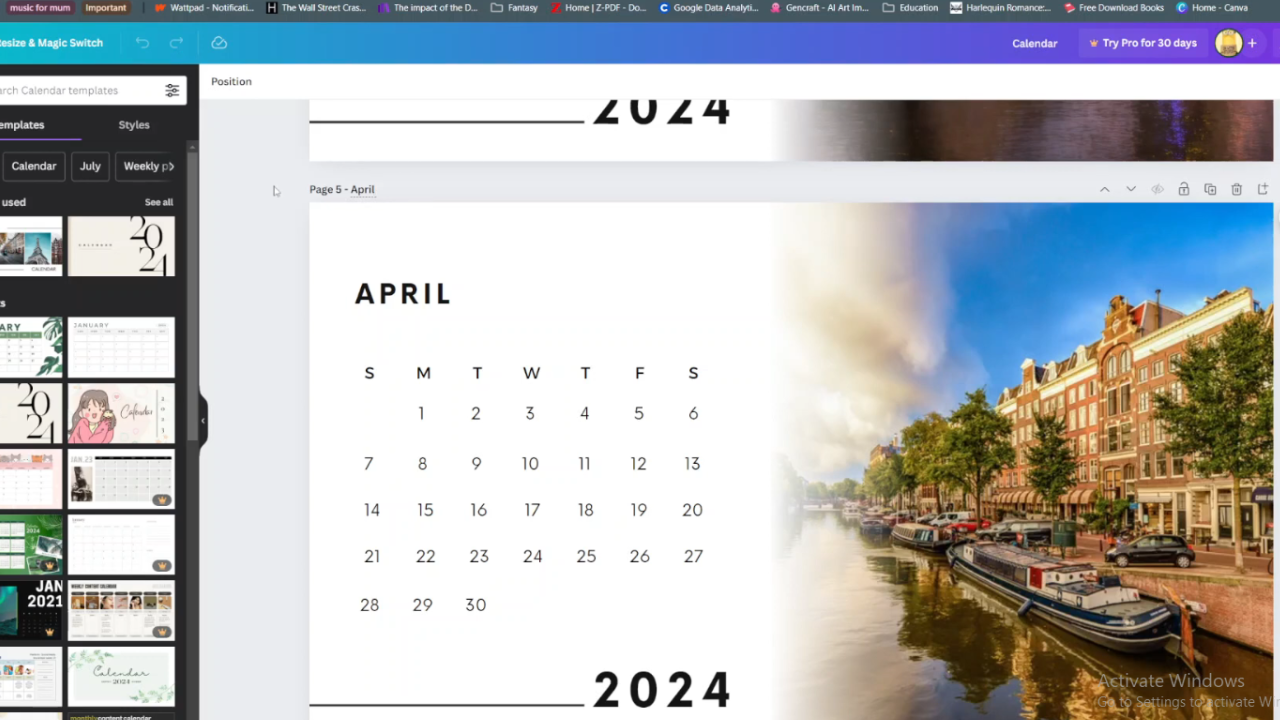
Once clicked, proceed to type in the new name, ensuring clarity and relevance to the content. After entering the new name, click anywhere outside the text box on your screen to save the changes instantly. This straightforward method allows for efficient renaming of individual pages within your project, enhancing organization and clarity.

Step 2: To rename additional pages within your Canva project, locate the ‘Add Page Title’ option. Click on it to activate a text box where you can enter the new page name. After typing the desired name, click outside the text box to apply the changes across the project.
This step-by-step process ensures each page is accurately labeled, contributing to streamlined navigation and collaborative efforts.By systematically renaming pages, you maintain coherence and relevance throughout your project, ensuring all contributors can easily identify and work on specific sections.

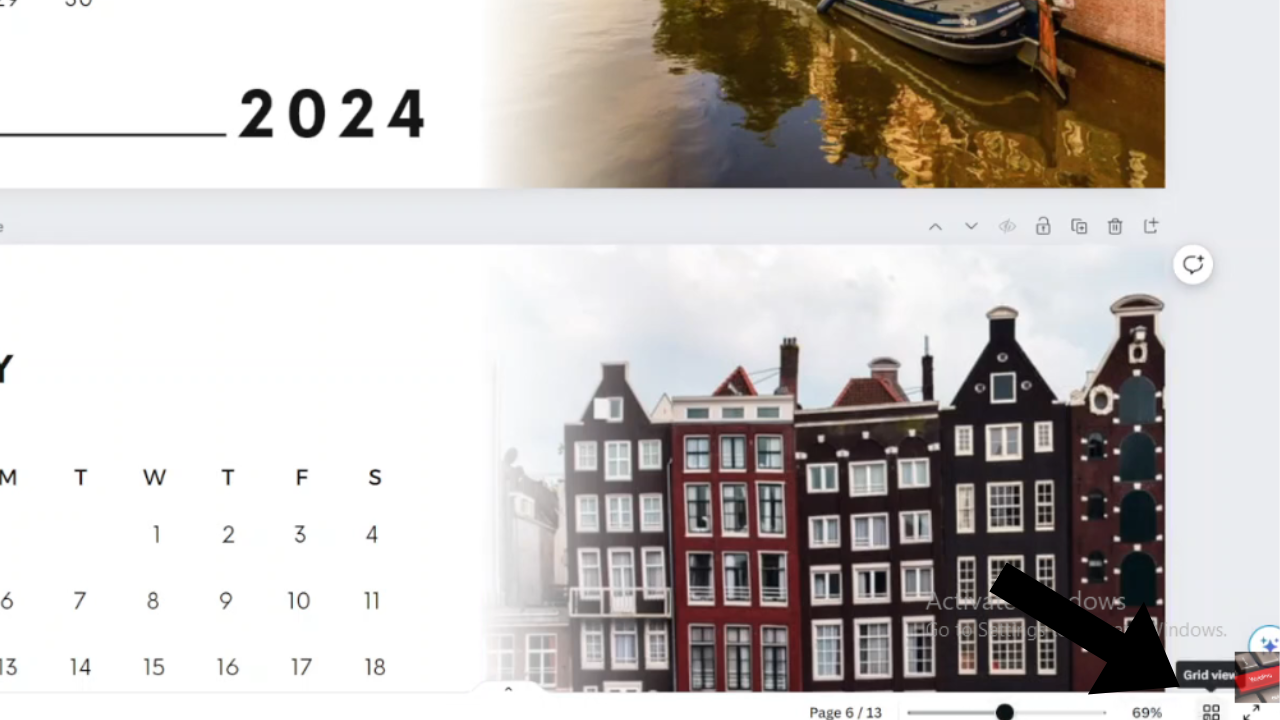
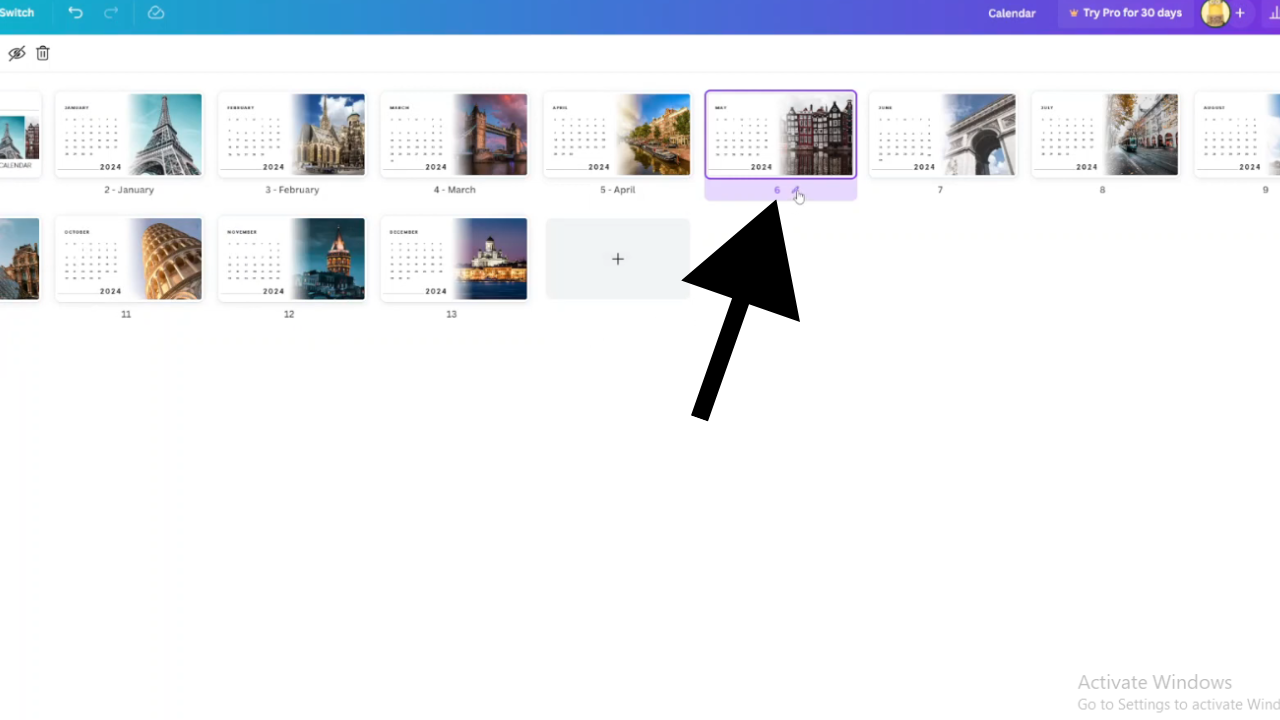
Step 3: For projects encompassing numerous pages, utilize the grid view icon situated at the bottom of your Canva interface. This view provides an overview of all project pages, facilitating efficient management and navigation. Click on the edit icon next to each page within the grid view to quickly access and rename them as needed.
This method expedites the renaming process for larger projects, optimizing workflow and productivity. By leveraging the grid view feature, you maintain organizational integrity within your Canva projects, ensuring each page is appropriately labeled and accessible for seamless editing and presentation.


