The concept of eSIM embedding technology helps users link their devices with mobile networks without relying on a physical SIM card. Unlike a conventional SIM, an eSIM is installed within your device, and you can activate it digitally by using a QR code or carrier app.
As convenient as this may be, there are various instances where you’d want to remove or, in some sense, disable an eSIM: You could be changing carriers, having issues with connectivity, or selling the device and wanting to make sure your information is removed. Regardless of the reason, removing an eSIM on Android is very straightforward and can be achieved directly through device settings.
Below are the steps to remove an eSIM from an Android device safely, to make sure you understand what will happen and avoid any possible issues.
Watch: How To Screenshot Without Buttons On Samsung Galaxy
Remove eSIM On Android
Begin by unlocking your Android device and accessing the home page. Locate the Settings app from the home screen or app drawer (denoted by a cogwheel icon). Tap on it to proceed. Then, select “Connections.”
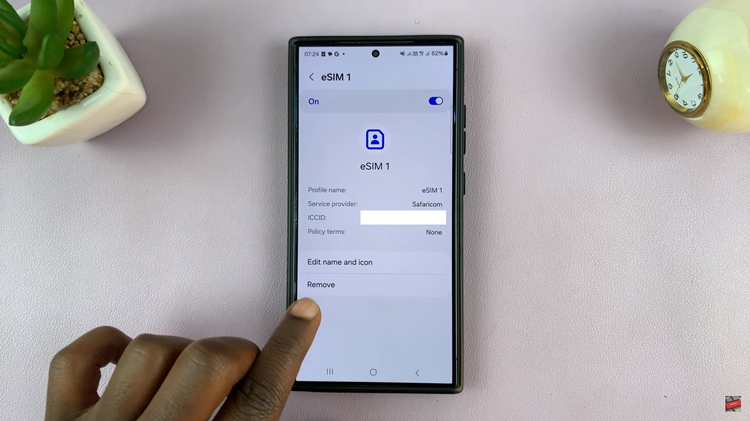
Following this, locate the “SIM Manager” option within the Connections settings and tap on it to proceed. Now, find the eSIM you’d like to remove and tap on it. From the eSIM settings, tap on “Remove.” Then, tap on Remove to confirm the process.

In conclusion, removing an eSIM from your Android device is pretty straightforward via the settings menu. The steps above will have you working with your eSIM profiles in no time.
Read: How To Convert HEIF (HEIC) Photos To JPEG On iPhone 16/16 Pro

