Over time, your Mac may accumulate a variety of applications and programs that you no longer need or use. While dragging an app to the Trash might seem like a quick way to remove it, there’s more to the process if you want to ensure it’s completely gone.
This includes all the associated files, preferences, and caches. Uninstalling applications properly not only frees up storage space but also helps keep your system running smoothly.
In this guide, we’ll walk you through the comprehensive step-by-step process on how to permanently uninstall applications or programs on Mac.
Also Read: How To Enable Guest User Account On Mac
How To Permanently Uninstall Applications / Programs On Mac
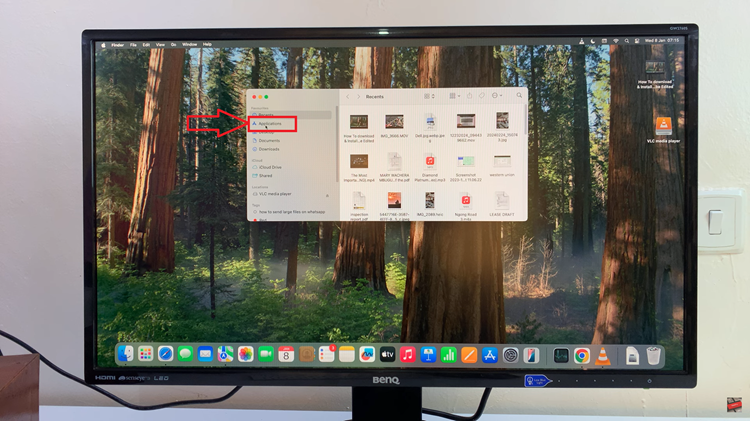
The first step to uninstalling an app on your Mac is to open the Applications folder. You can do this by clicking on Finder from the dock and selecting Applications from the left sidebar. Here, you’ll see a list of all installed applications on your Mac.

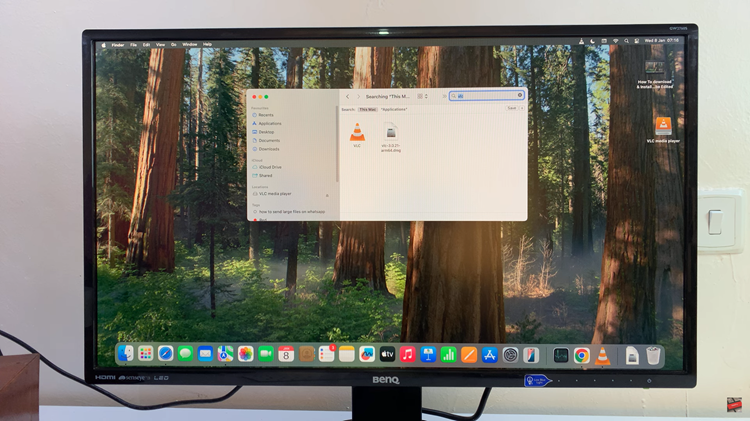
Once you’re in the Applications folder, you can use the search bar at the top-right of the Finder window to quickly locate the app you want to uninstall. Typing the name of the app will filter out the rest, allowing you to easily find the application and any associated files.

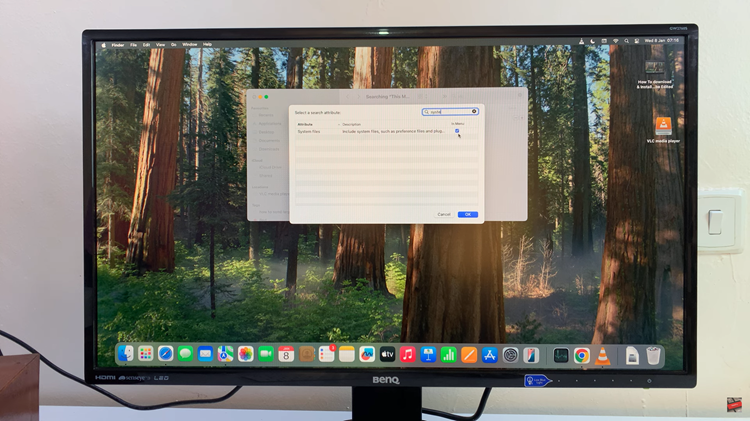
After you have located the app, you should also check if there are any leftover files associated with it, such as preference files, caches, or logs. To locate such files search for the app’s name in Finder to find any leftover files. Look in directories such as Library/Application Support, or Library/Preferences.

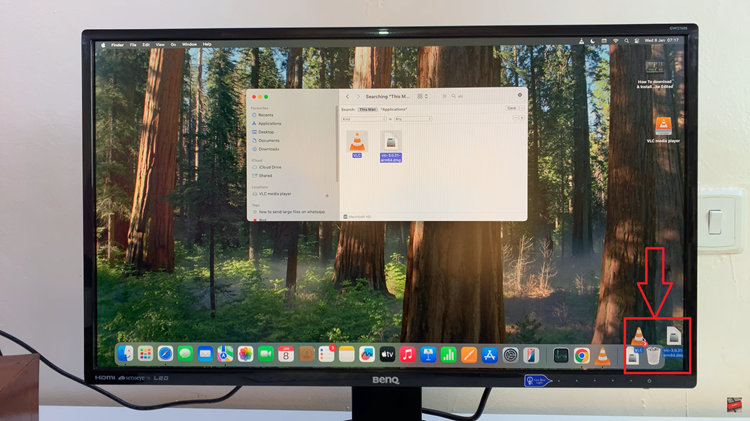
Once you’ve found the app and its related files, highlight them. Be careful to ensure that the app isn’t running in the background before proceeding. Next, drag the app icon along with its associated files to the Trash located in the dock.

By following these steps, you will have fully uninstalled the application and deleted its program files from your Mac. This process ensures that the app no longer takes up storage space and that any unnecessary data is removed.

