Outlining text in Canva can enhance your designs by making text stand out. This feature adds a border around your text, which you can customize. You can adjust the thickness, color, and style of the outline. This makes your text more visible and integrates it well with your design.
Additionally, outlining text is useful in various contexts. It improves readability against busy backgrounds and adds flair to headings or titles. This technique helps create polished, professional-looking designs for social media, marketing materials, and more. Mastering text outlining in Canva makes your designs visually appealing and effective.
Watch:How to Flip Text in Canva
Outlining Text In Canva
Step 1: Add Text to Your Canvas
Begin by adding text to your Canva canvas. To do this, navigate to the sidebar and select “Text.” Next, choose whether you want a heading, subheading, or paragraph. Afterward, type in the text you want to outline and ensure it’s selected.

Step 2: Apply Outline Effect
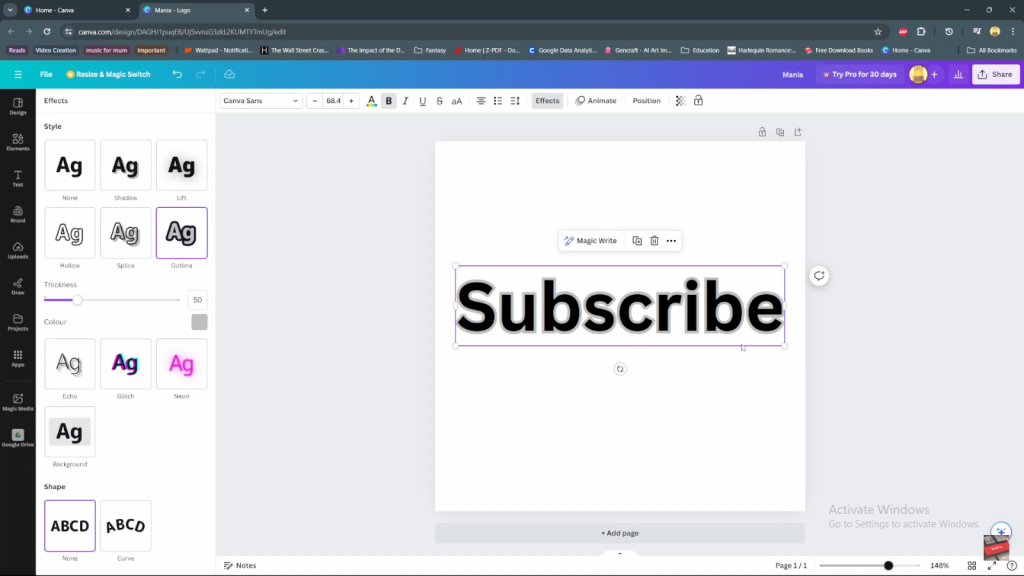
With the text selected, click on “Effects” at the top of the screen. Then, under the effects options, choose “Outline.” Immediately, you’ll see your text outlined in a default gray color.

Step 3: Adjust Outline Thickness
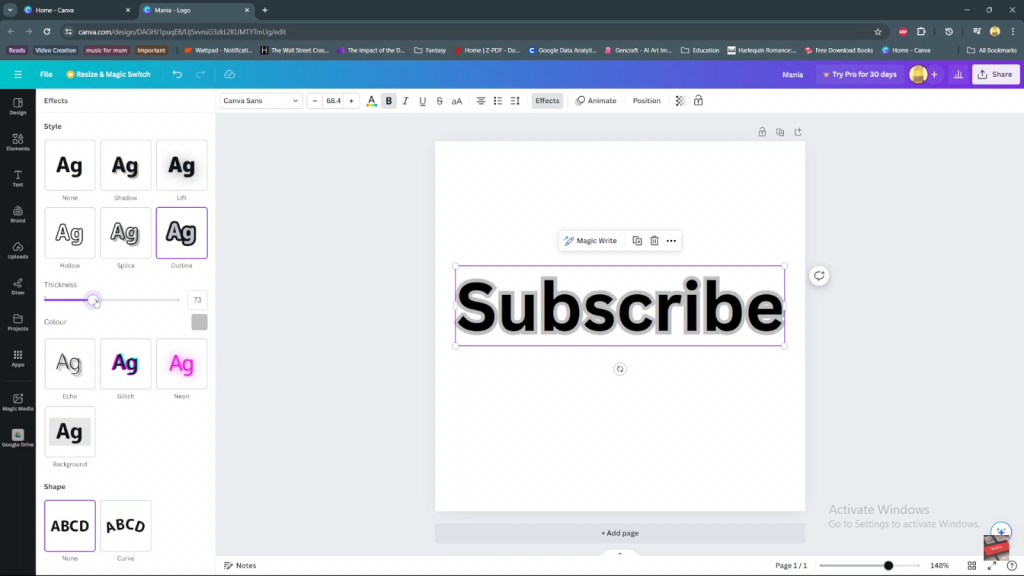
To customize the outline, look for the “Thickness” option. Subsequently, use the slider to increase or decrease the thickness of the outline according to your preference.

Step 4: Customize Outline Color
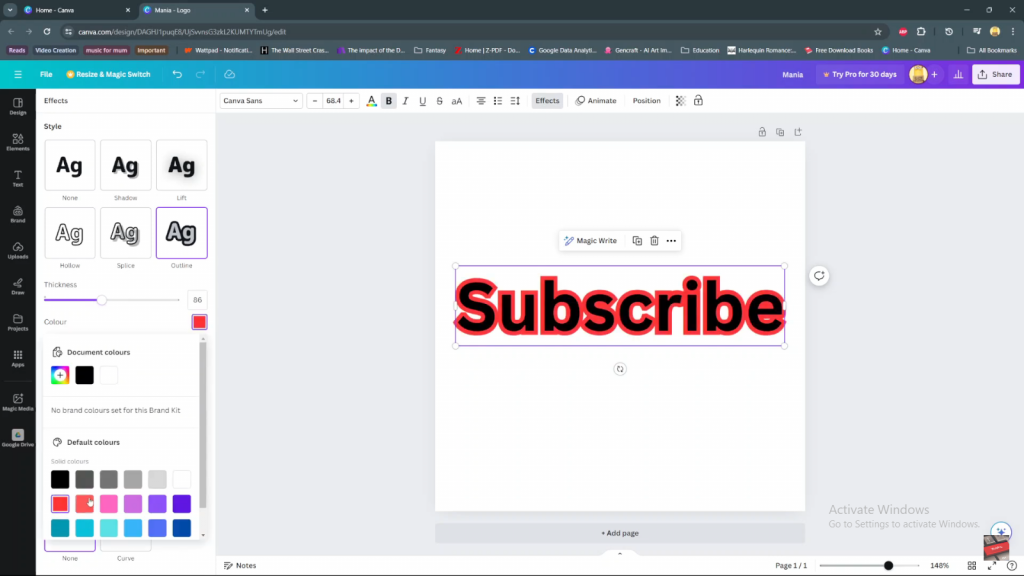
If you wish to change the color of the outline, click on the color picker next to “Color.” You can then select from the available color options or enter a specific color code.

Step 5: Finalize and Apply
After adjusting the thickness and color, click on an empty space on your canvas to apply the outline effect. As a result, your text should now appear outlined according to your chosen settings.

Following these steps will allow you to effectively outline text in Canva, thereby enhancing the visibility and style of your designs effortlessly.

