Struggling to organize your files on your Mac? In this article, I’m going to show you exactly how to move files into folders on your Mac, helping you keep everything neat and accessible. Whether it’s for work, school, or personal organization, these simple steps will make managing your files a breeze.
Keeping your files organized is essential for productivity and efficiency, whether you’re working on a personal project or managing professional tasks. On a Mac, moving files to specific folders is a straightforward process, but it can vary slightly depending on the method you choose. From using the Finder to leveraging keyboard shortcuts, macOS offers several ways to streamline file organization.
Read: How To Disable Pop Up Blocker On Mac
How To Move Files To Folder On Mac
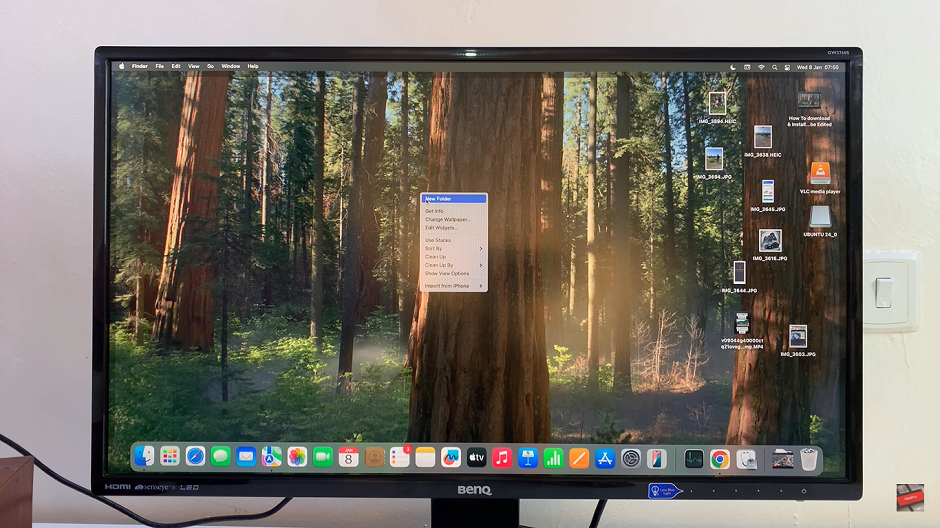
Right-click on your desktop or inside a Finder window, then select New Folder from the menu.

Enter a name for your folder and press Return to save it.

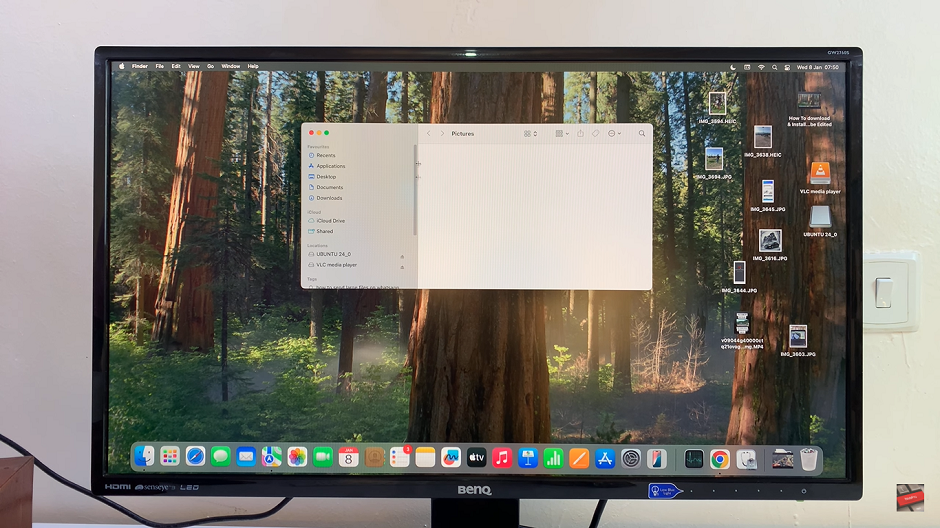
Double-click the folder you created to open it.

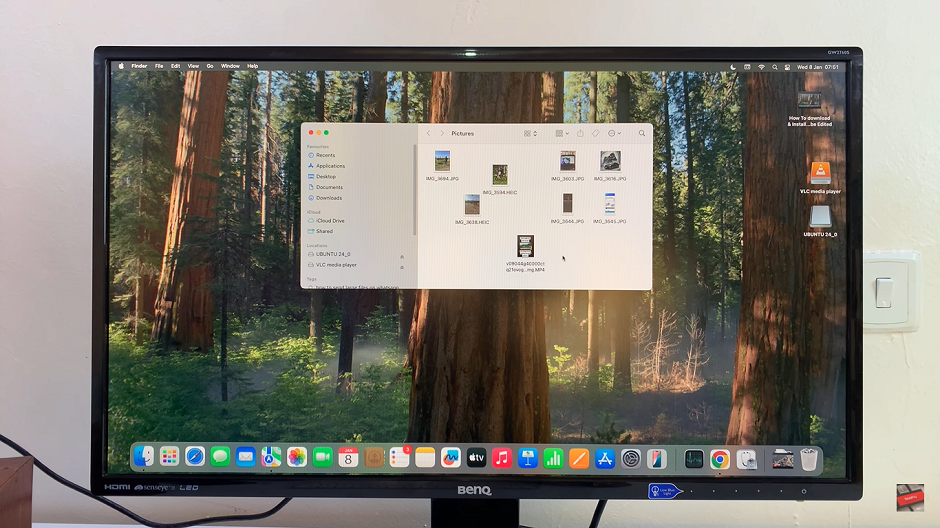
Locate the files you want to move, click and hold them, then drag them into the open folder.
Highlight the file you want to move by clicking on it then Press Command + C on your keyboard to copy the file.
Open the folder where you want to move the file, Press Option + Command + V to paste the file into the folder. This will move the file instead of creating a duplicate.

By using these methods, you can efficiently organize your files and maintain a clean and accessible workspace on your Mac.

