Want to share your gaming achievements, showcase your playtime, or connect with friends? Making your Steam profile public allows others to view your games, achievements, and playstyle, helping you engage with the Steam community. Whether you’re looking to make new friends, join gaming groups, or simply show off your accomplishments, a public profile is the way to go.
In this guide, we’ll walk you through how to make your Steam profile public with easy-to-follow steps. We’ll also cover how to adjust your privacy settings so you can control what others can see. Let’s dive in and get your profile ready to share with the world!
Watch: How To Enable Steam Guard On Steam Account
How To Make Profile Public On Steam
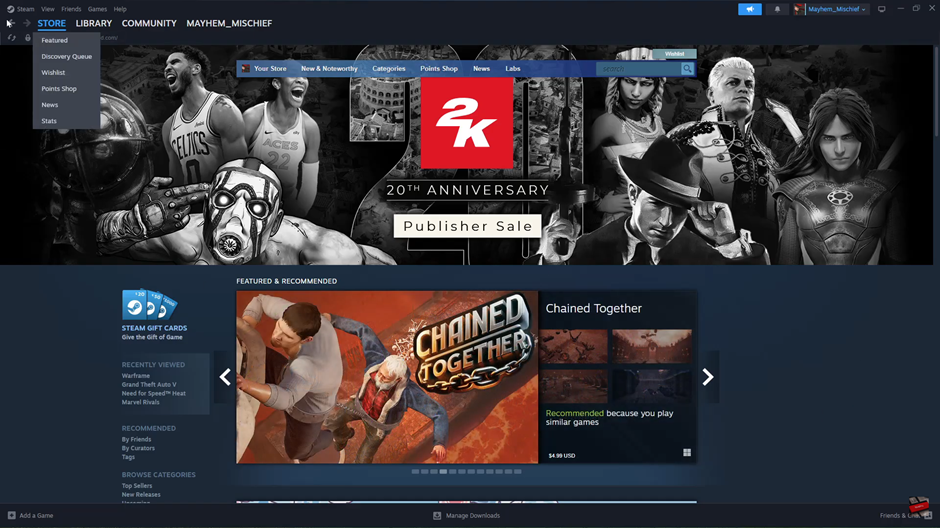
Launch Steam on your computer.
Select “Steam” in the top-left corner of your screen.
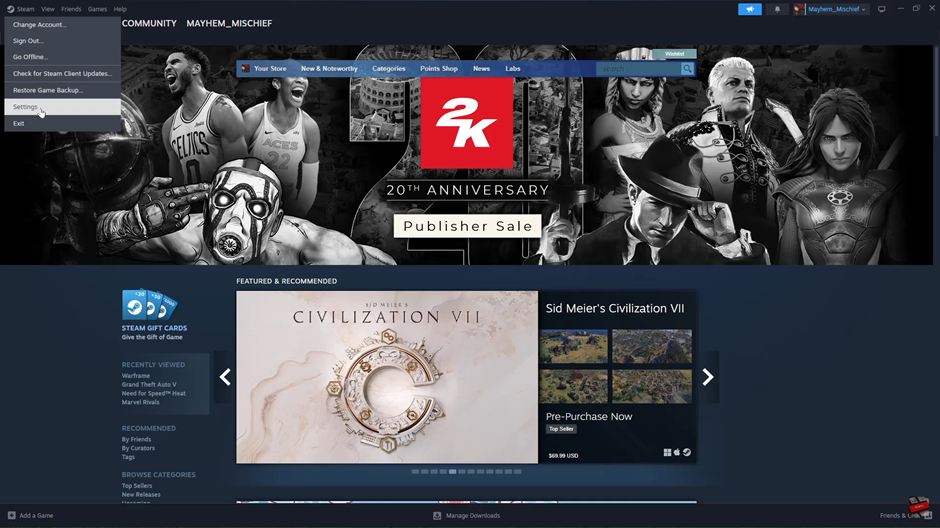
From the menu that appears, select “Settings.”
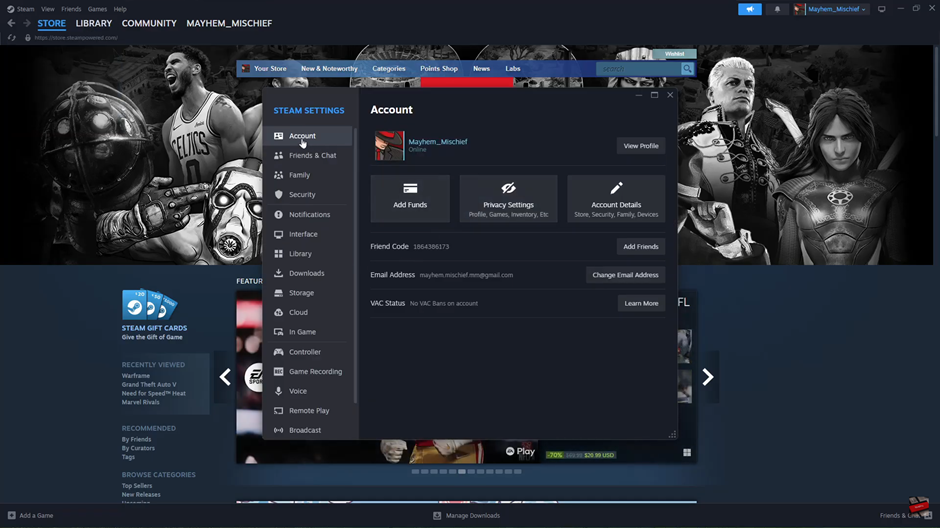
Tap on “Account” in the settings menu.
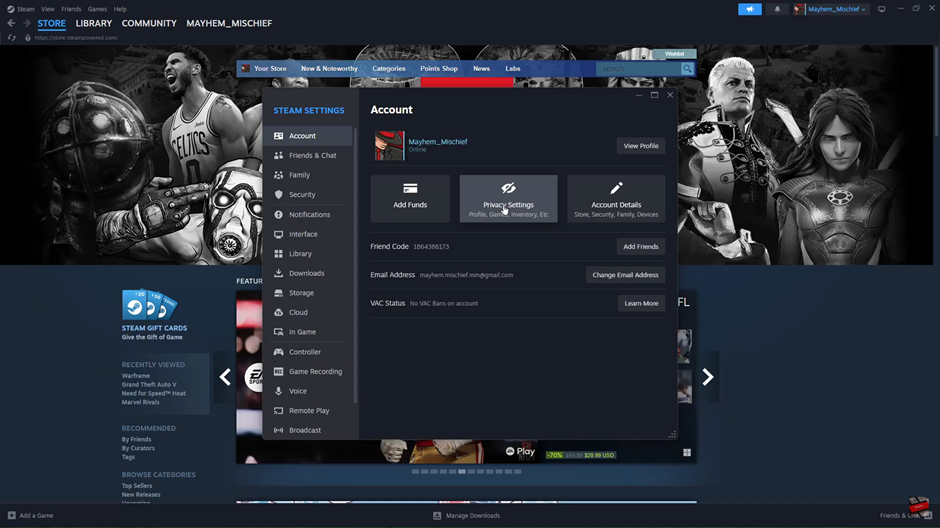
Go to “Privacy Settings.”
Find “My Profile” under the privacy options.
Click on the dropdown arrow next to “My Profile” and select “Public.”
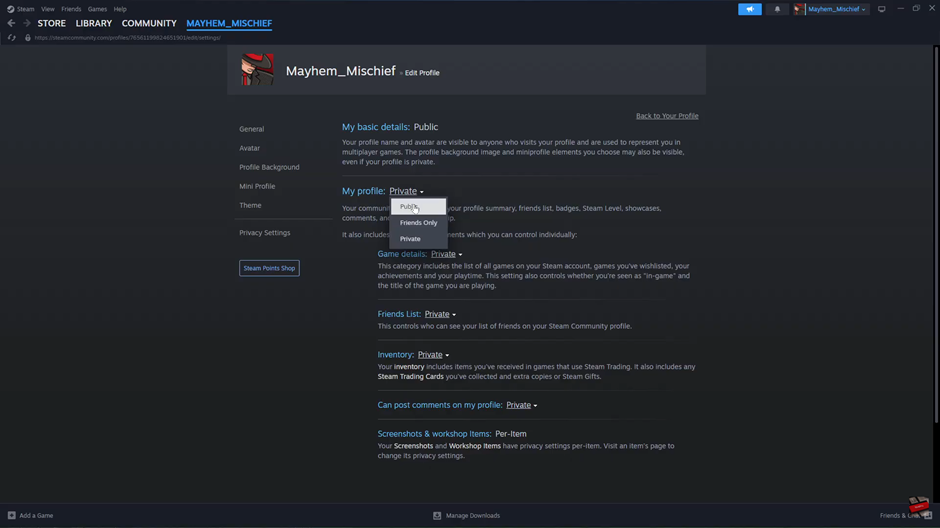
Customize your profile further by adjusting who can view your game details, friends list, inventory, and more.
Now your profile is public, and you can control the visibility of specific sections like your game library and friends list, making it easier to connect with others in the Steam community!
READ: How To Find Steam ID

