Integrating QR codes into your designs using Canva introduces a contemporary and interactive dimension to digital marketing and information dissemination. This feature not only boosts user engagement but also simplifies access to content and promotions.
Canva’s intuitive platform ensures accessibility, allowing designers of all skill levels to seamlessly incorporate QR codes into their projects. Whether you’re designing business cards, event posters, or digital menus, integrating QR codes adds a dynamic element that enhances the functionality and interactivity of your visual content.
By leveraging Canva’s tools, you can effortlessly customize QR codes to align with your brand identity and campaign objectives. This includes adding logos, adjusting colors, and embedding text within the QR code itself. Such customization not only enhances visual appeal but also optimizes usability, ensuring that your QR codes effectively convey information and drive interaction.
Mastering the art of incorporating QR codes in Canva empowers you to innovate and elevate your marketing strategies with modern digital solutions, ultimately enhancing engagement and user experience across various digital platforms.
Watch:How to Create a Split Color Text Effect in Canva
Make a QR Code in Canva
Here’s how you do it;
Step 1: Open a Blank Canvas in Canva
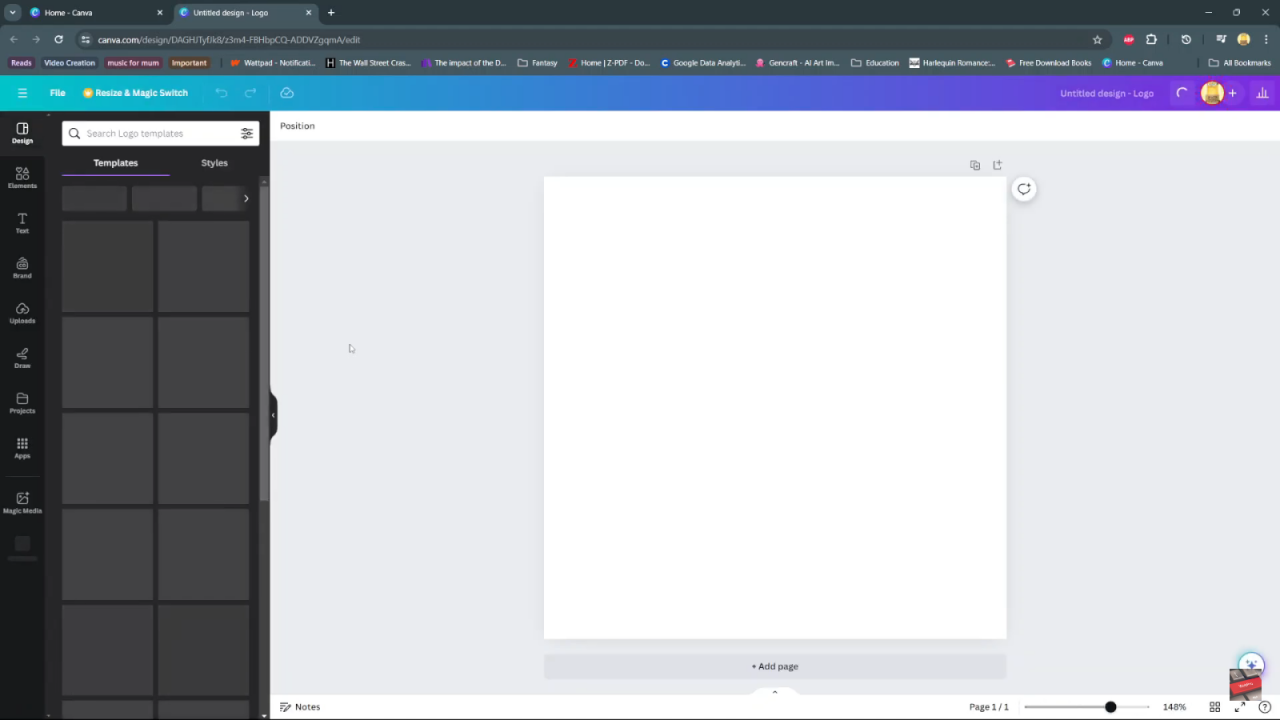
To begin with, open a blank canvas in Canva to provide a clean slate for your design project. This initial step sets the stage for creating and customizing your QR code seamlessly within the platform.
Step 2: Accessing the QR Code Generator
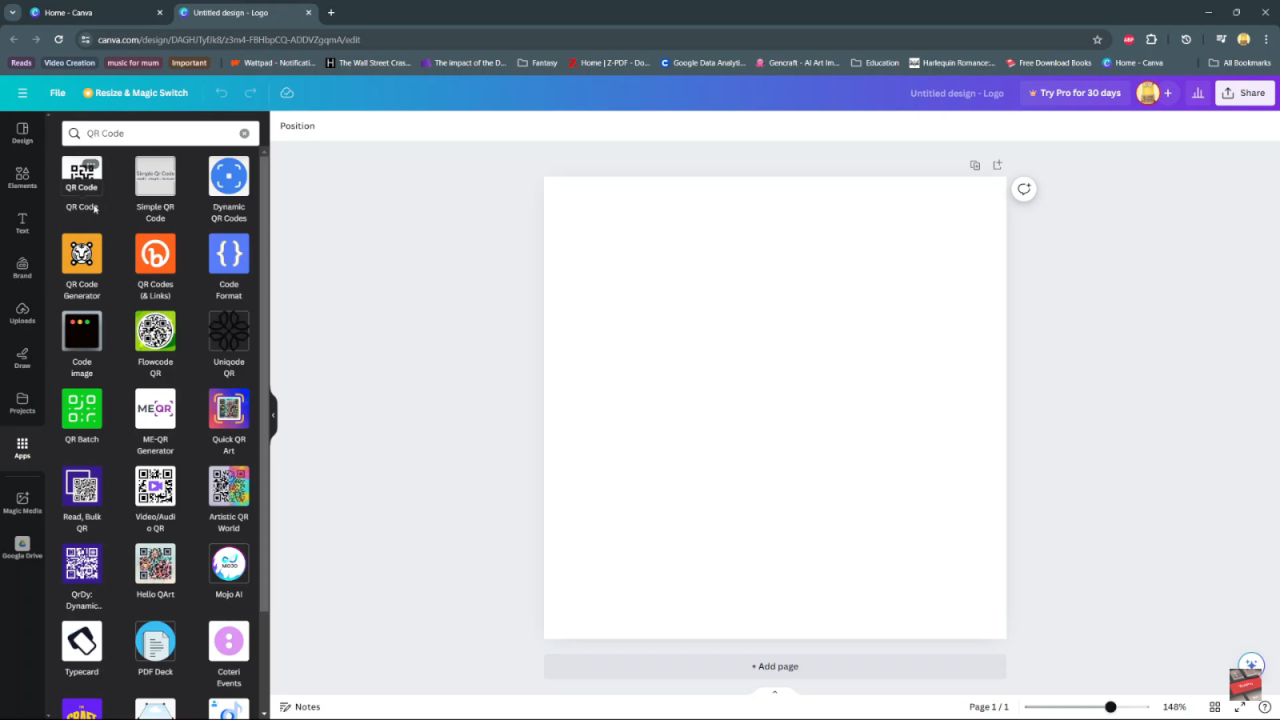
Next, navigate to the sidebar and locate the ‘Apps’ section. Scroll through and select ‘QR code,’ utilizing the search bar to expedite your search process. Consequently, this step directs you to various QR code options available within Canva’s extensive app library.
Step 3: Choosing QR Code Type
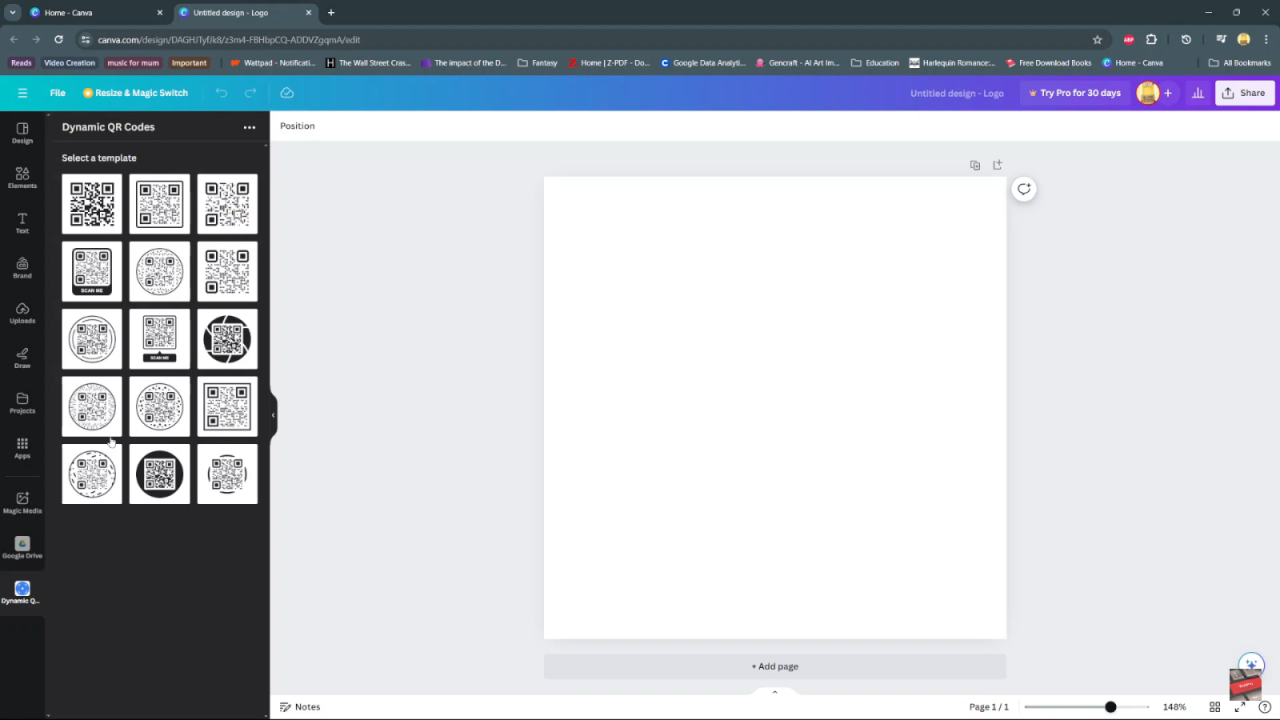
Once you’ve selected ‘QR code,’ choose the type you wish to create, such as Dynamic QR codes, which offer enhanced functionality. Click ‘Open’ to launch the selected app, thereby initiating the QR code customization process.
Step 4: Inputting the URL
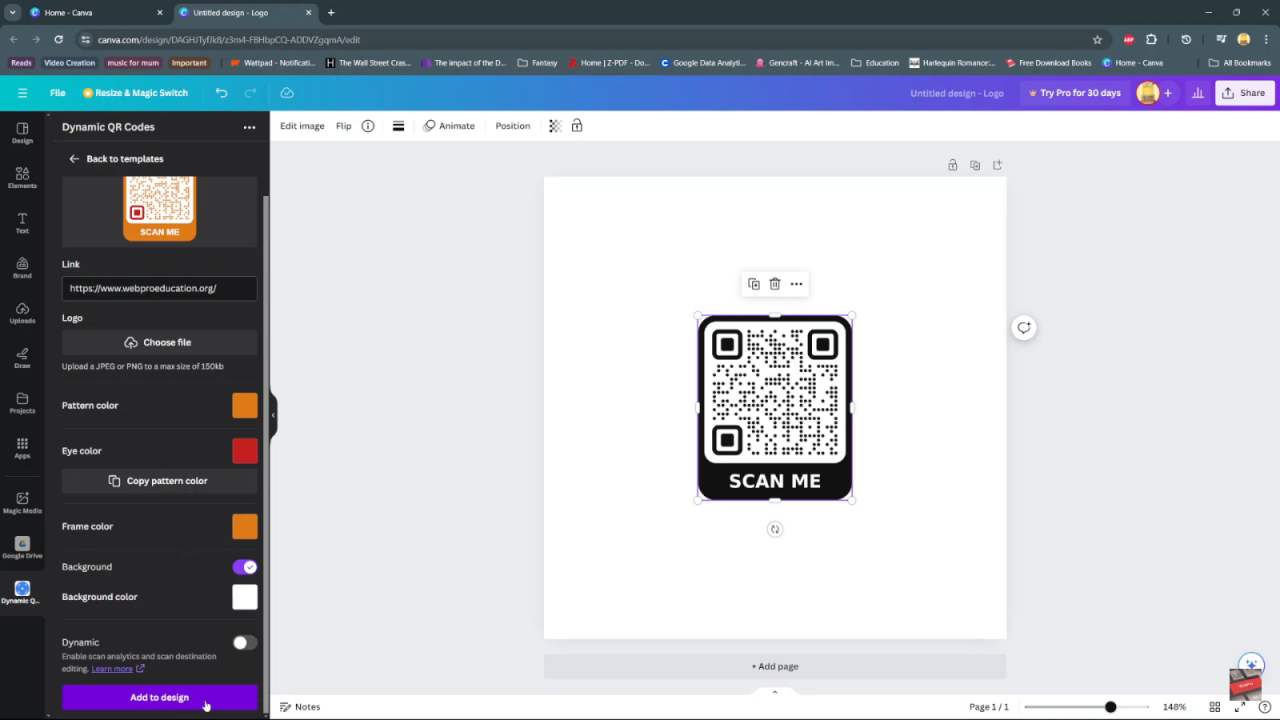
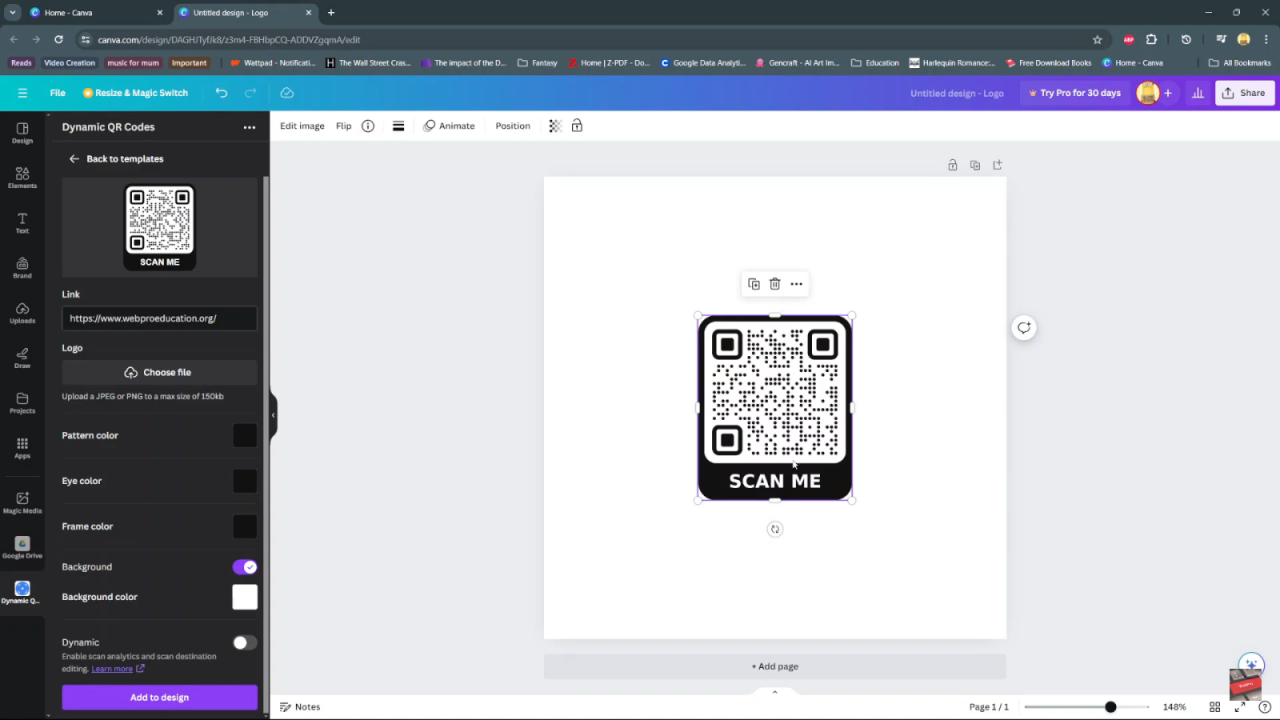
After selecting a template, input the specific link or URL that you want the QR code to direct users to when scanned. This critical step ensures that your QR code serves its intended purpose of directing traffic or providing information effectively.
Step 5: Adding a Logo (Optional)
To personalize your QR code further, optionally add a logo. Upload a JPEG or PNG file format (maximum size 150 KB) to incorporate your brand logo or any relevant image, thereby enhancing the QR code’s visual identity.
Step 6: Customizing Appearance
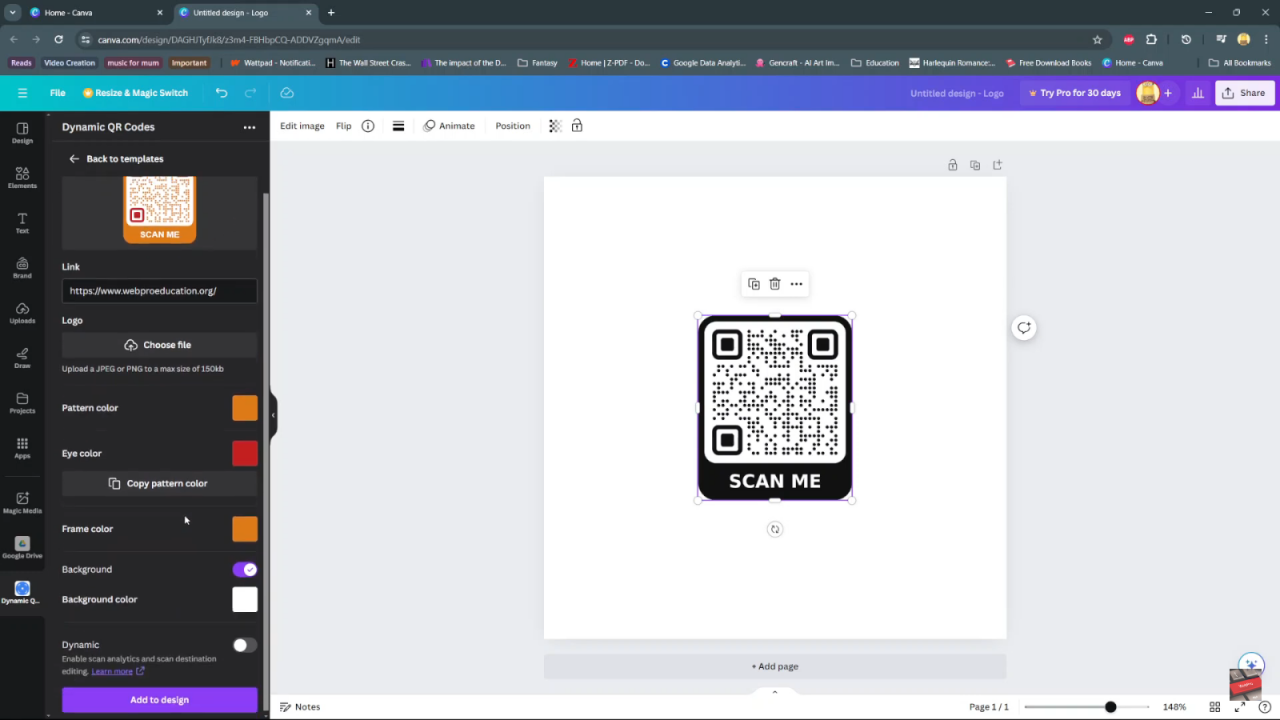
Furthermore, customize the appearance of your QR code by selecting pattern colors, eye colors, frame colors, and background colors. These customizable options allow you to tailor the QR code’s aesthetic to match your branding or design theme.
Step 7: Integrating into Your Design
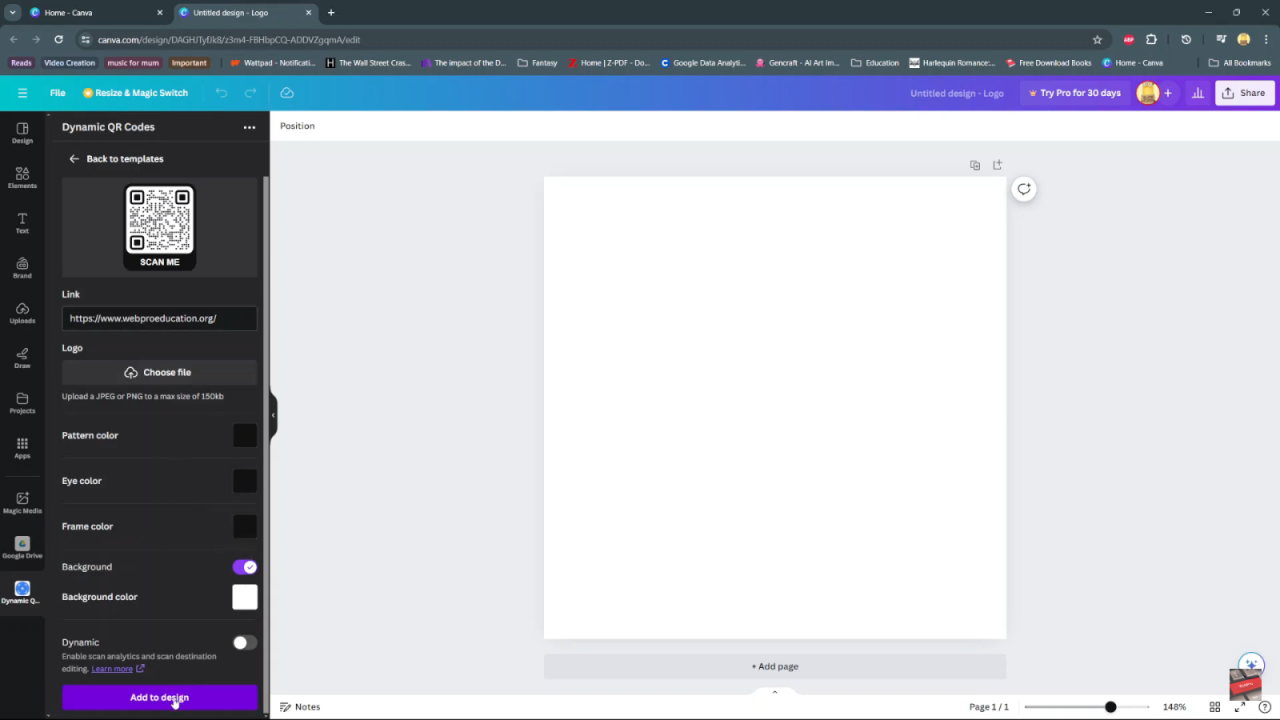
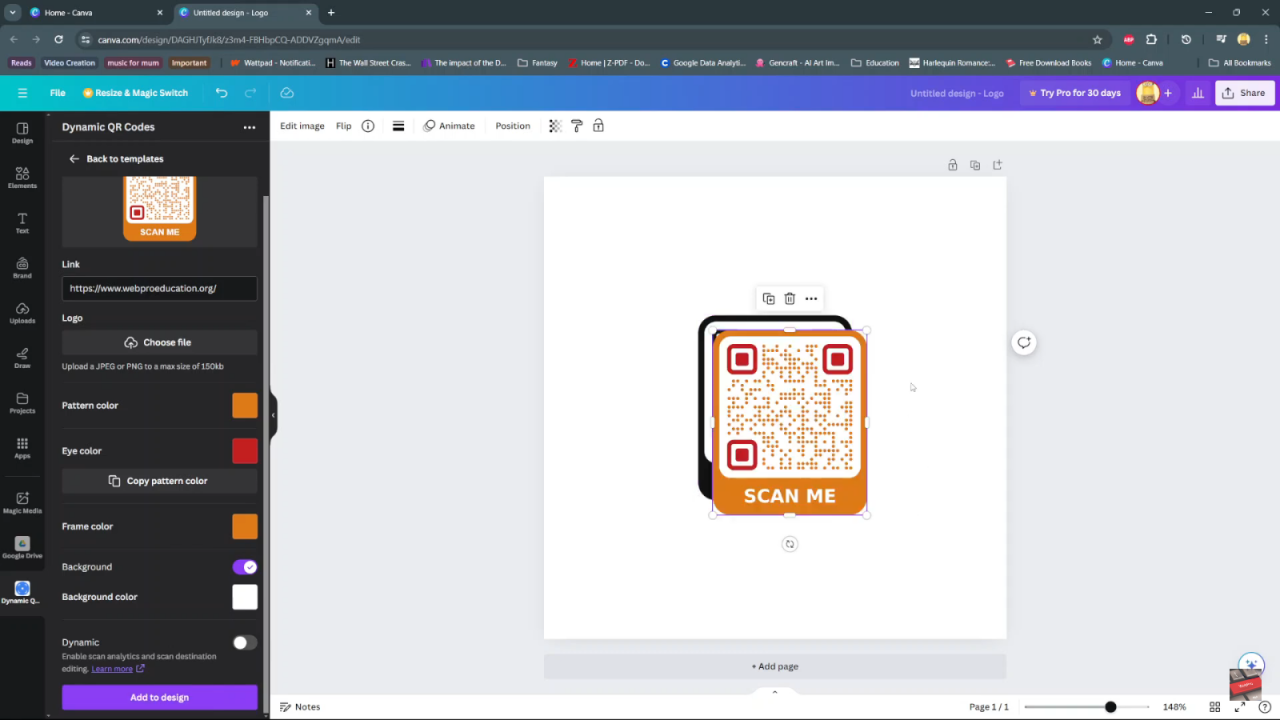
Once satisfied with your customizations, click ‘Add to design’ to seamlessly integrate the finalized QR code onto your canvas. This crucial action places the QR code within your design space, ready for further adjustments or strategic placement.
Step 8: Finalizing Your QR Code
Finally, click ‘Add to design’ once again to apply any final modifications or enhancements to your QR code design. This concluding step marks the completion of your customization process, ensuring that your QR code is optimized for effectiveness and visual appeal within your Canva project.
