The present-day digital world is about staying connected with increased connectivity. From work meetings to virtual classrooms, from catching up with friends to catching up with family, Zoom has become one of the most sought-after video conferencing platforms.
With a user-friendly interface and a host of features, it enables you to communicate and collaborate with others from anywhere around the globe. If you own an iPhone 11, installing Zoom is pretty easy, and this allows you to either join or host video calls within a few taps.
In this guide, we’ll take you through the steps to install Zoom on your iPhone 11 so that you are all ready to join meetings.
Watch: How To Watch YouTube Videos In Picture in Picture Mode On iPhone 11
Install Zoom On iPhone 11
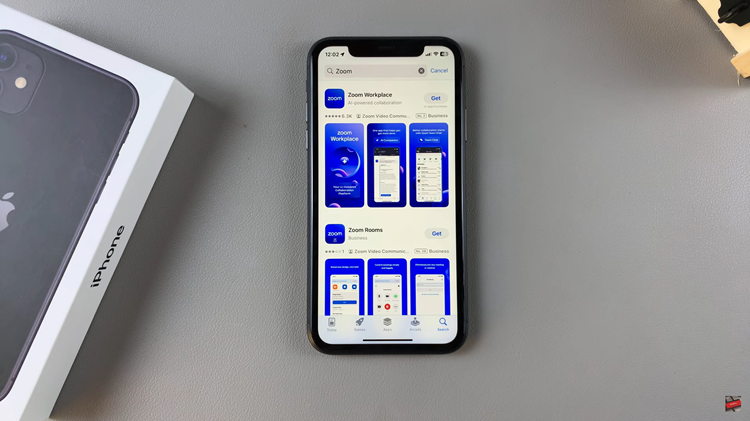
Begin by tapping on the App Store icon located on your iPhone’s home screen. From here, navigate to the search option situated at the bottom of the App Store interface. Then, tap on it and select the search bar that appears. Type in “Zoom” & select the desired application.
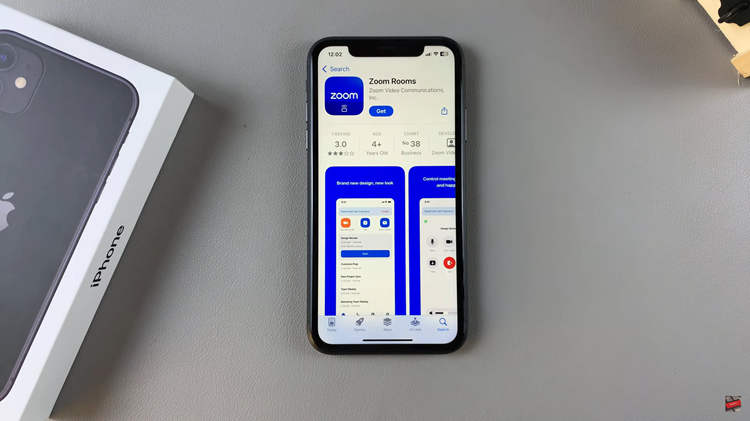
Then, tap the “Get” button within the app details. You’ll be prompted to confirm your identity by scanning your face or double-taping the side key to continue. Once the authentication process is confirmed, the installation process will commence.
Afterward, launch the app directly on the app store or home screen. Now, you can sign in using your Zoom account to access all features. Alternatively, tap “Sign Up” to create a Zoom account.
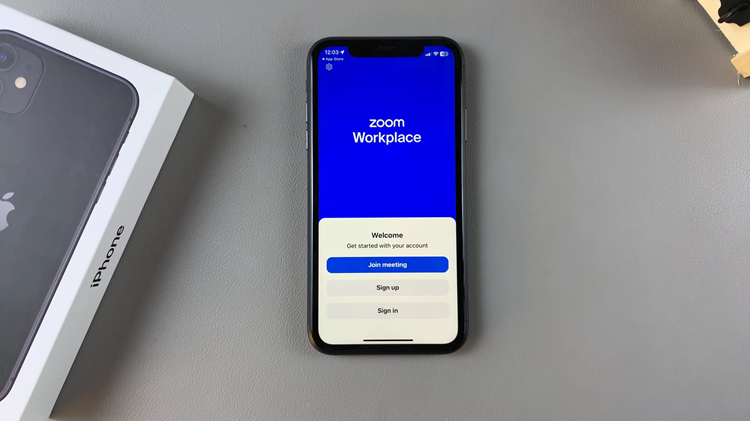
That is it! You’ve installed Zoom on the iPhone 11. Now you are free to join meetings, create your own, and enjoy all the features Zoom has prepared for you.
Read: How To Set Alternative Appearance For Face ID On iPhone 11
