Safari is the default web browser for all Apple devices, including the iPad. It offers a seamless browsing experience with features tailored for iOS.
However, there might be instances where Safari is not visible on your iPad, possibly due to content restrictions or accidental removal from the home screen.
In this guide, we’ll walk you through the comprehensive step-by-step process on how to install the Safari browser on the iPad.
Also Read: How To Turn OFF / Restart Samsung Galaxy Z Fold 6
How To Install Safari Browser On iPad
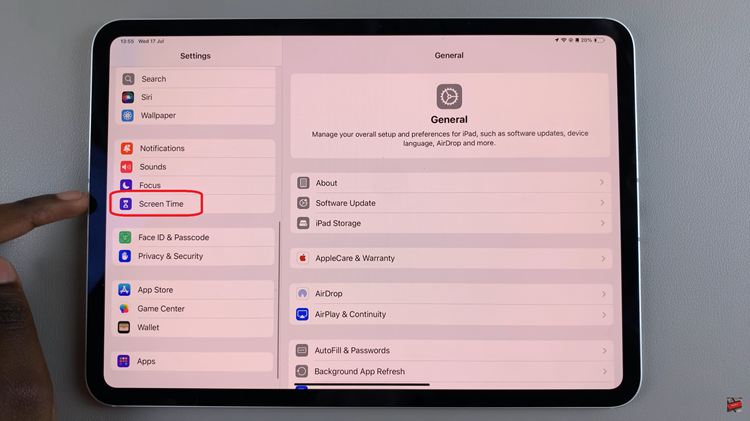
Begin by opening the Settings app on your iPad. You can find this app on your home screen, represented by a gear icon. Scroll down in the Settings menu and tap on Screen Time. This section allows you to manage various restrictions and settings on your device.

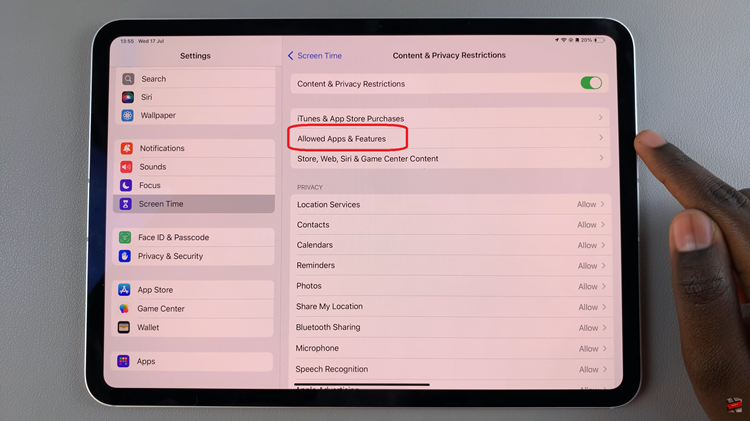
In the Screen Time menu, locate and select Content & Privacy Restrictions. This will open a submenu where you can control which apps and features are allowed on your iPad. Tap on Allowed Apps & Features, depending on your iOS version.

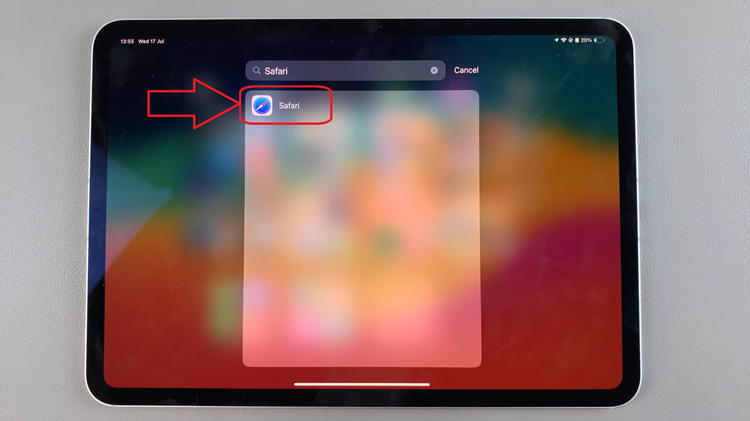
Look for Safari in the list of apps. Ensure that the toggle next to Safari is turned on (green). This will enable Safari on your iPad. Once you’ve enabled Safari, exit the Settings app and return to your home screen. Safari should now appear among your apps. Tap on it to start using the browser.

By following these steps, you can easily restore Safari to your iPad if it has been restricted or is not showing up on your device. If issues persist, consider contacting Apple Support for further assistance. Enjoy browsing with Safari!

