Installing Photoshop on an iPhone allows users to edit photos with professional tools while on the go. Whether for quick touch-ups or advanced creative projects, having access to Photoshop on a mobile device makes editing more convenient. The installation process is straightforward, but ensuring compatibility and understanding the available versions can make a difference in the experience. Knowing how to install Photoshop on iPhone helps users get started with powerful editing capabilities.
With various Photoshop apps available, choosing the right version is essential for achieving the best results. Some versions focus on quick edits, while others offer more advanced features. Before downloading, it’s important to check storage space and system requirements. Exploring how to install Photoshop on iPhone ensures smooth setup and a seamless editing workflow.
Watch:How To Log Out Of The Facebook App On iPhone
Install PhotoShop On iPhone
Step 1: Install Photoshop on iPhone
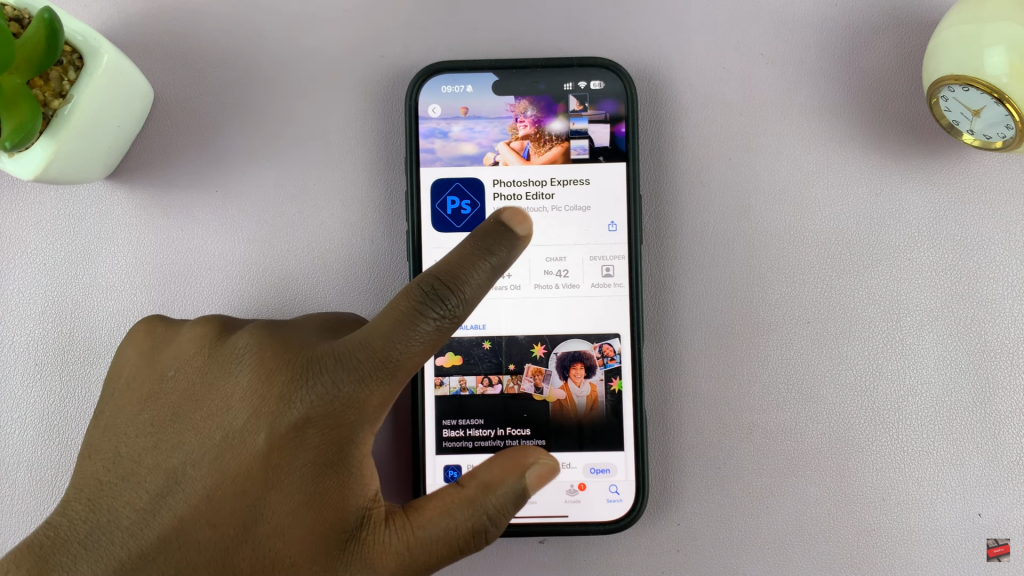
Open the App Store, tap on the Search icon, and type Photoshop Express Photo Editor. Once you find it, tap Install and wait for the download to complete.
Step 2: Open & Sign In
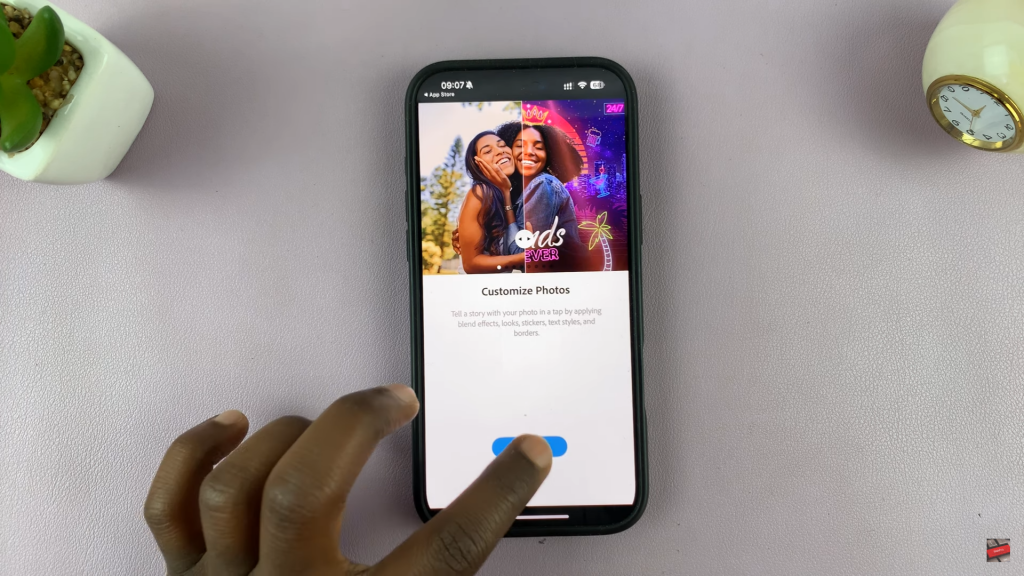
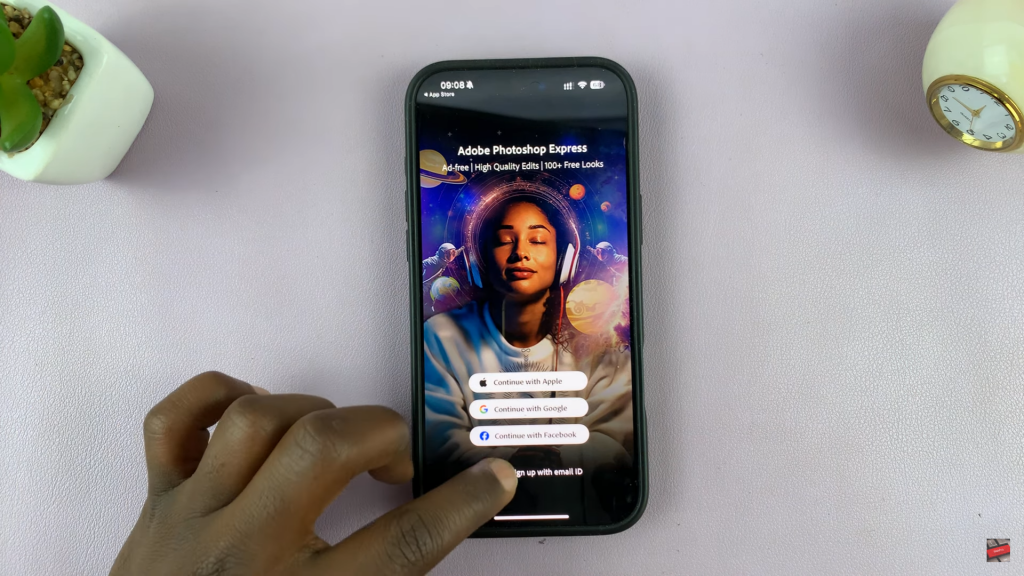
Launch the app and go through the introductory screens. Tap Next to proceed, then sign in with your Adobe account or create one. You can also sign in with Google or Facebook.
Step 3: Skip Subscription & Allow Access
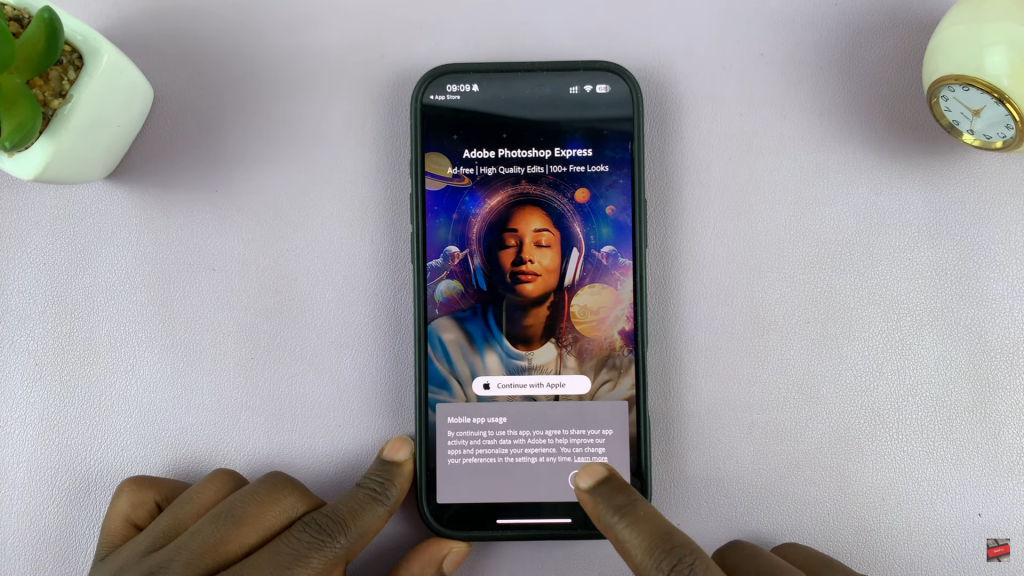
If prompted to subscribe to the premium version, tap Cancel to continue with the free version. Then, allow the app access to your photos for editing.

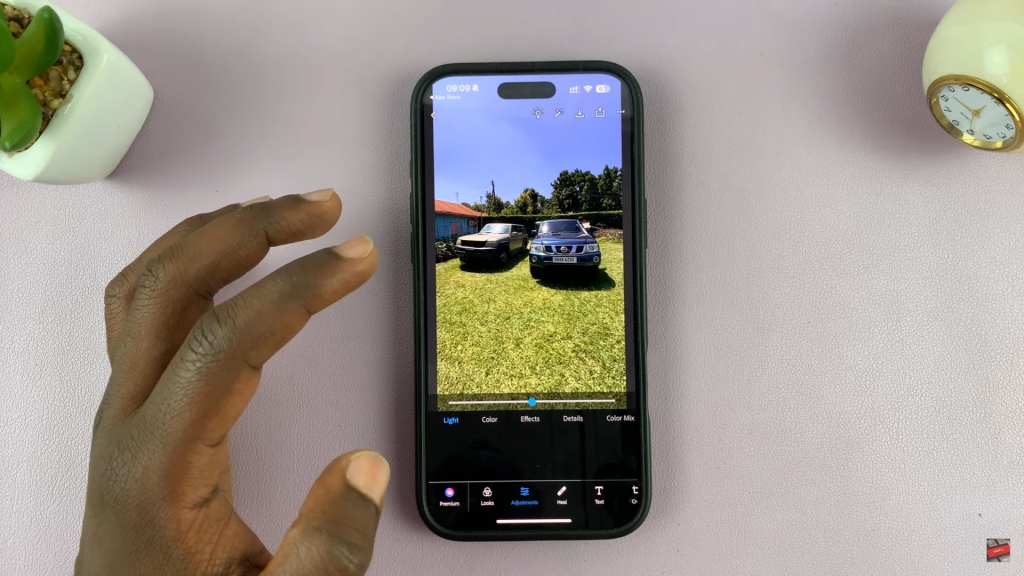
Step 4: Start Editing
Now you can start editing photos using tools like crop, filters, background removal, and color adjustments.

