Learn how to efficiently install Google Drive on your iPad. This guide will walk you through the essential steps to set up Google Drive on your device. Whether you’re new to the app or just need a refresher, we’ll provide clear instructions to help you get started quickly.
Once installed, you’ll be able to access and manage your files seamlessly from your iPad. This process ensures that you can take full advantage of Google Drive’s features, making file storage and sharing convenient and accessible wherever you are.
Watch:How To Create Contact Profile Cards On Samsung Galaxy Z Fold 6
Install Google Drive On iPad
Here’s how you do it;
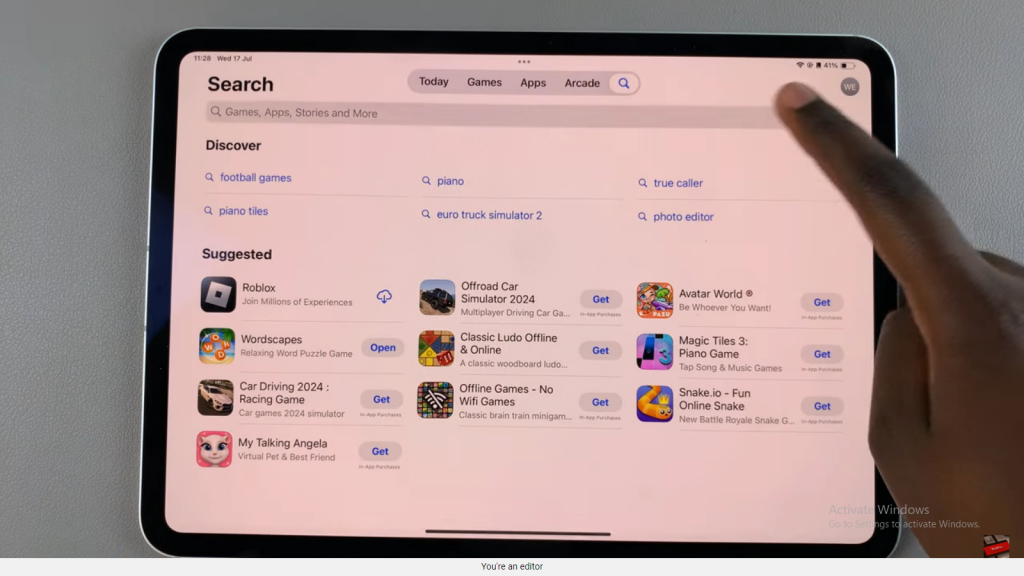
Step 1: Open the App Store
Begin by launching the App Store on your iPad.
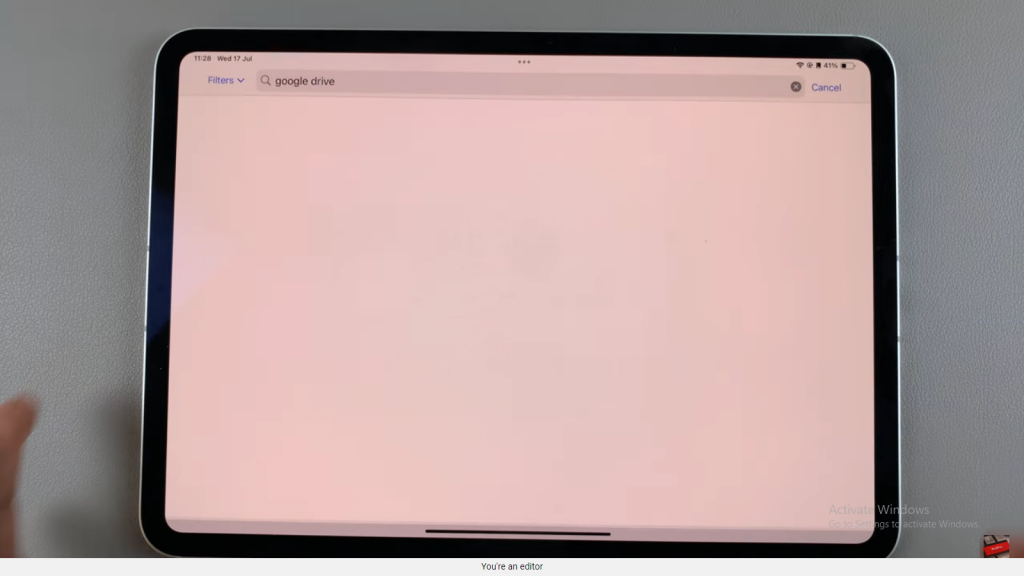
Step 2: Search for Google Drive
Use the search feature within the App Store and type in “Google Drive.”
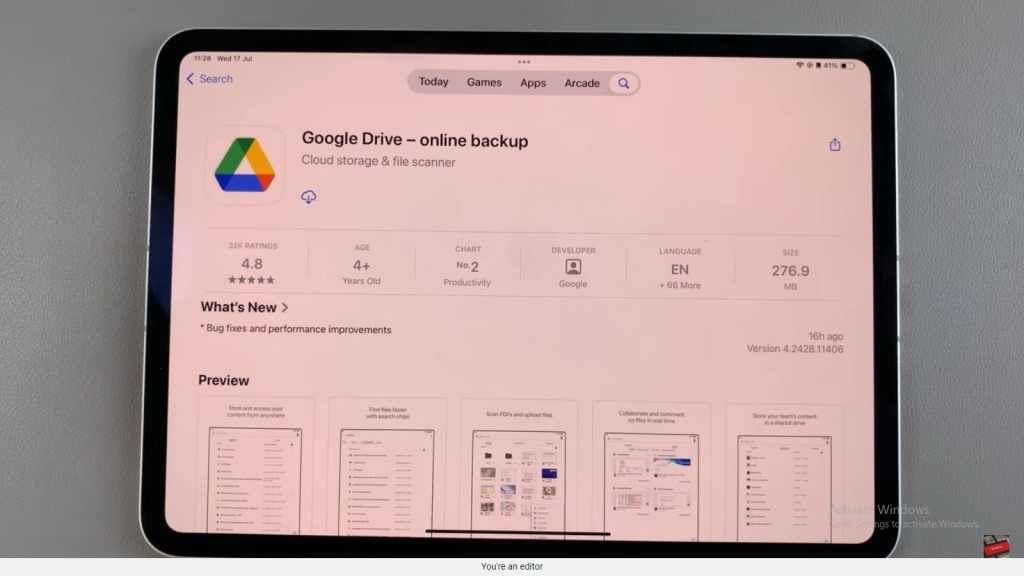
Step 3: Select Google Drive
In the search results, find and tap on “Google Drive” to view the app details.
Step 4: Download the App
If this is your first time installing the app, you’ll see a button labeled “Get.” Tap on “Get” to initiate the download.
Step 5: Confirm the Installation
Double-click the side key on your iPad and confirm the installation using Face ID or your Apple password.
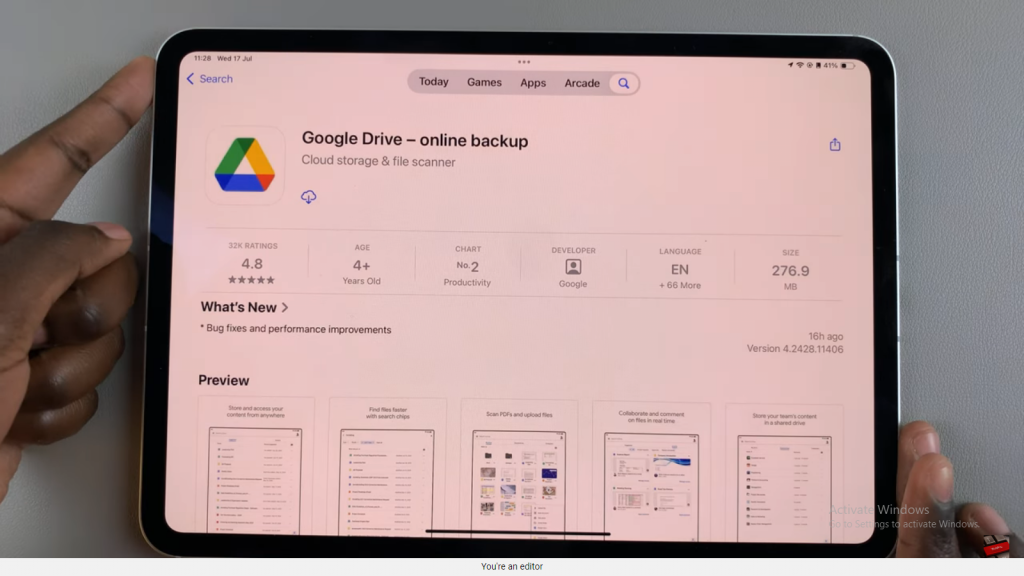
Step 6: Review App Information
While the app is downloading, you can read through various details such as app ratings, chart numbers, age requirements, developer information, language options, app size, previews, and user reviews. You can also choose to write your own review.
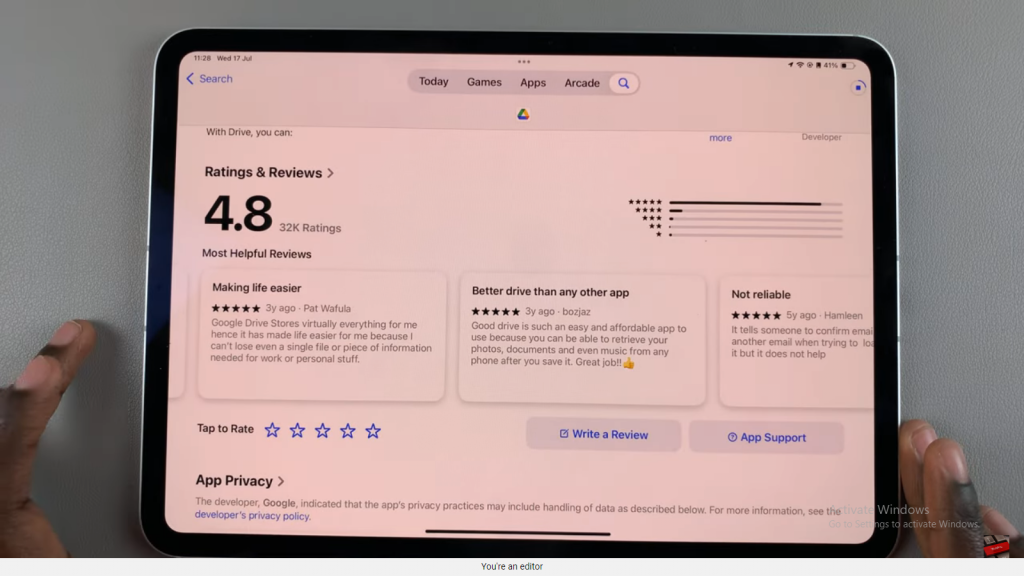
Step 7: Wait for the Installation to Complete
Continue to wait until the app is fully installed.
Step 8: Open Google Drive
Once the installation is complete, tap on “Open” to launch Google Drive.
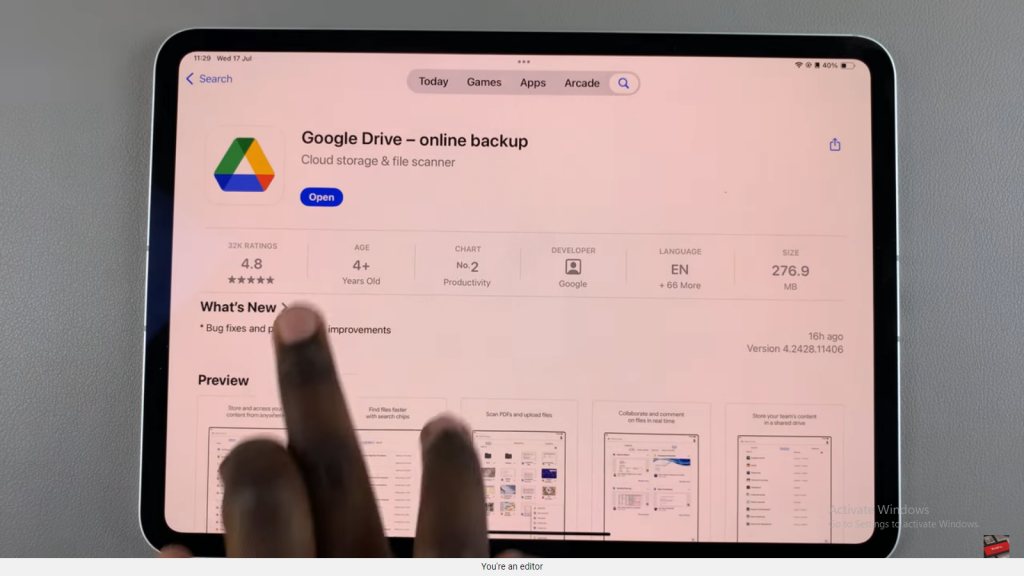
Step 9: Sign In to Google Drive
Tap on “Sign In” and enter your Google account credentials to access Google Drive.
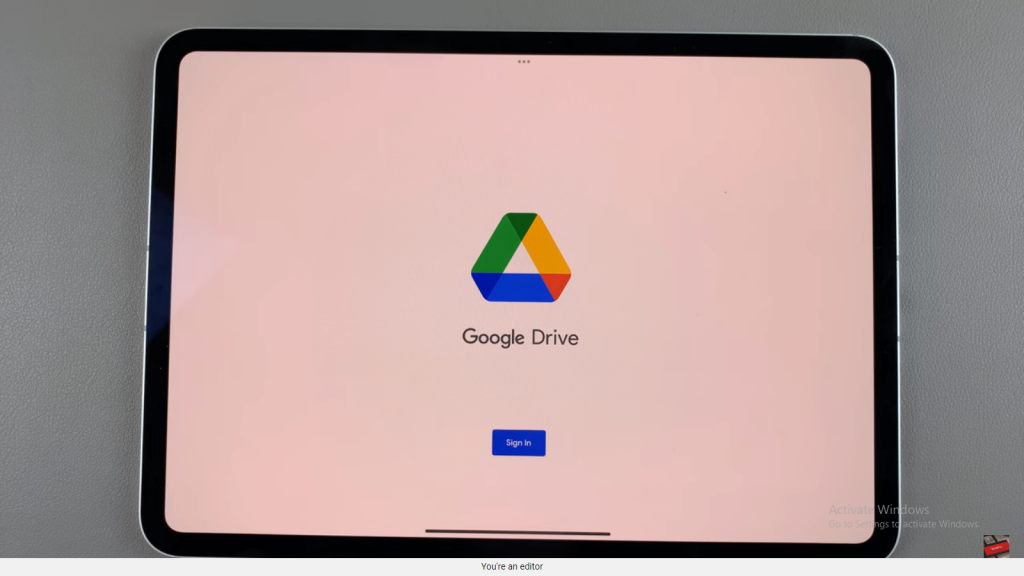
Step 10: Enjoy Using Google Drive
You can now start using Google Drive to store and manage your files on your iPad.
Read:How To Create Contact Profile Cards On Samsung Galaxy Z Fold 6
