Gmail probably is the most articulated e-mail service that has been seamlessly integrated into Google’s ecosystem of services. Because of this fact, many use Gmail for personal and professional communication. The iPhone Mail app does a good job at managing Gmail accounts, but because of its better feature set, interface, and push notifications, a lot of people tend to fancy the dedicated Gmail application over others.
Whether you are new to Gmail or simply want to optimize your email experience on the iPhone 11, this guide will walk you through how to install, set up, and customize the Gmail app for smooth and efficient email management.
Let’s dive in and make sure that you get the most out of your Gmail on this iPhone 11!
Watch: How To Insert SIM Card On iPhone 11
Install Gmail On iPhone 11
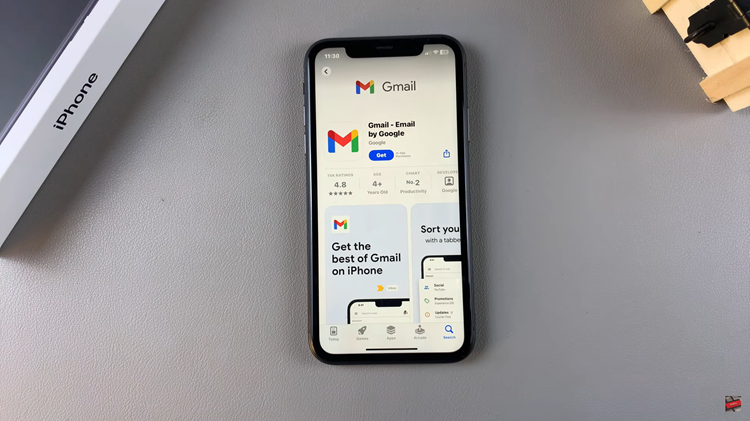
Begin by tapping on the App Store icon located on your iPhone’s home screen. From here, navigate to the search option situated at the bottom of the App Store interface. Then, tap on it and then tap on the search bar that appears. Type in “Gmail” & select the official application.
At this point, tap on the “Get” button within the app details. You’ll be prompted to confirm your identity, by either scanning your face or double-tap the side key to continue.

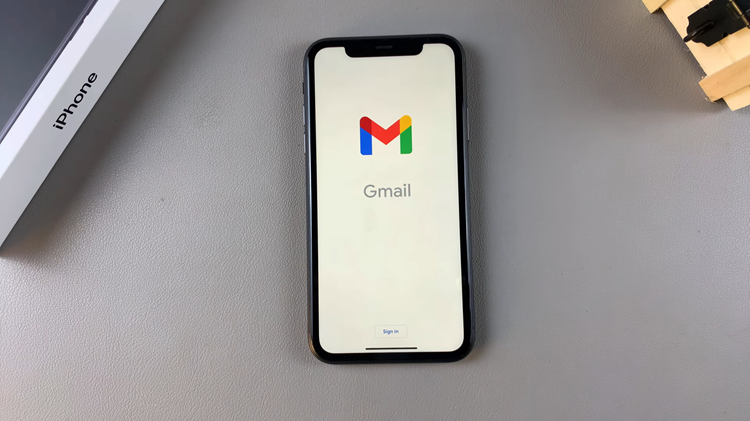
Then, the installation process will begin. Once the installation is done, tap on “Open” to launch the app. From here, tap on “Sign In” and type in your credentials. You can now enjoy the Gmail account on your iPhone 11.

In conclusion, setting up and installing Gmail on the iPhone 11 is pretty easy, extending the user experience due to seamless integration along with a number of convenience features. With Gmail, you can easily manage your emails while on the go and stay connected and organized. Enjoy all the features Gmail has to offer!

