In today’s fast world, where everything digital has come to hold more significance, it’s very important to stay connected with friends, family, and colleagues. Among the top instant messaging and communication platforms there is something which is called Facebook Messenger.
If you’re operating an iPhone 11, then here is the right place to read how to install Facebook Messenger on your phone. This article will guide you through some quick and easy ways to download and set up the app, step by step.
First, one should be sure of a stable internet connection because downloading requires either Wi-Fi or mobile data. Secondly, ensure that the iPhone 11 is running on the latest iOS; perhaps the steps will work just fine on the latest iOS version. After all, let’s see how one can install Facebook Messenger and unlock seamless communication.
Watch: How To Enable Automatic iOS Updates On iPhone 11
Install Facebook Messenger On iPhone 11
Begin by tapping on the App Store icon located on your iPhone’s home screen. From here, navigate to the search option situated at the bottom of the App Store interface. Then, tap on it and then tap on the search bar that appears. Type in “Facebook Messenger” & select the official application.
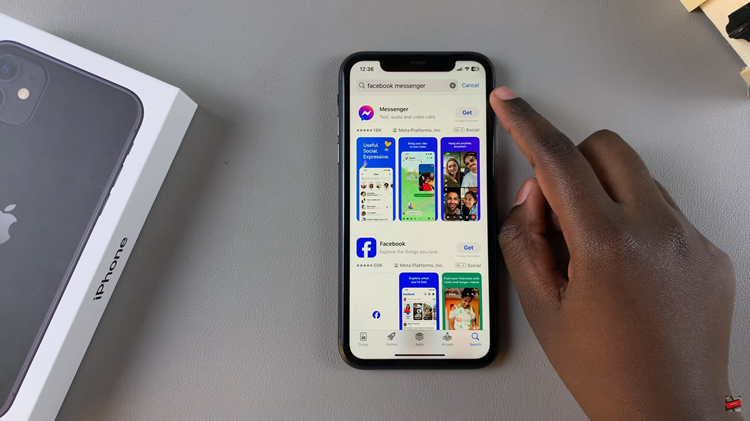
At this point, tap on the “Get” button within the app details. You’ll be prompted to confirm your identity, by either scanning your face or double-tap the side key to continue.
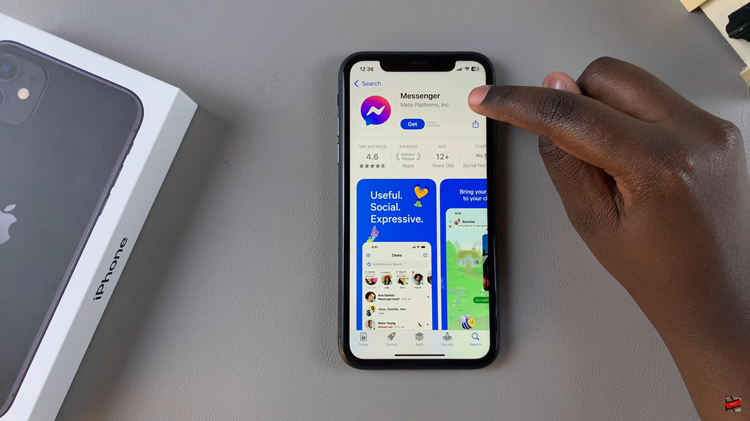
Then, the installation process will begin. Once done, launch the app. From here, you’ll be prompted to sign into your Facebook account. Type in the necessary details to begin using the Messenger app.
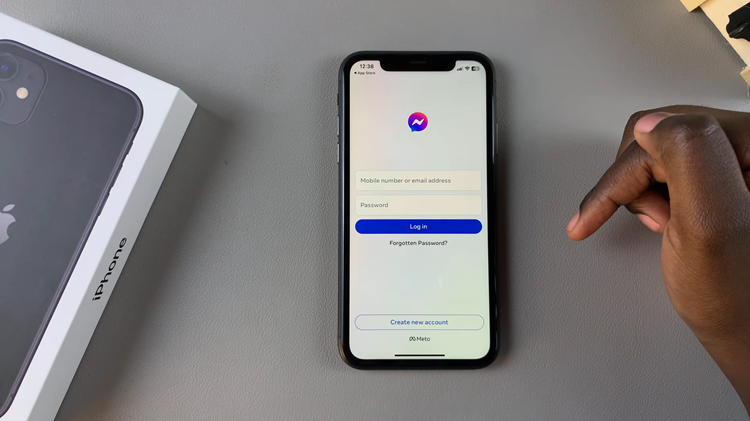
Voila! You finally set up an action of Facebook Messenger on your iPhone 11. Now, stay connected with friends and family through messages, voice calls, and video calls. If you face installation problems, check whether the fault is in the internet connection or whether iOS is updated. Happy messaging!
