We’ll cover how to export your voice memos and then import them into GarageBand, ensuring a smooth transition. By the end, you’ll be able to use your recordings seamlessly within your GarageBand projects, making it easy to enhance and edit your audio as needed.
Watch:How To Install Genshin Impact On iPad
Import Voice Memos To Garageband On iPad
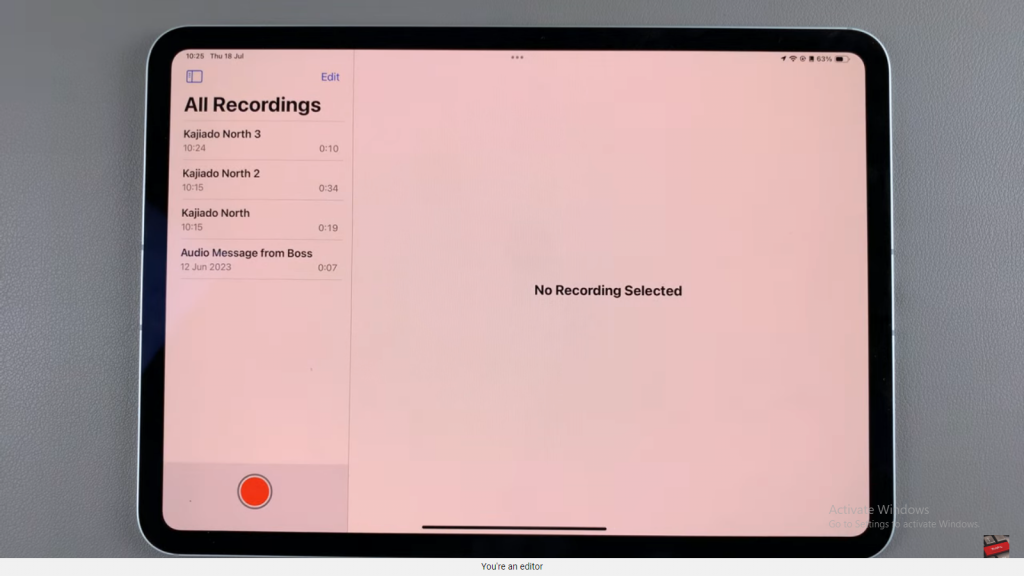
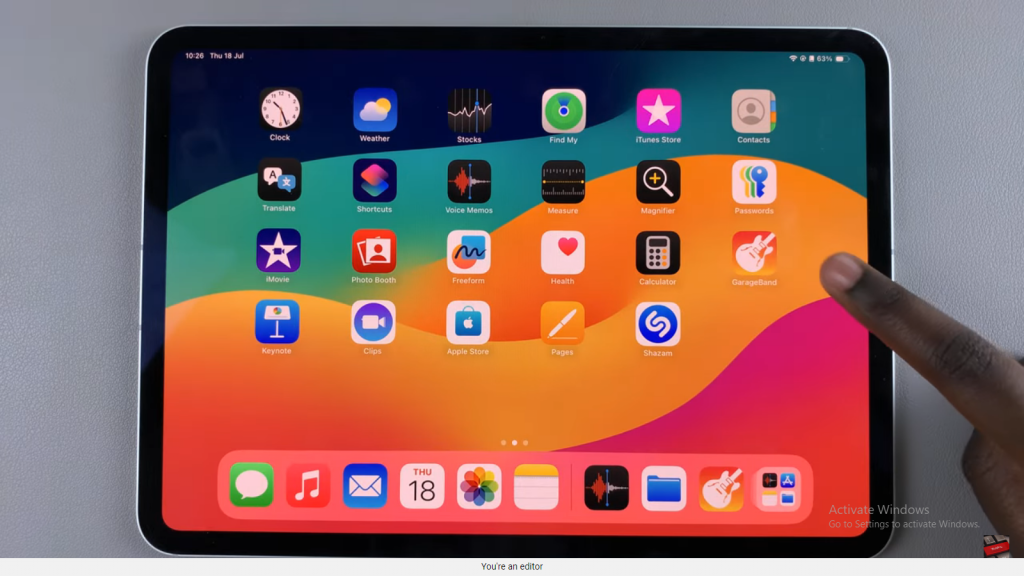
Step 1: Open the Voice Memos App
Launch the Voice Memos app on your iPad.
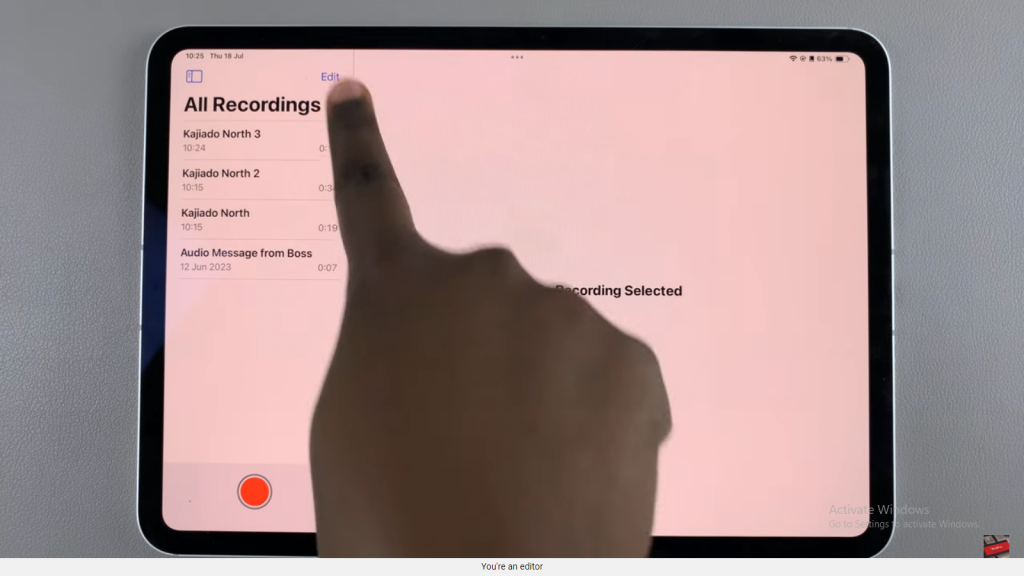
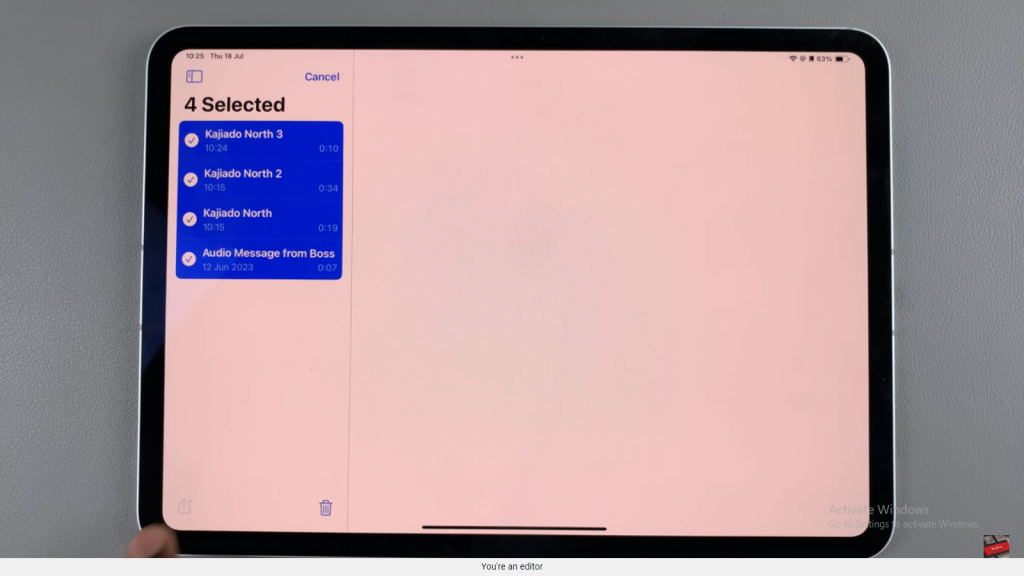
Step 2: Select the Voice Memo(s)
Choose the voice memo or memos you want to import by tapping on “Edit.” Select the desired memo(s).

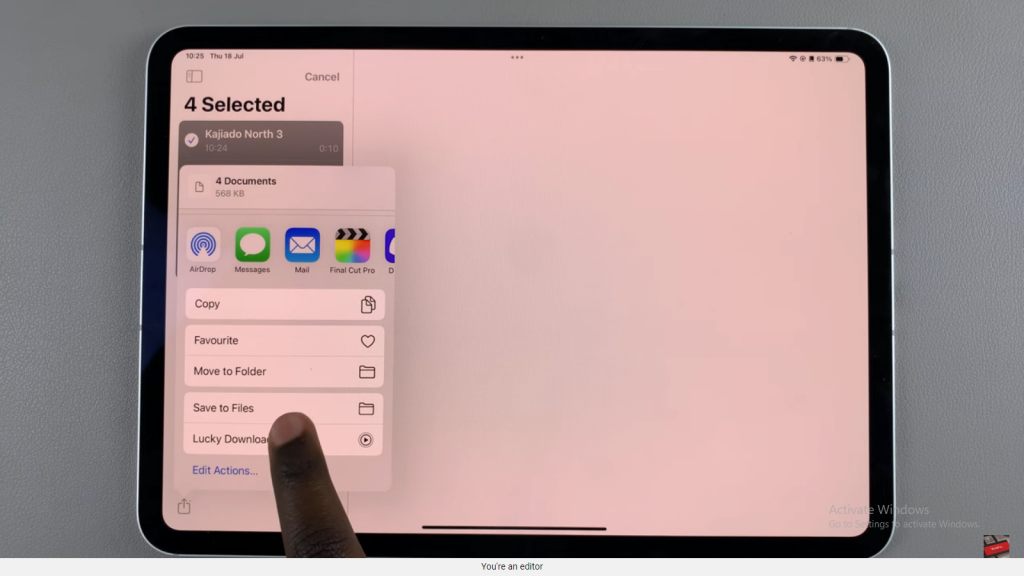
Step 3: Share the Voice Memo(s)
Tap the “Share” button and select “Save to Files.”
Step 4: Save to Files
Save the selected memos by choosing “On My iPad” under the “Locations” section. Tap on “GarageBand” and select “GarageBand File Transfer” as the destination. Finally, tap “Save.”
Step 5: Open GarageBand
Return to the home screen and launch the GarageBand app.
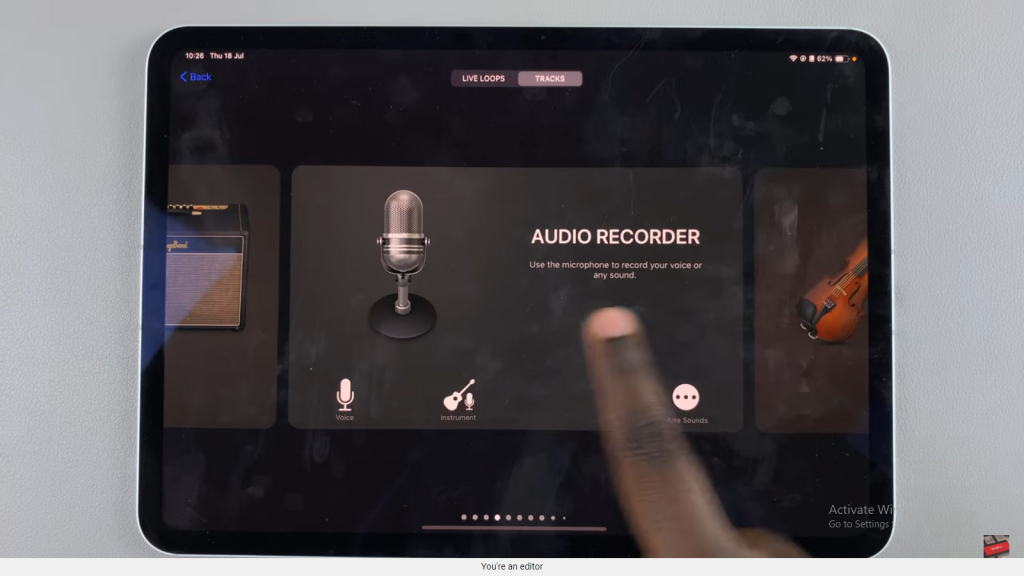
Step 6: Start an Audio Recording
In GarageBand, locate and tap on the “Audio Recording” option.
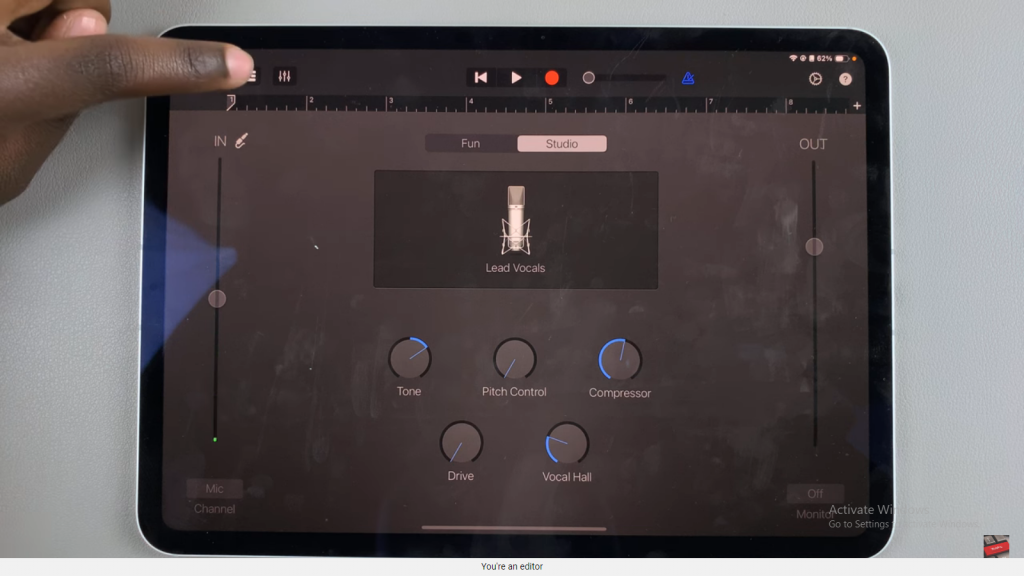
Step 7: Switch Modes
To switch modes, tap the third icon from the left, which looks like intertwining lines.
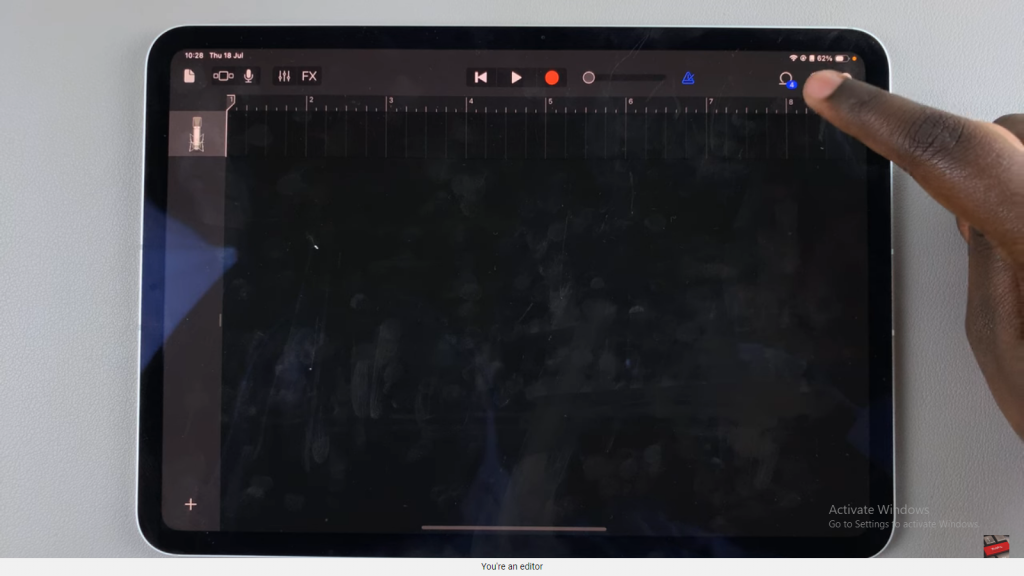
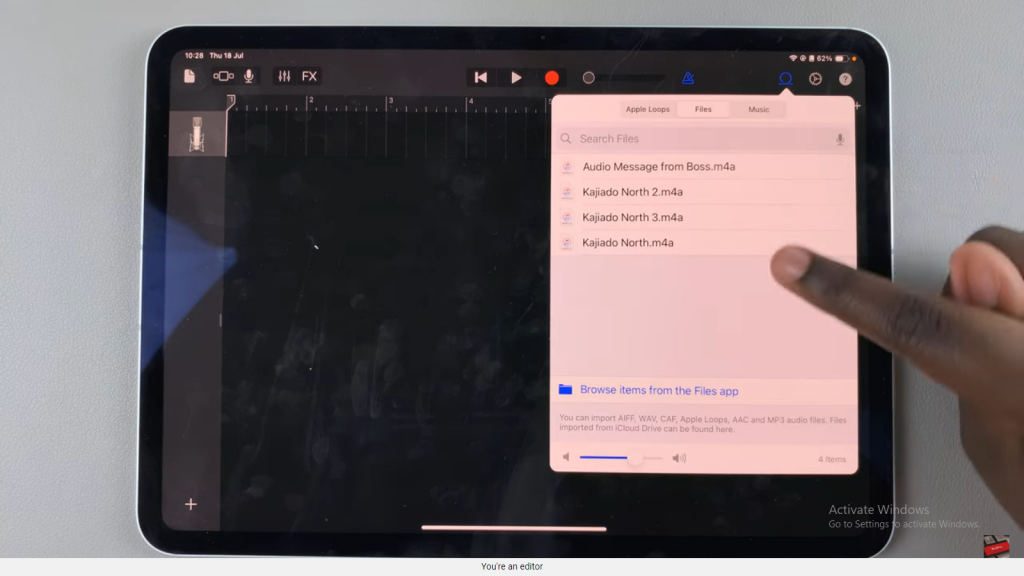
Step 8: Import the Voice Memos
Tap the icon at the top with a number indicating how many files are saved in the “GarageBand File Transfer” folder.
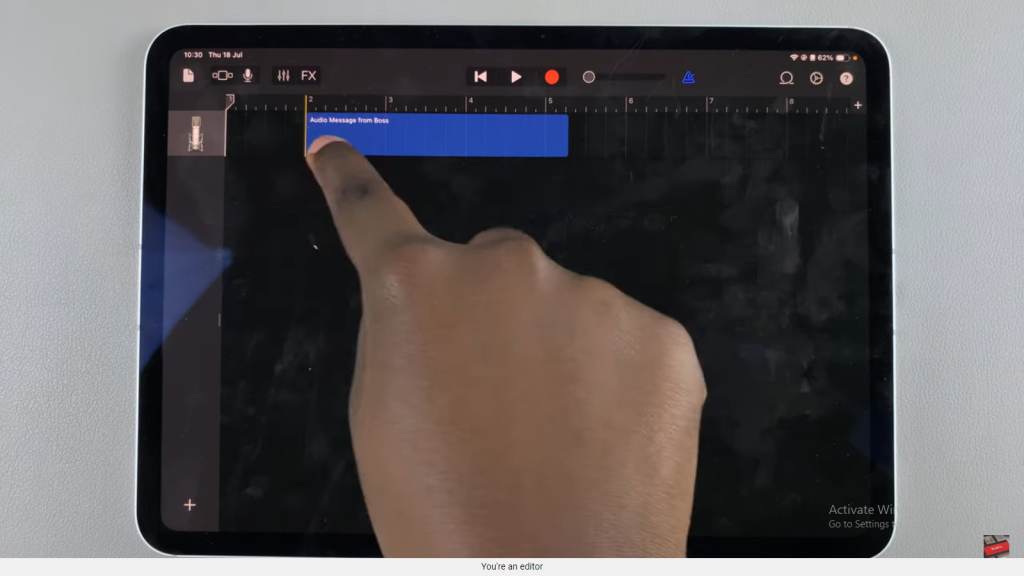
Step 9: Drag and Drop Voice Memos
Select the voice memo you wish to import, drag it onto the timeline in GarageBand, and place it where needed.

Step 10: Finalize and Review
Ensure the voice memo is correctly placed and review your project to make sure everything is in order.

