Starting a new video editing project in CapCut? In this step-by-step tutorial, we’ll show you exactly how to import videos into CapCut, so you can begin creating amazing content in no time! Perfect for beginners and experienced editors alike.
video editing has become a vital tool for creators, influencers, and casual users alike. Among the many video editing apps available, CapCut stands out for its user-friendly interface and powerful editing features, making it a go-to choice for both beginners and professionals.
In this guide, we’ll walk you through the process of importing videos into CapCut, ensuring a smooth start to your project. From selecting the right files to troubleshooting common import issues, you’ll learn everything you need to know to get your videos ready for editing.
Watch:
How To Import Videos To CapCut
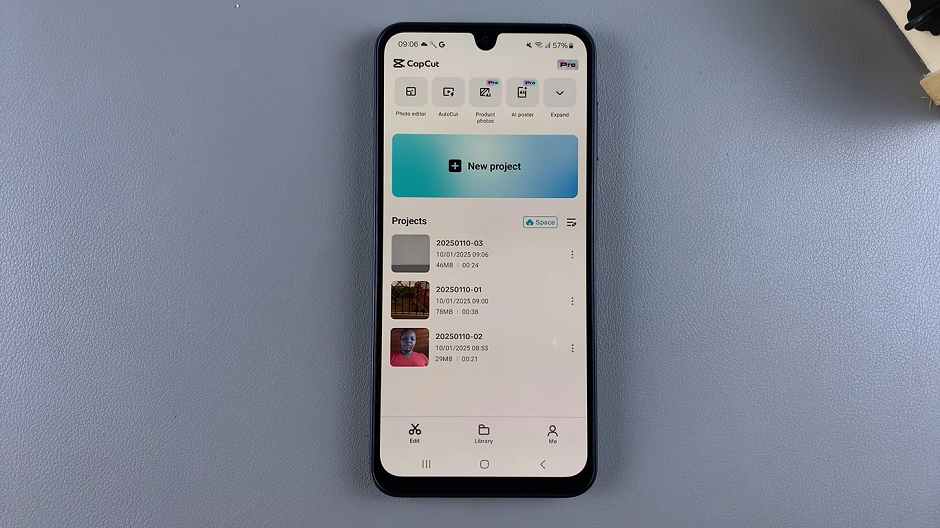
Open CapCut app on your device. On the home screen, tap the “New Project” button to create a new editing workspace.
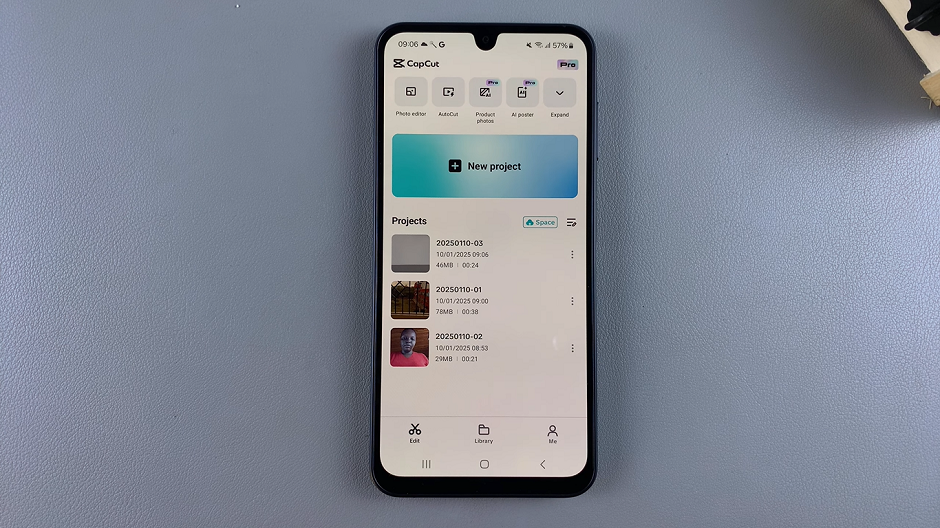
If it’s your first time using CapCut, you’ll be prompted to grant the app access to your gallery. Accept this request to enable video imports.
Then Browse your gallery and tap on the video file you wish to use in your project.
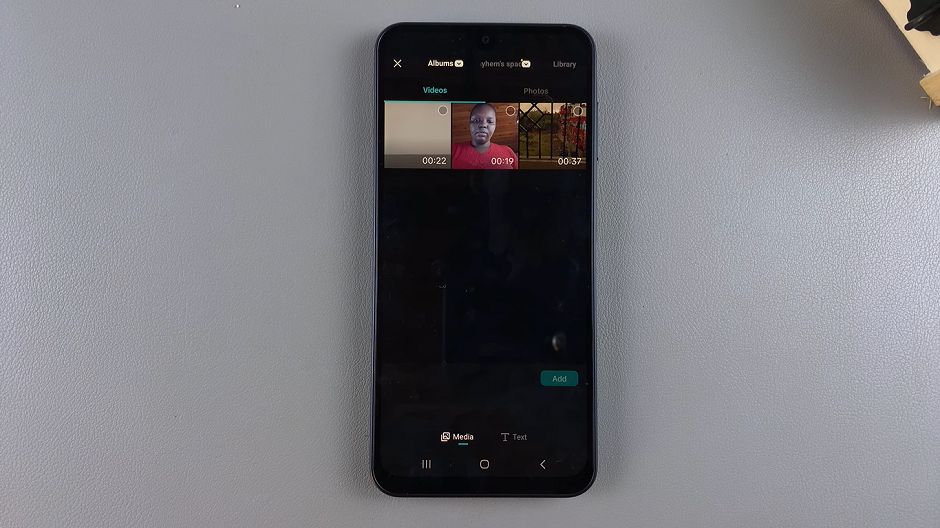
Select the videos you want to import then tap the “Add” button. By doing this you will be importing videos into the editor.
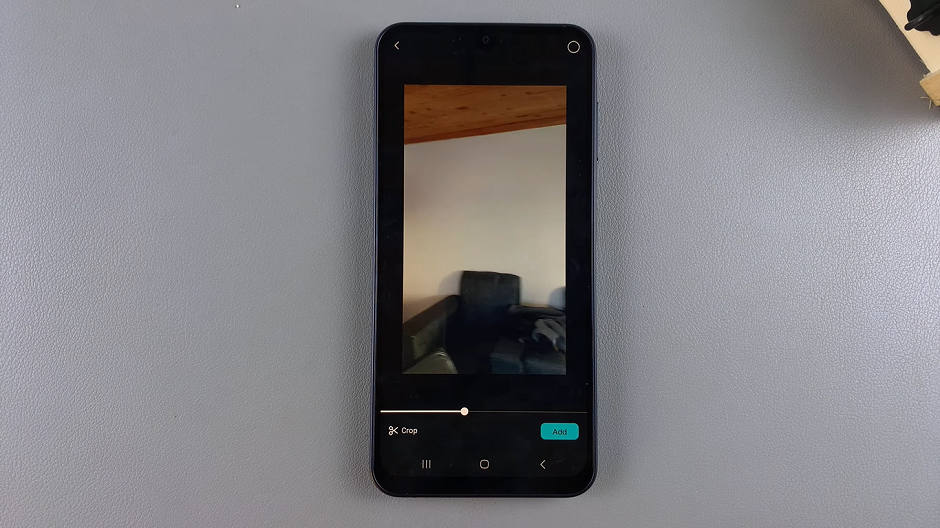
Your imported videos are saved under your projects.
Now that your video is imported, you can explore CapCut’s wide range of editing tools to bring your creative vision to life.

