If you’re new to video editing or just getting started with CapCut Desktop, knowing how to import your media files is the first step in creating a professional-quality project. Whether you’re working with videos, photos, or audio, importing your files into CapCut is simple and intuitive.
In this guide, we’ll walk you through how to import media in CapCut Desktop, step by step. You’ll learn how to upload your video clips, images, and sound files, so you can begin editing right away. By the end of this tutorial, you’ll have all the knowledge you need to efficiently manage your media in CapCut and start editing your videos with ease.
Keep reading to learn the easiest way to import media and start your CapCut project today.
Read: How To Use Retouch Tool In CapCut
How To Import In CapCut Desktop
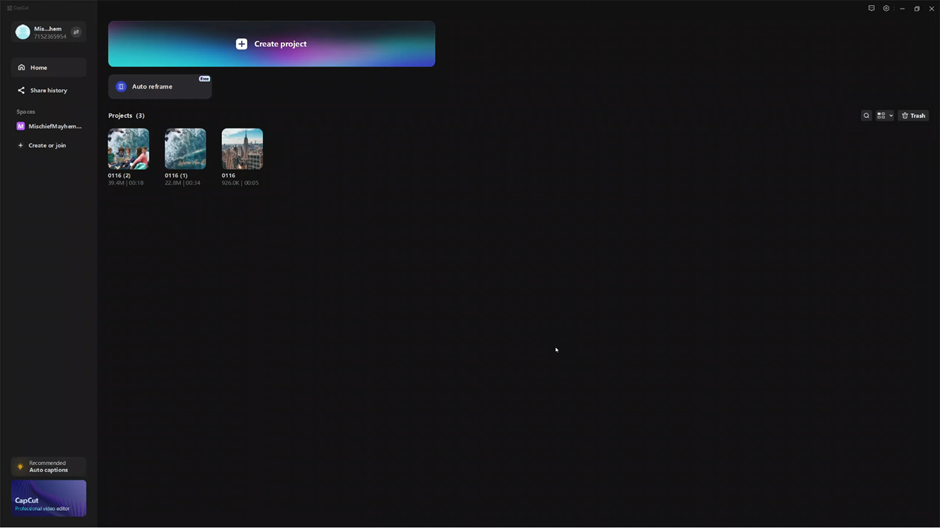
Open the CapCut Desktop application on your computer. Click on “Create New Project” to start a fresh editing project.
Once you’re in your new project, click on the “Import” button to bring in your media files.
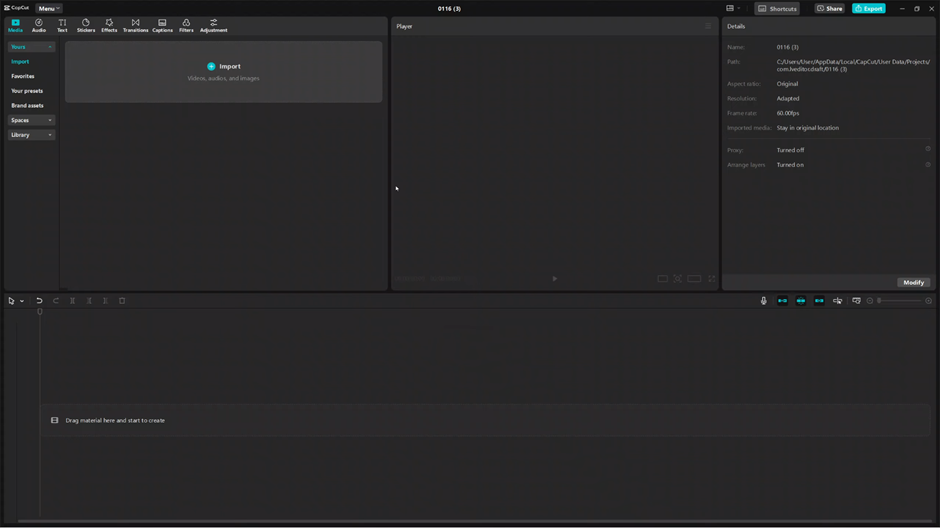
A file dialog will appear. Browse your computer to select the video clips, photos, or audio files you want to import. After selecting them, click “Open” to upload the files into CapCut.
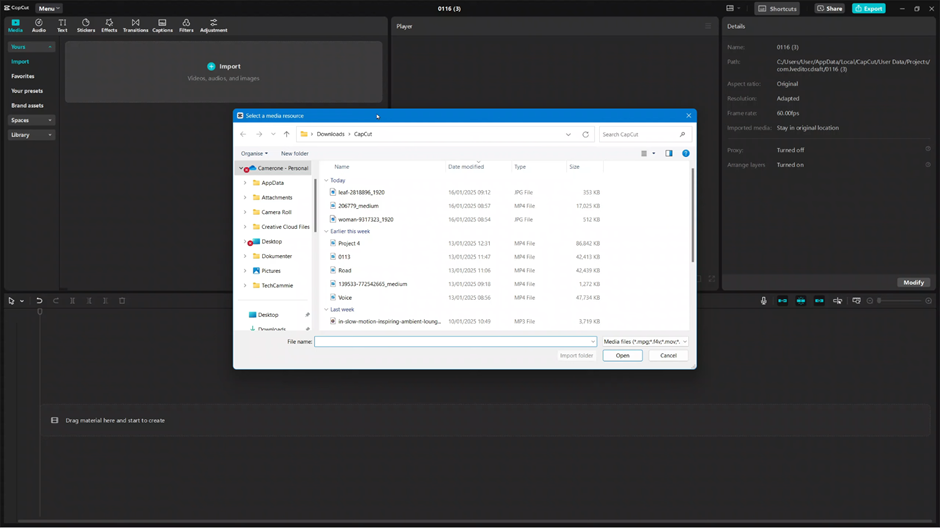
Drag and drop the imported media into the timeline or click the plus icon on the project to begin editing your project
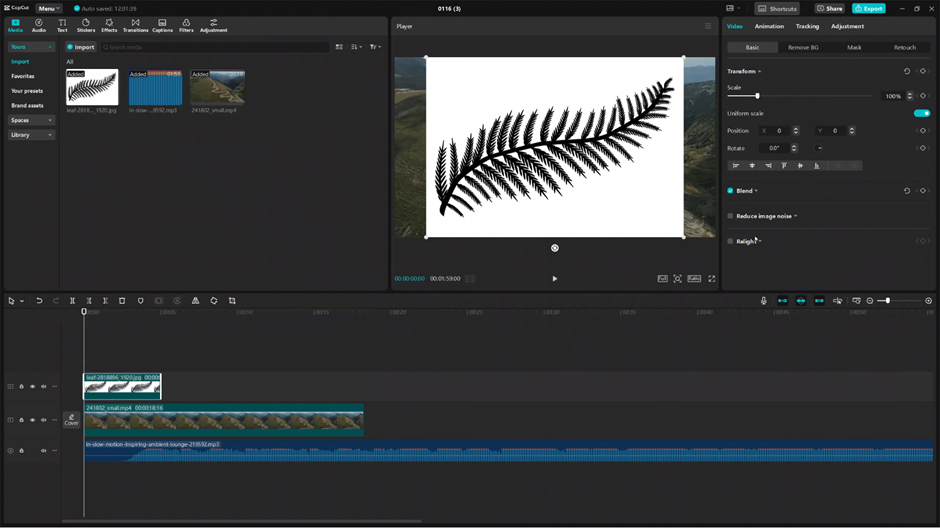
Now you’re ready to start creating! Importing media into CapCut is that simple, and from here, you can begin editing your video to make it shine.
