In this article, we’ll walk you through the step-by-step process of syncing sound and video on CapCut, ensuring your projects look and sound seamless.
Have you ever struggled to sync sound and video perfectly in your edits? Getting it right can transform your video into a masterpiece, whether it’s matching dialogue, music beats, or sound effects to enhance your visuals, achieving precise synchronization can take your videos to the next level.
When it comes to video editing, one of the most crucial elements for creating a professional-looking result is syncing your sound and video perfectly. Let’s dive in and make your edits shine
Watch: How To Merge Clips On Capcut
How To Sync Sound & Video On Capcut
Open the CapCut application on your device. Create a new project or select an existing one to start editing.
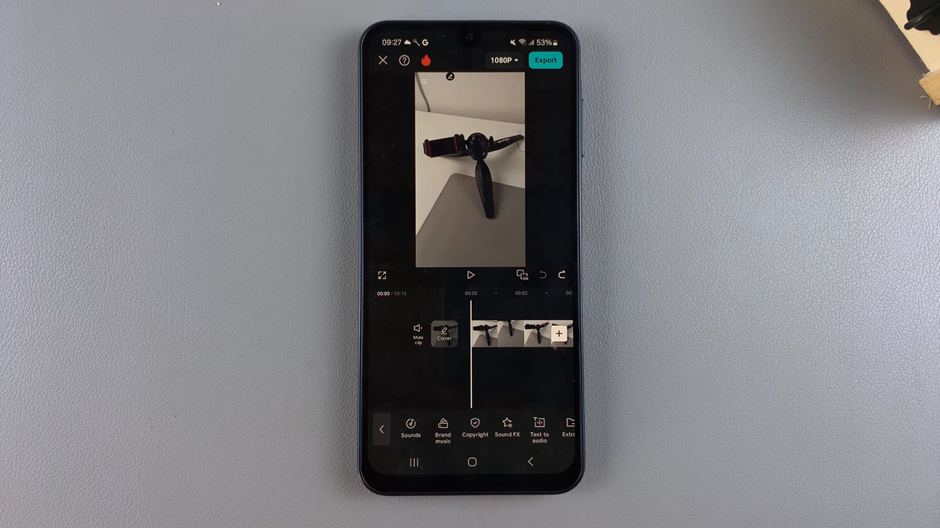
Import the video clips you want to edit by clicking the “Add” button. Arrange them in your timeline to prepare for audio syncing.
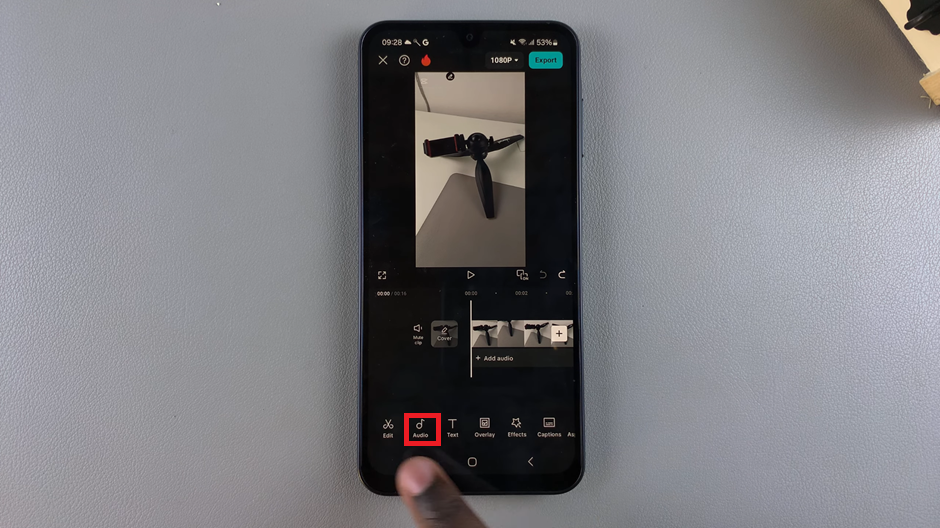
Click on the “Audio” option in the toolbar to begin adding sound to your project.
Browse through the “Sounds” tab in CapCut. Here, you can find music, sound effects, and other audio options to enhance your video.
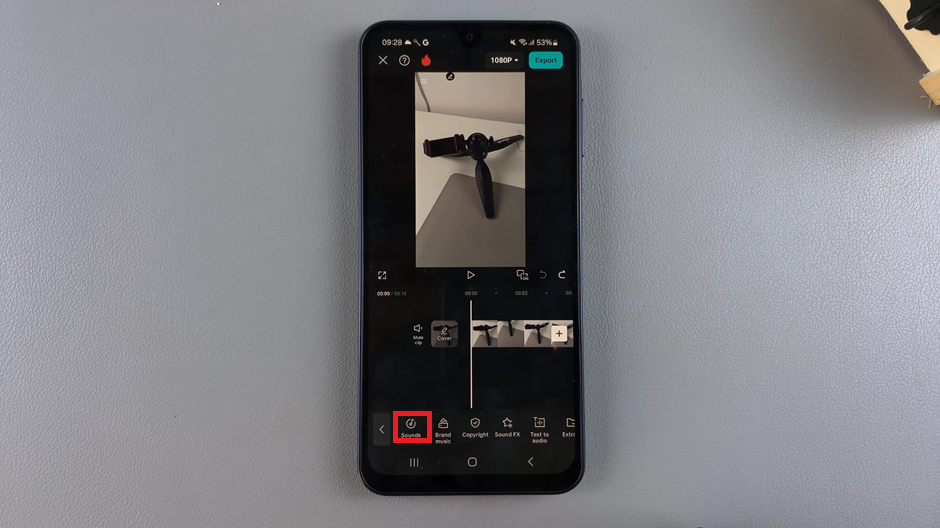
Explore the audio library and select the sound you want to use. You can preview sounds before adding them to your project.
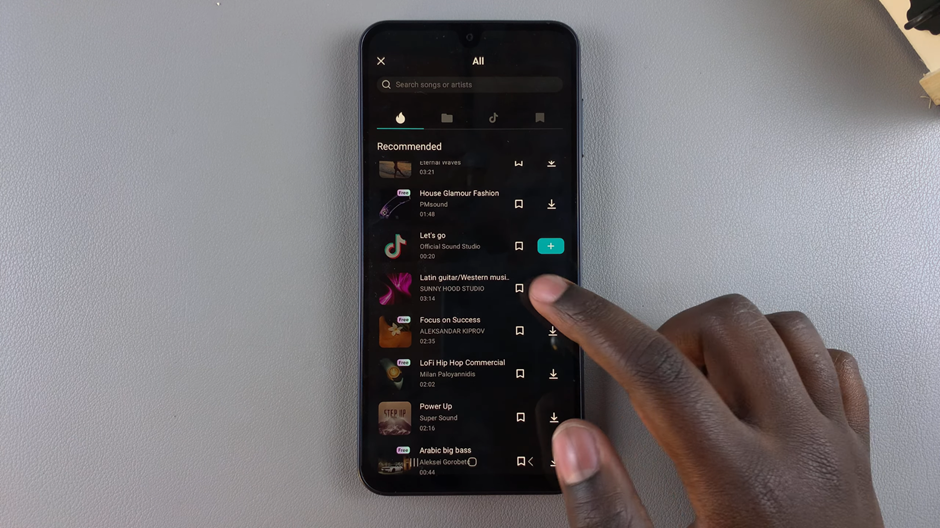
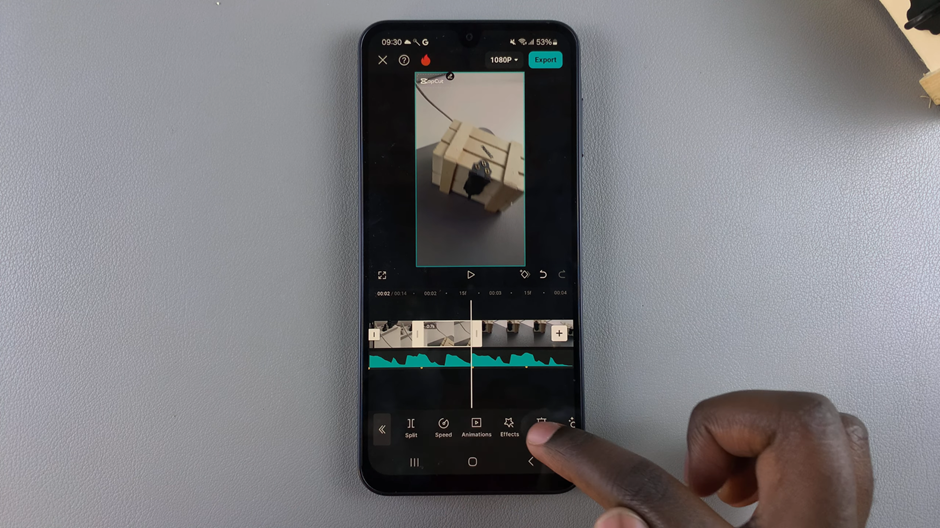
Drag the edges of the audio clip in the timeline to adjust how long you want it to play. Trim or extend it to match the desired sections of your video.
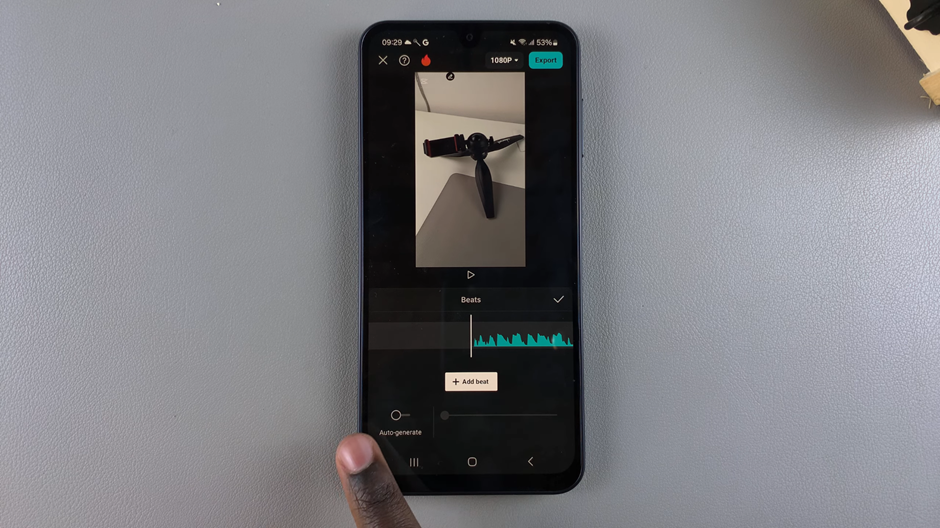
Use CapCut’s beat markers to add beats to your audio. This helps you pinpoint the rhythm and makes it easier to sync your video clips precisely with the audio.
Align your video clips with the audio beats in the timeline. Adjust the placement and timing of your clips to ensure smooth synchronization between the sound and visuals.
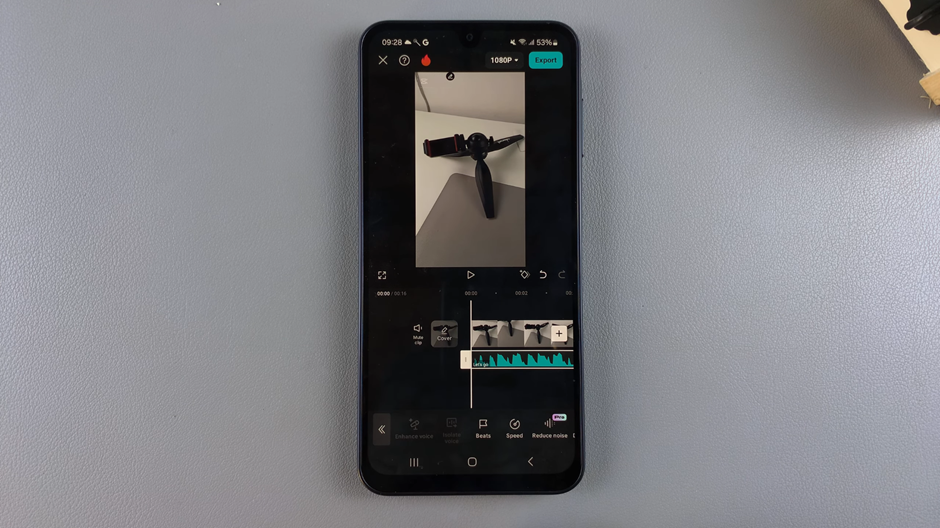
By following these steps, you’ll achieve a seamless sync between sound and video, creating a polished and professional result.
