Losing a video project you worked hard on can be frustrating, but don’t worry we’ve got you covered. In this tutorial, we’ll walk you through the steps to recover deleted projects in CapCut so you can get back to editing quickly.
CapCut offers options to help recover deleted projects, allowing you to retrieve your work and continue editing without starting from scratch. Whether it’s due to an accidental swipe or a storage clean-up. Knowing how to restore deleted projects can save you time and effort.
Watch: How To Blur Face On Capcut
How To Restore Deleted Projects On Capcut
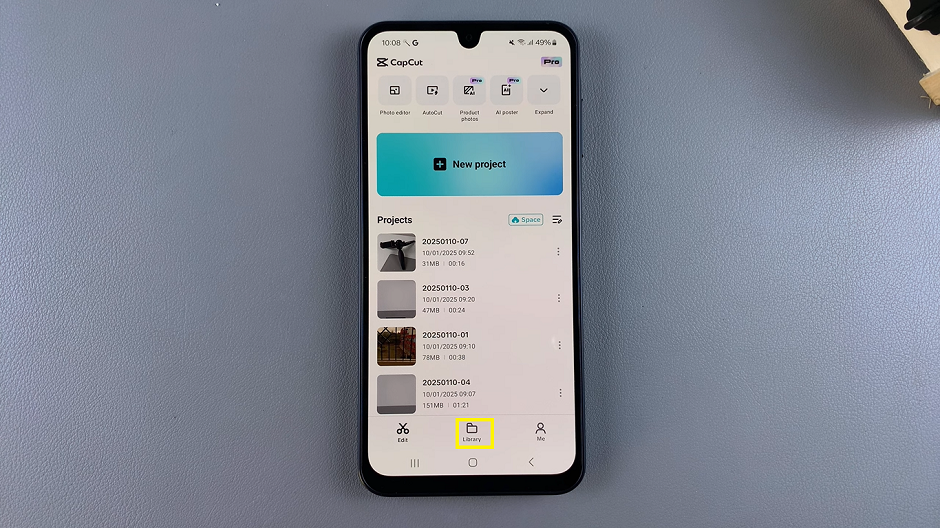
Open the CapCut app on your device, then On the menu bar at the bottom of your screen, tap on the “Library” option.
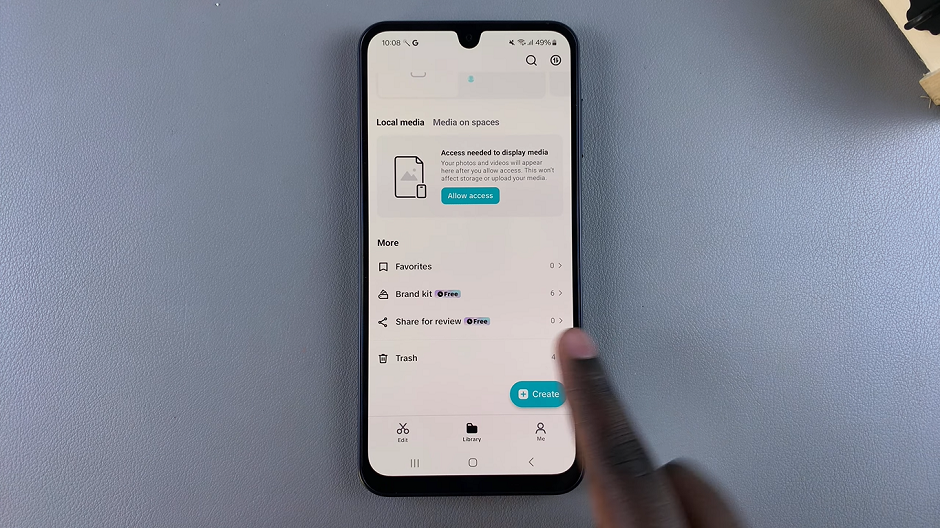
Navigate to the “Trash” section, where deleted projects are temporarily stored.
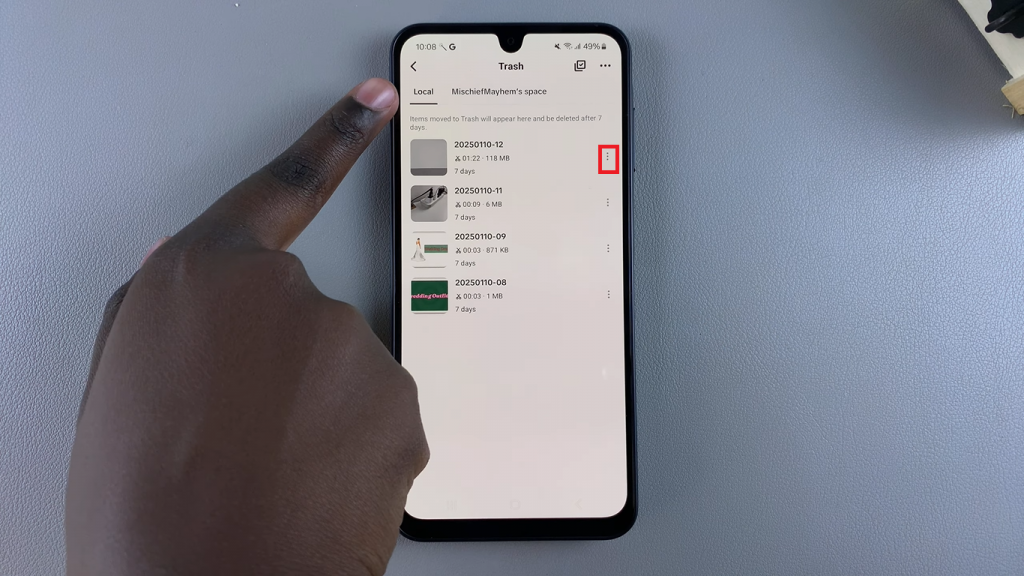
Click on the three dots next to the project you wish to restore. From the menu that appears, tap on “Restore.”
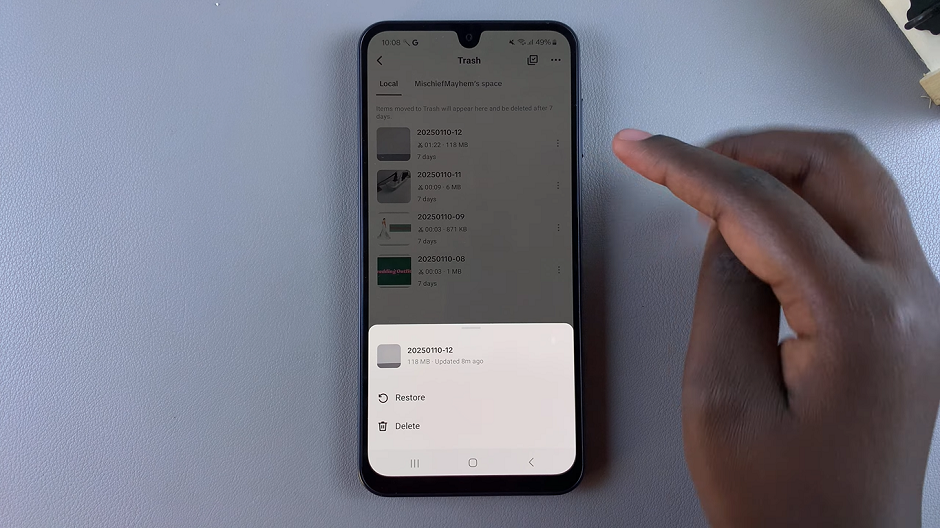
The project will disappear from the trash list, indicating it has been successfully restored.
Restore Multiple Projects
Tap on the “Select” icon at the top of the screen.
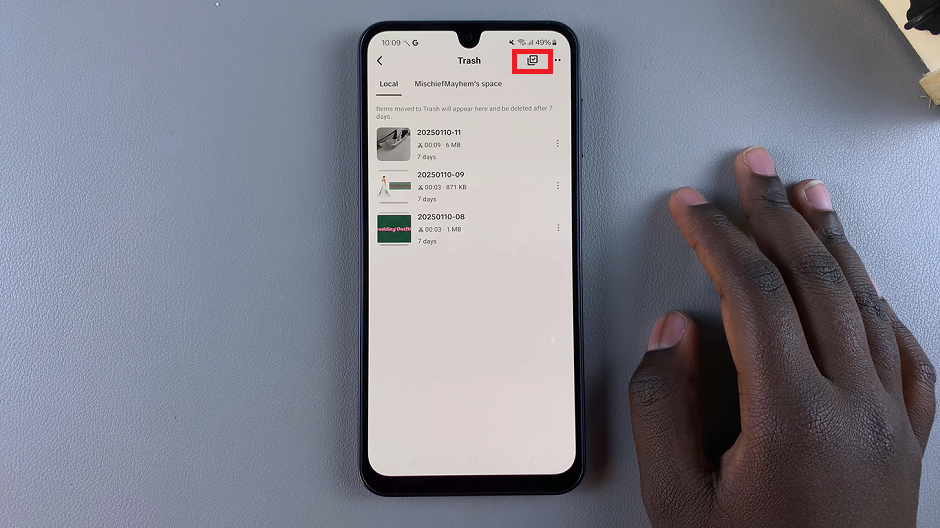
Check all the projects you want to recover. Click on “Restore” to restore them all at once.
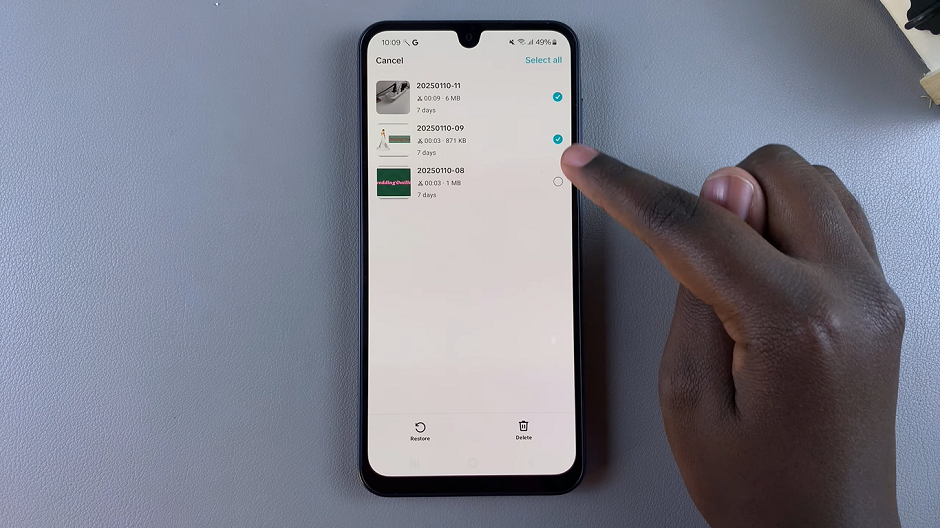
By following these steps, you can easily retrieve deleted projects and continue editing without losing your progress.
