Transitions play a crucial role in video editing by providing smooth, seamless changes between clips, helping your content flow naturally. Whether you’re working on a vlog, short film, or social media content, adding transitions can elevate the overall quality of your video
CapCut offers a range of transition effects that allow you to create professional-looking edits with ease. In this guide, we’ll walk you through the simple steps to add transitions in CapCut, giving your videos that polished and dynamic touch.
Whether you’re a beginner or a seasoned editor, you’ll learn how to enhance your clips in no time. Let’s get started!
Read: How To Zoom In and Out In CapCut PC
How To Add Transition In CapCut
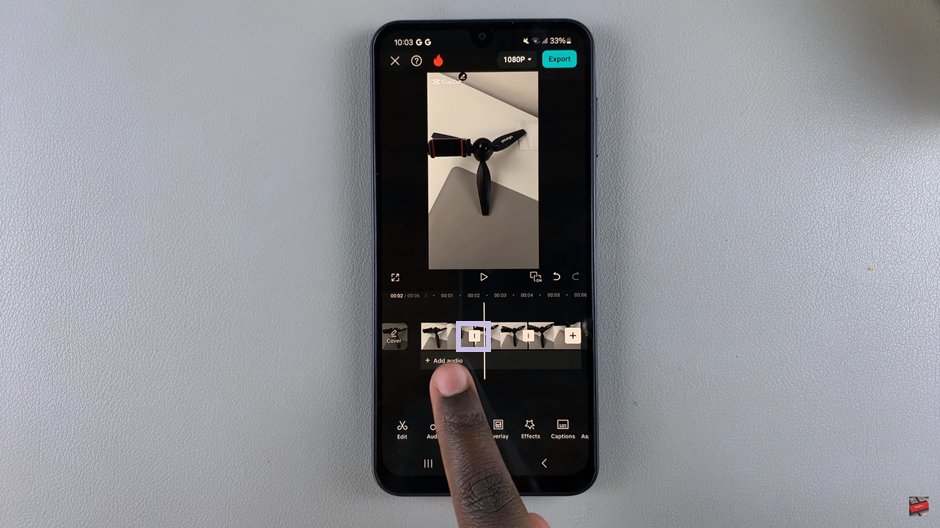
Open the CapCut app on your device to start editing. Import and place your video clips onto the timeline in the desired sequence.
Locate and tap the small icon that appears between the video clips where you want to add a transition.

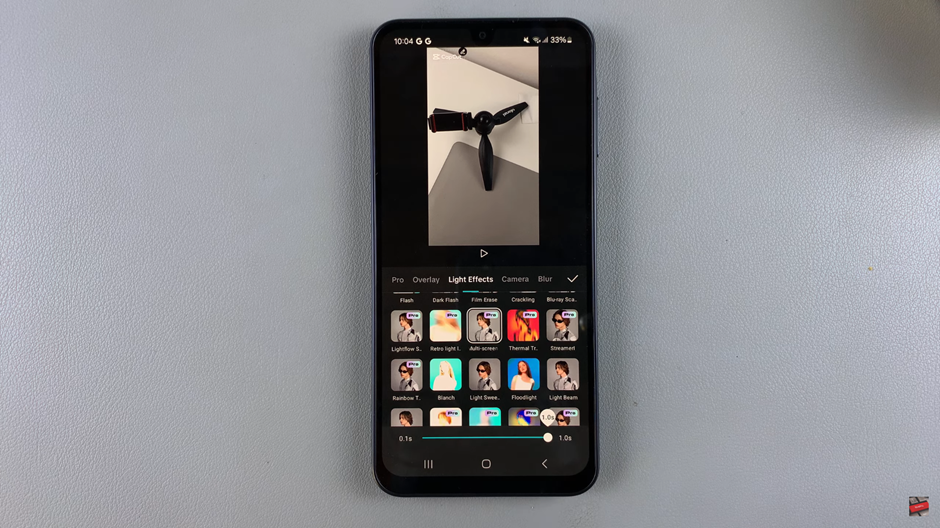
select your preferred transition option: Choose from the available transition effects in the menu.

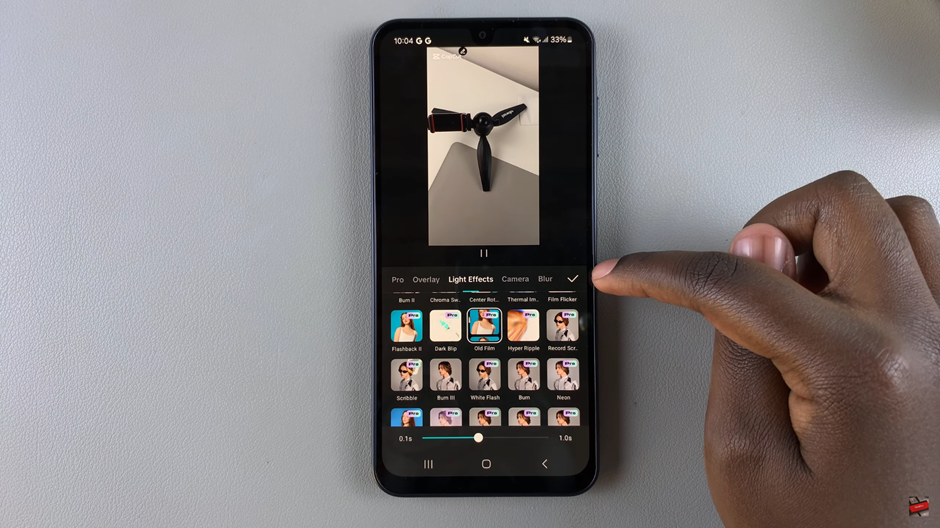
Customize the duration and timing of the transition to match the flow of your video.
Confirm your selection by tapping the check mark to apply the transition.

If needed, repeat the above steps to add transitions between all your video clips.
This process helps smooth out transitions between clips, enhancing the flow of your video.
Watch: How To Add Text To Photo or Video In CapCut

