Understanding how to hide layers in Canva is essential for organizing complex designs effectively. Initially, mastering this feature allows you to manage elements within your design seamlessly. Moreover, Canva provides intuitive tools that empower users to toggle visibility of specific layers, enhancing focus on essential design elements.
By hiding unnecessary layers, you streamline the editing process and ensure clarity in your projects. This capability is particularly useful for intricate designs where multiple elements coexist. Furthermore, hiding layers facilitates easier collaboration by allowing team members to concentrate on specific aspects without distraction.
To hide layers in Canva, begin by accessing the layers panel where all elements of your design are listed. Subsequently, navigate through the layers and identify the ones you wish to hide. By clicking on the eye icon next to each layer, you can toggle its visibility on and off effortlessly.
This methodical approach ensures that only relevant elements are displayed during editing or presentation phases. Additionally, Canva’s user-friendly interface supports seamless layer management, making it accessible for both beginners and experienced designers alike. Integrating this feature into your design workflow optimizes productivity and enhances the overall quality of your Canva projects.
Watch:How To Create Stretch Text Effect In Canva
Hide Layers In Canva
Here’s how you can do it;
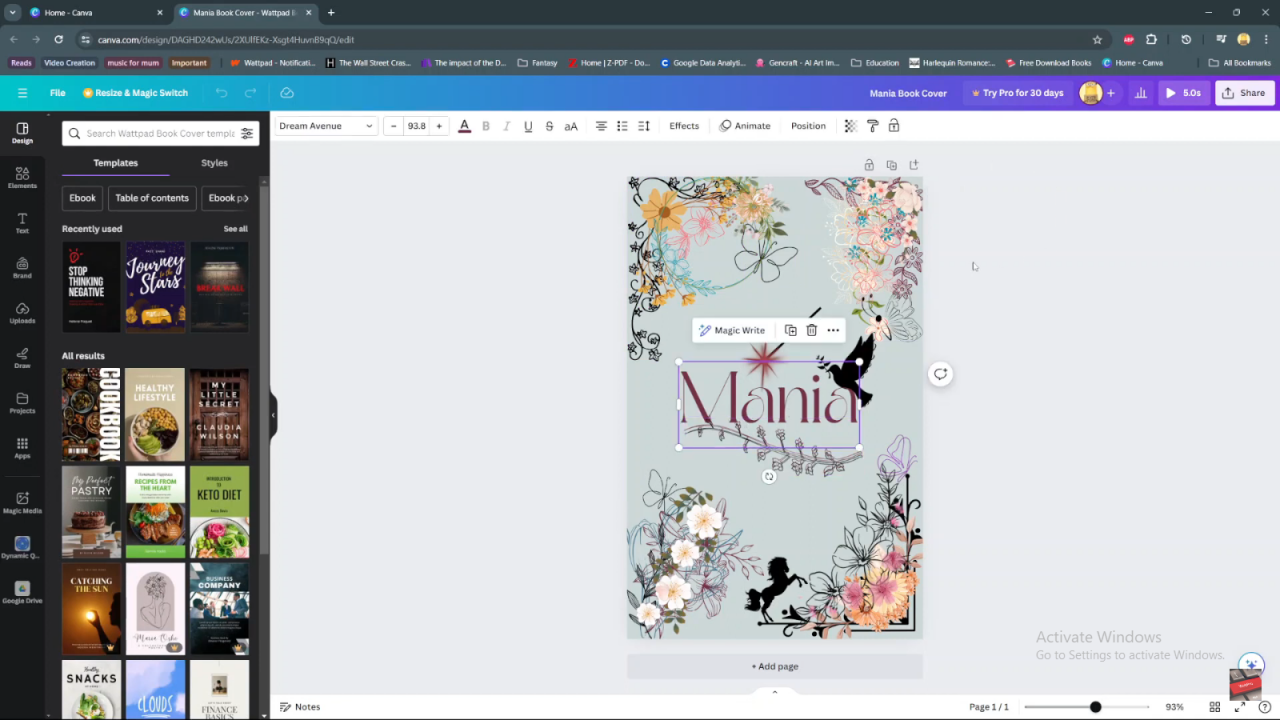
Step 1: Begin by selecting any element within your current Canva project. This initial action allows you to focus on a specific element that you wish to modify or hide, enhancing the clarity and organization of your design.
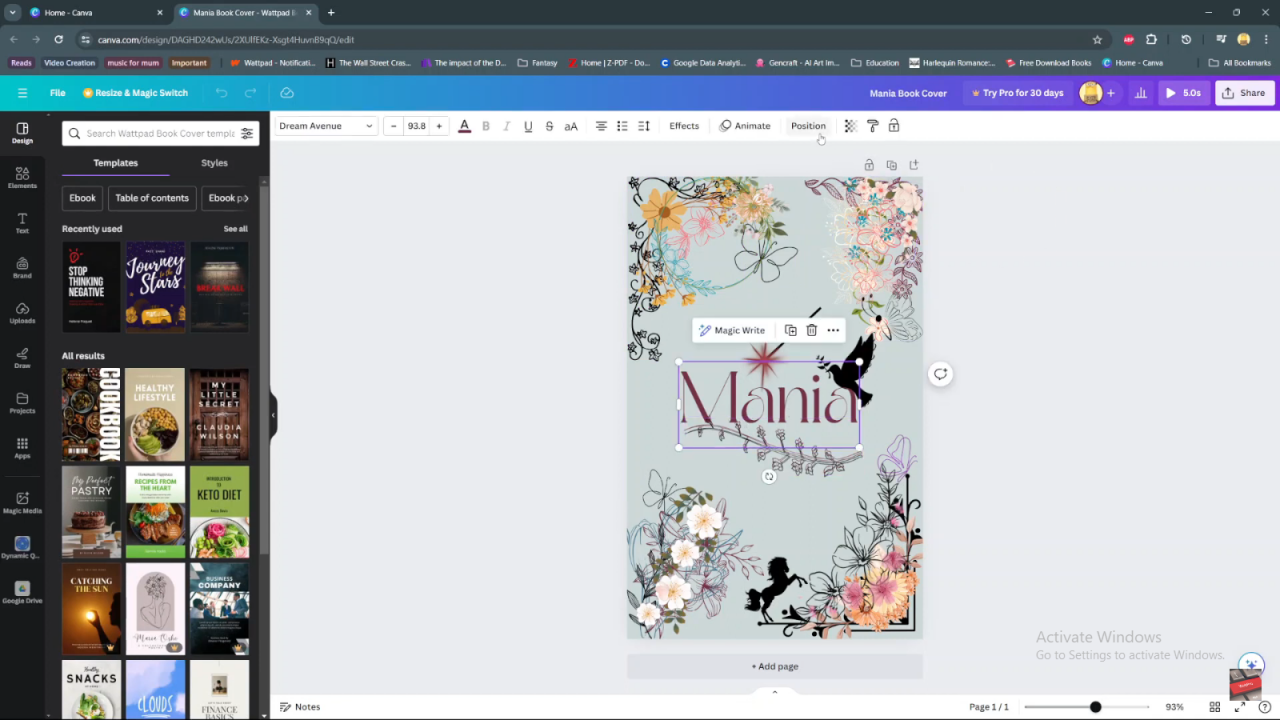
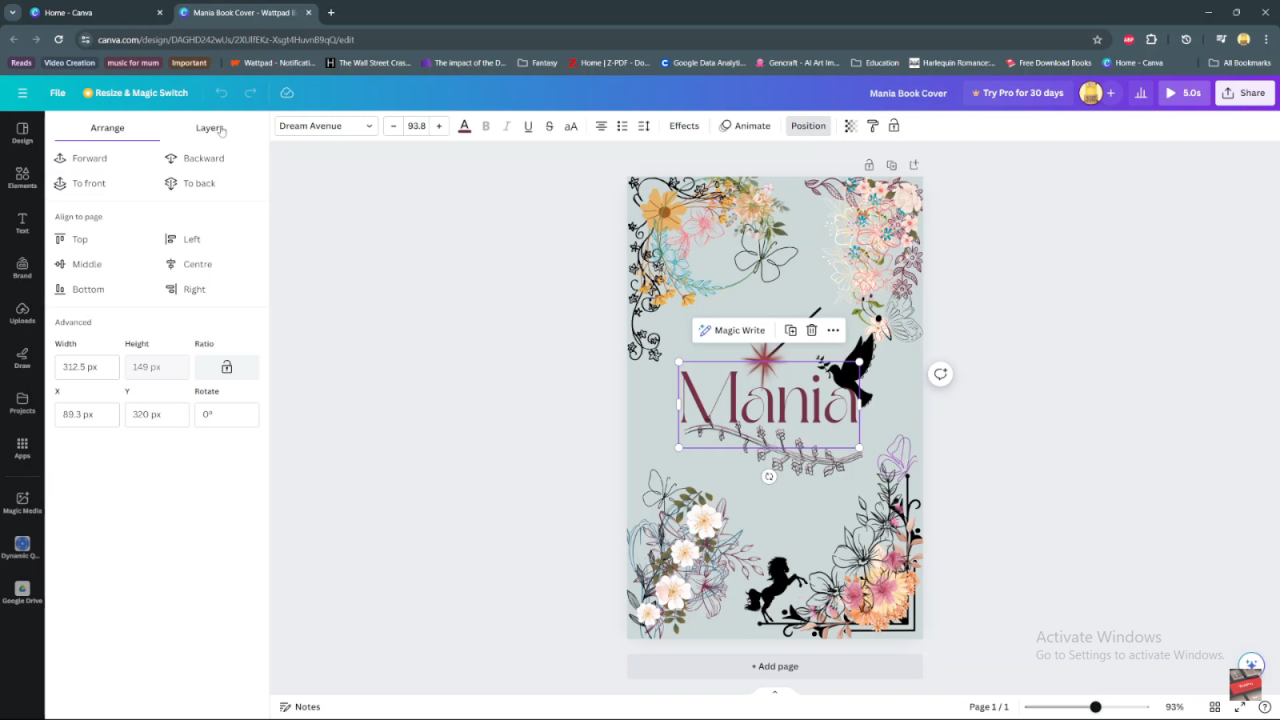
Step 2: Next, navigate to the ‘Position’ option located in the toolbar or menu. Click on ‘Layers’ to access a comprehensive view of all the layers comprising your project. This step is pivotal in understanding the hierarchical structure of your design elements.
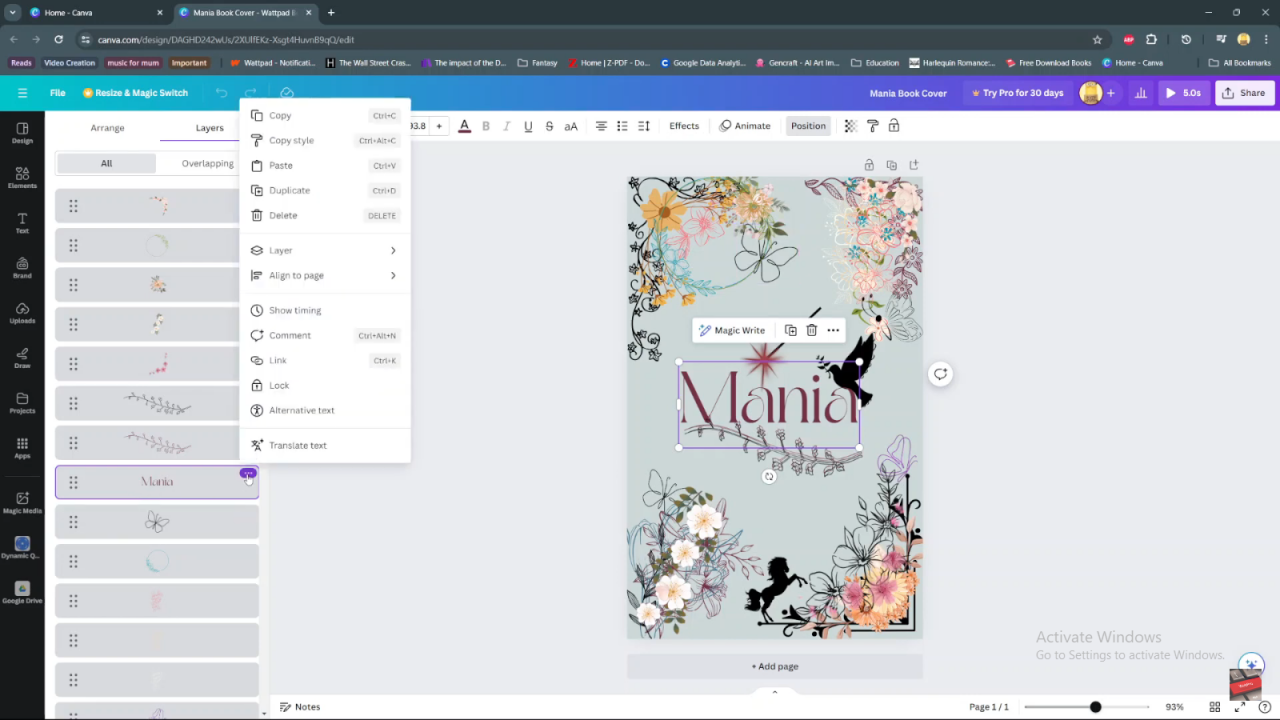
Step 3: To hide a particular layer, such as a text element, ensure it is selected within the layers panel. Once selected, proceed by clicking on the three dots (…) associated with the layer. From the dropdown menu that appears, choose ‘Send to Back’ to adjust its positioning within the layer stack. This action helps in organizing layers and controlling their visibility within your design.
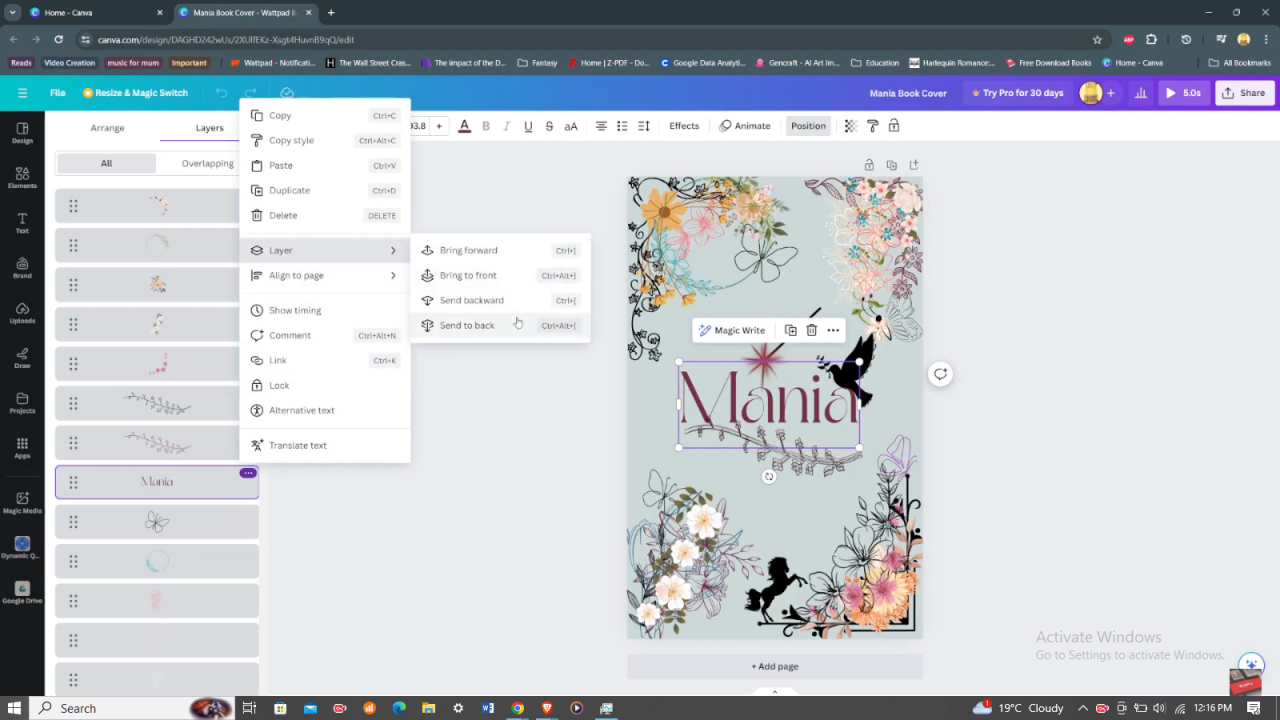
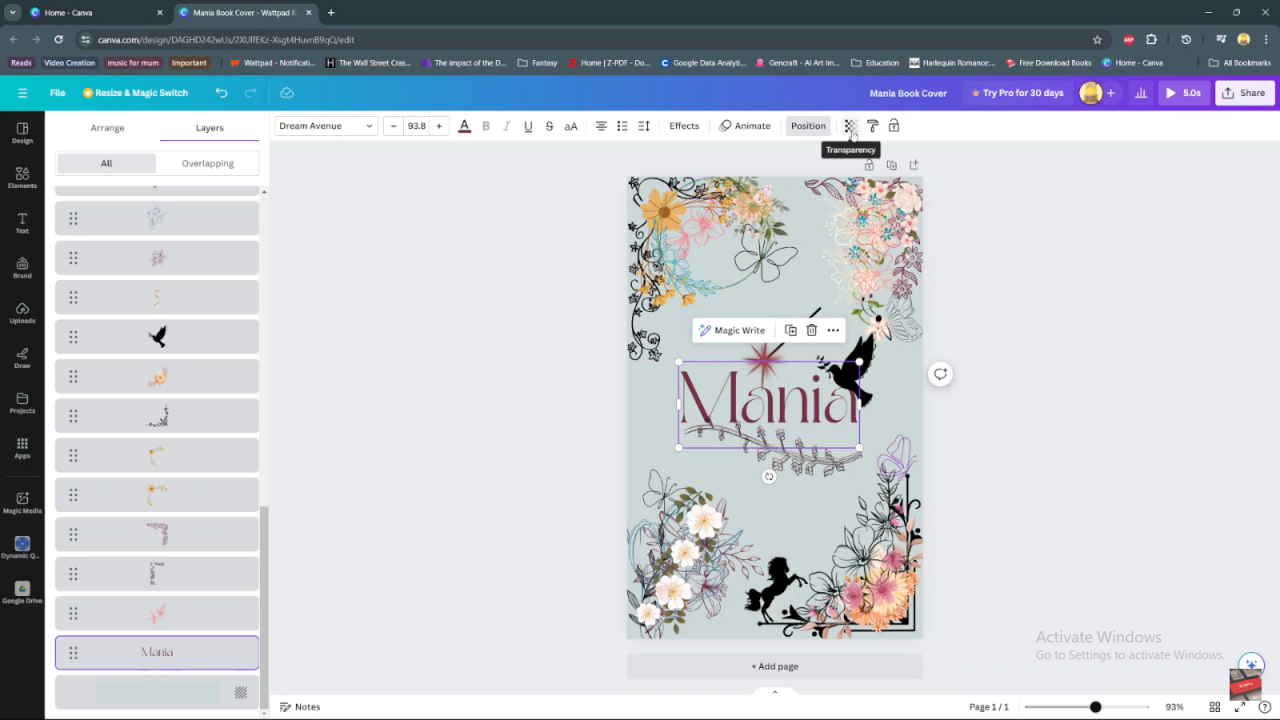
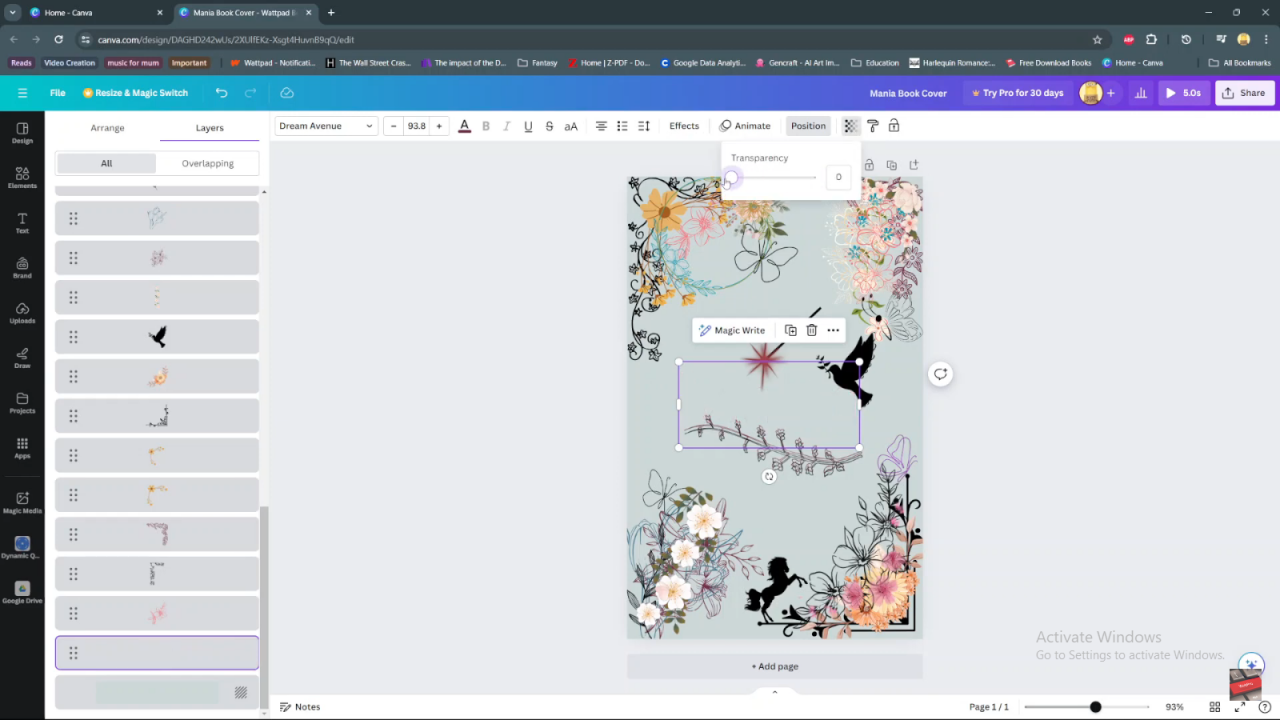
Step 4: Further refine the visibility of the layer by adjusting its transparency. Locate the transparency icon, typically represented by a slider, and slide it all the way down to zero. This adjustment effectively makes the layer transparent, rendering it invisible while still maintaining its presence in the project. This step is crucial for hiding elements that may clutter the design or are not needed in the final presentation.
By following these sequential steps, you can efficiently manage and hide layers within your Canva project, ensuring a streamlined editing process and enhancing the overall presentation quality.

