Keeping your Steam games up to date is essential for enjoying the latest features, bug fixes, and security patches. Fortunately, Steam offers an automatic update feature that ensures your games are always running on the newest version without any manual effort.
In this guide, we’ll walk you through how to automatically update games on Steam, whether you want to enable updates for all games or customize settings for specific titles. By following these steps, you can avoid interruptions and ensure a seamless gaming experience.
watch: How To Fix Voice Chat & Microphone Not Working In Marvel Rivals
How To Automatically Update Games On Steam
Click on the Start button on your computer.
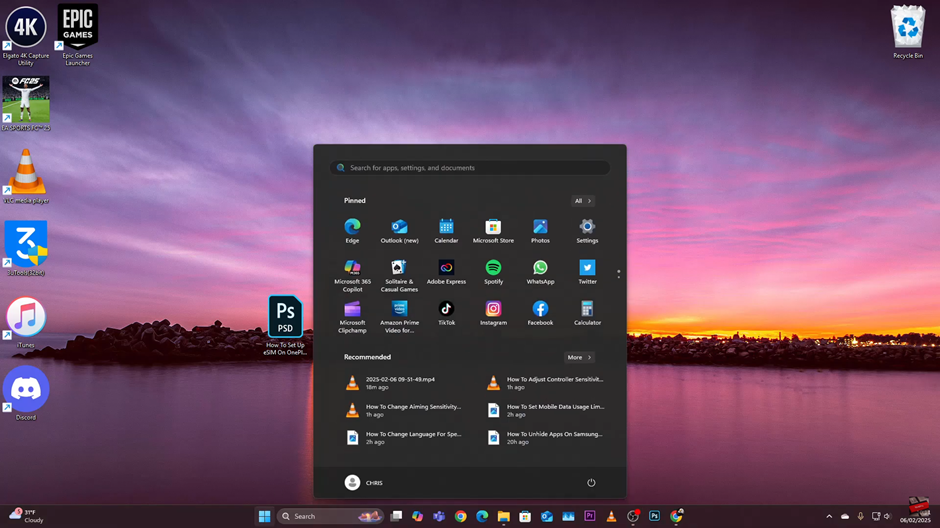
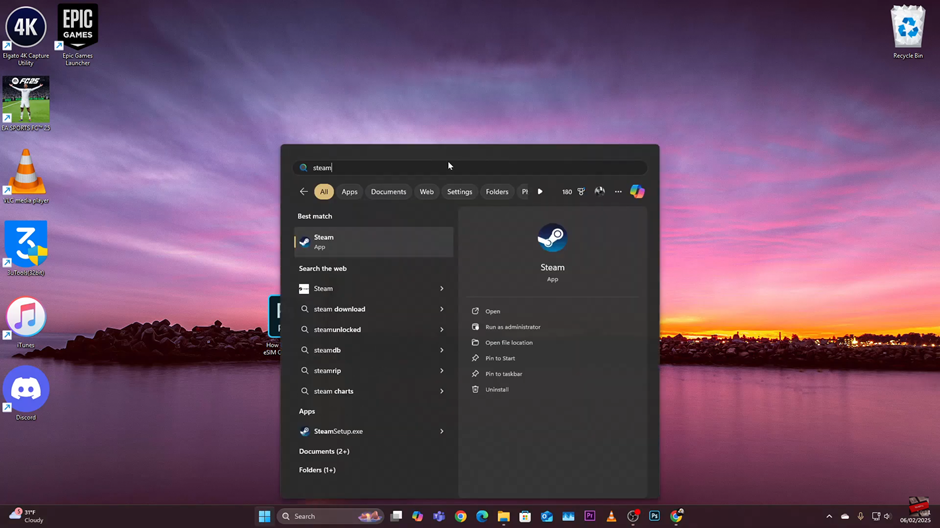
Use the search bar to type in “Steam” and open the application.
Click on “Steam” in the top left corner of the Steam window.
From the drop-down menu, select “Settings.”

Navigate to the “Downloads” section.
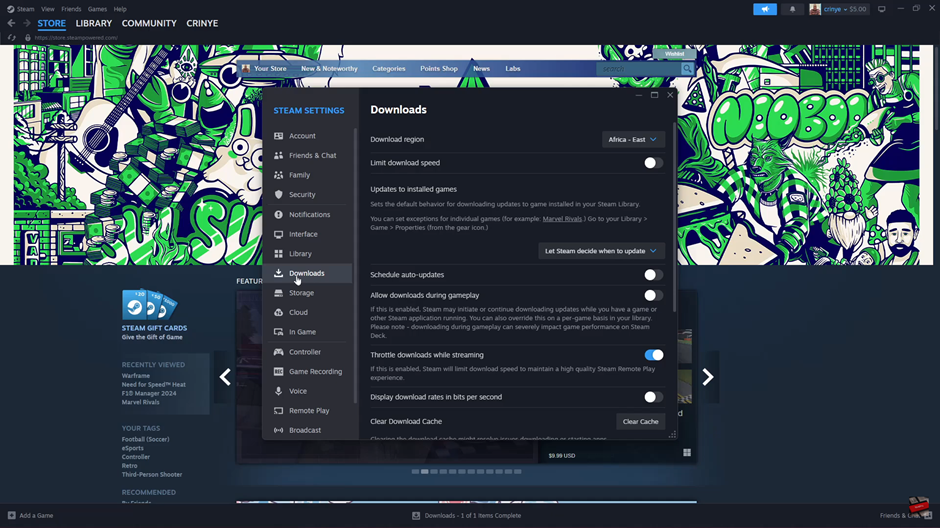
Find “Updates to Installed Games.”
Click on the drop-down menu.
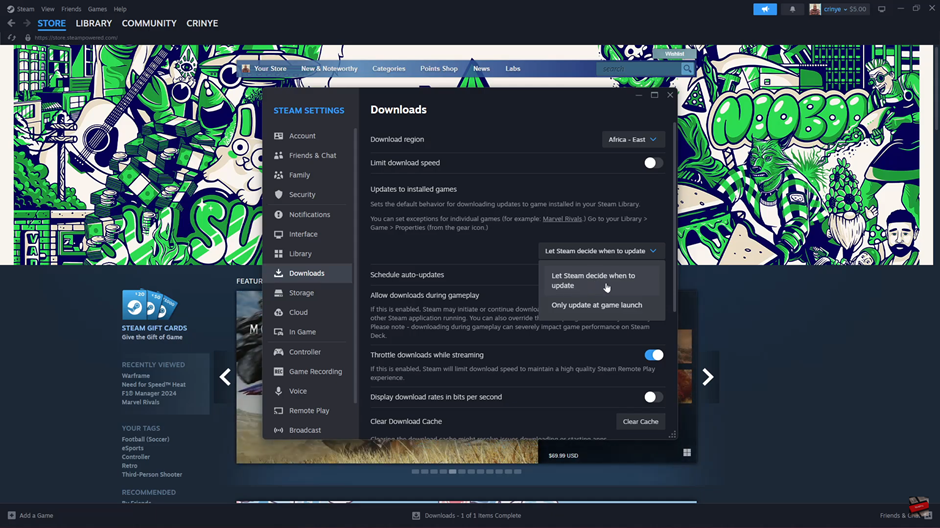
Select “Let Steam decide when to update
Enable the toggle next to “Schedule auto-updates.”
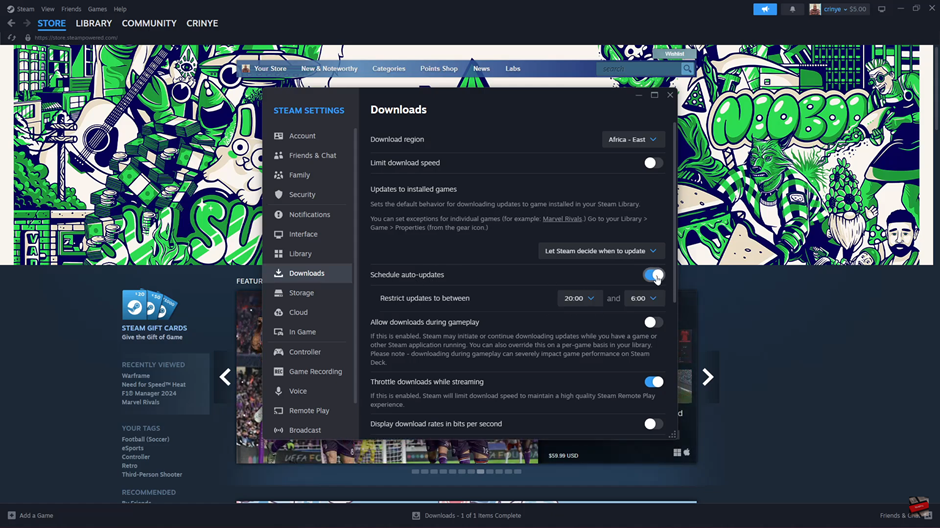
Choose the time frame for updates to occur.
How To Automatically Update an Individual Game on Steam
Go to the “Library” tab in Steam.
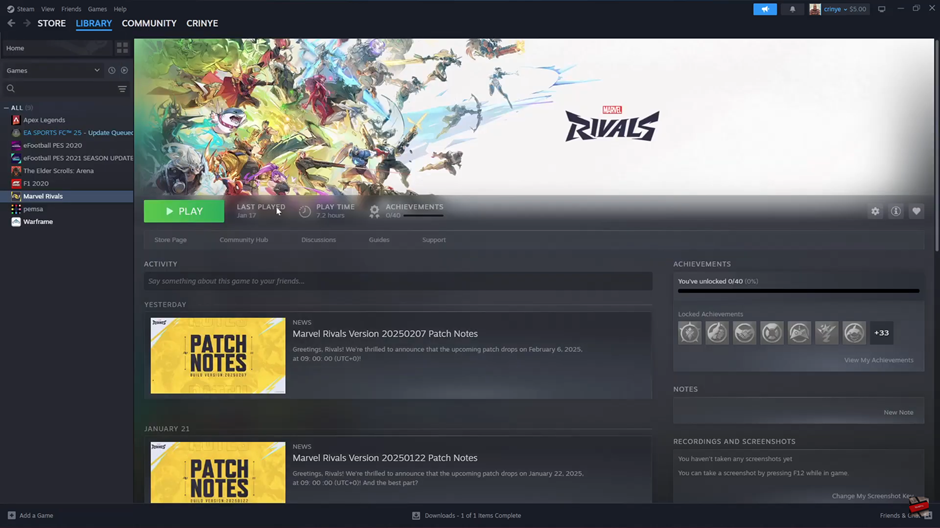
Select the game you want to enable updates for and right-click on it.
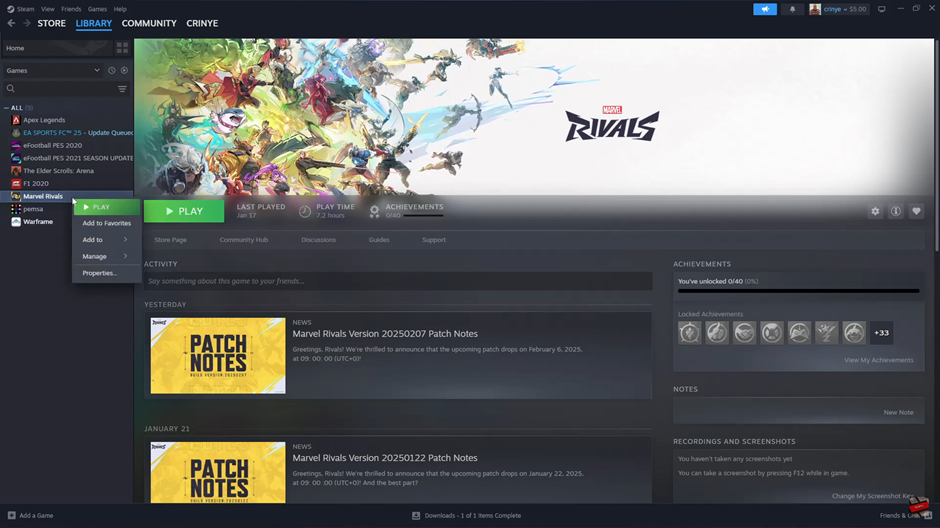
From the menu that appears, select “Properties.”
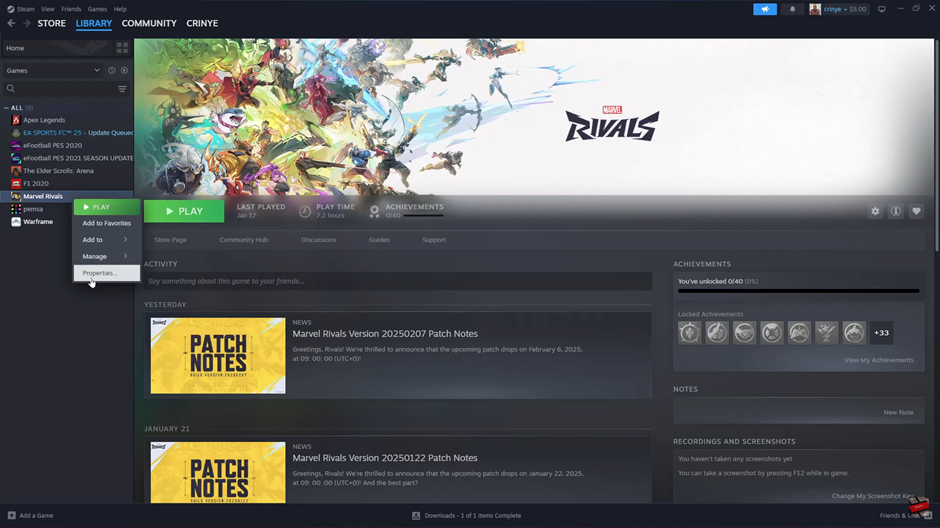
Click on the “Updates” tab.
Click the drop-down arrow under “Use Global Settings.”
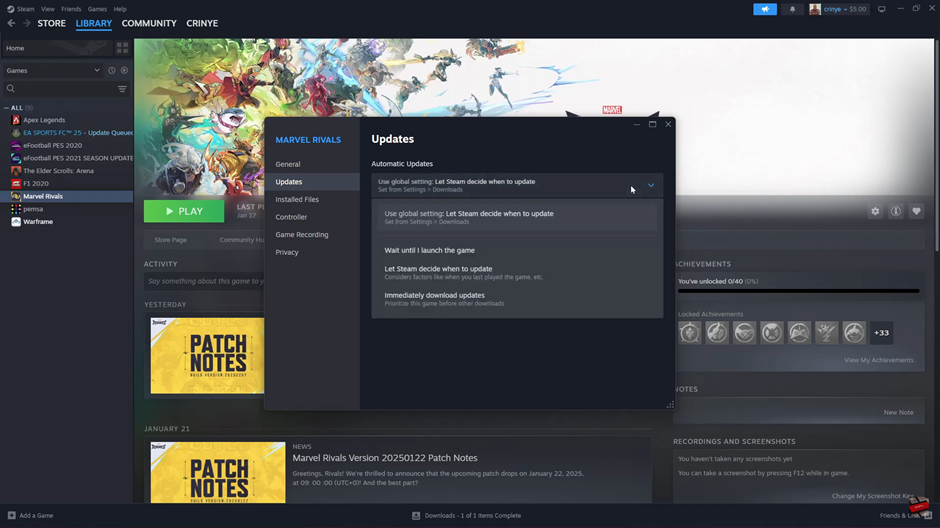
Select your preferred update option.
(Optional) Enable background downloads to allow updates while playing the game.
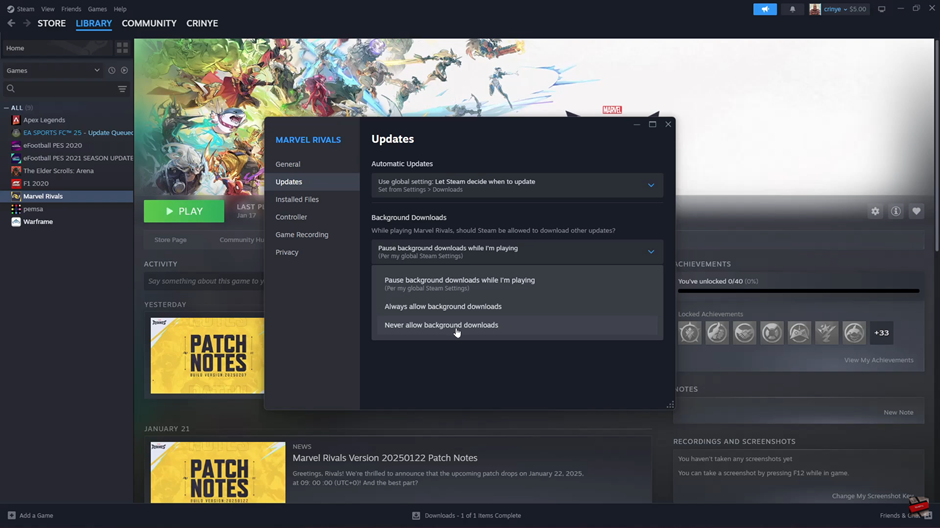
By following these steps, you can ensure your Steam games stay up to date automatically, whether for all games or specific titles.

