If you frequently share your Mac with family, friends, or coworkers, enabling a Guest User account is a convenient and secure solution.
The Guest User account allows others to use your Mac temporarily without accessing your personal files, settings, or data. This built-in feature ensures that guests have limited access, safeguarding your privacy.
In this guide, we’ll walk you through the comprehensive step-by-step process on how to enable Guest User account on Mac.
Also Read: How To Zip / Unzip Folders On Mac
How To Enable Guest User Account On Mac
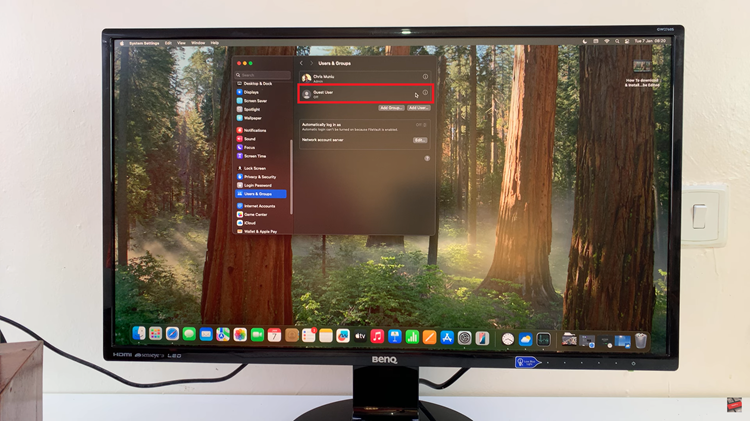
To begin, launch the Settings app on your Mac. Once open, scroll down and select Users & Groups. Within the Users & Groups section, locate the Guest User option. By default, the Guest User account is visible but disabled. To activate it, click the i (info) icon next to the Guest User label.

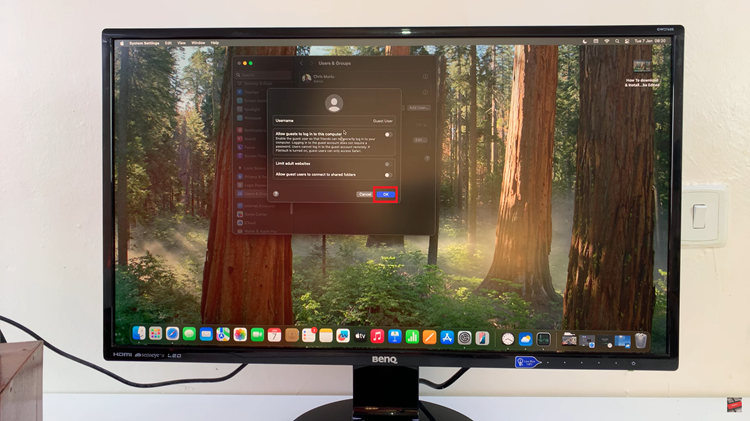
A pop-up window will appear, allowing you to customize the settings for the Guest User account. For example, you can decide whether the guest user can access shared folders or if parental controls should be enabled. After making your selections, click OK to save the changes.

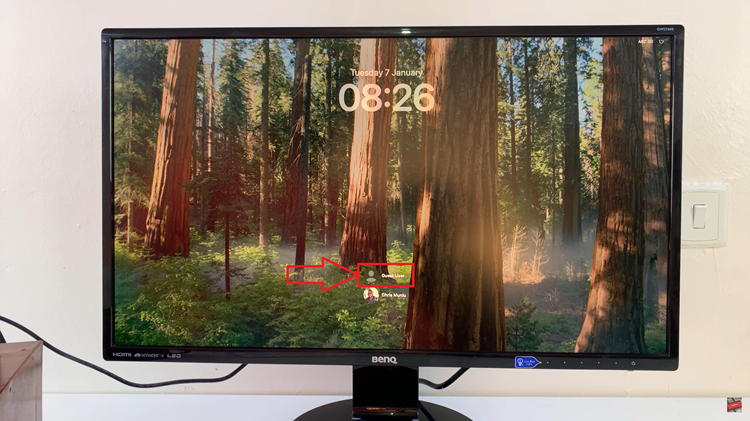
To switch to the Guest User account, log out of your current session. On the login screen, you will see your admin account icon alongside the newly enabled Guest User account icon. Click on the Guest User option to proceed.

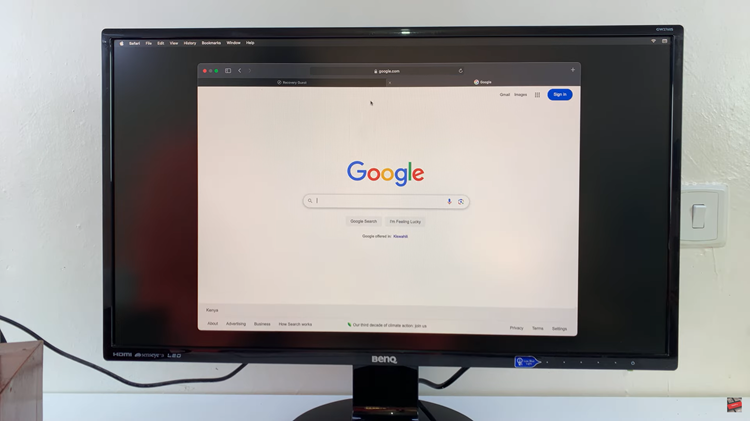
Depending on your Mac’s settings, it may prompt you to restart before signing in to the Guest User account. If prompted, confirm the restart. Once the restart is complete, you’ll have successfully enabled and accessed the Guest User account.

The Guest User account allows others to use your Mac without accessing your personal files or making changes to your settings. By following these simple steps, you can enable the Guest User account. It’s especially useful for temporary access or when lending your device to friends or family.
Watch: How To Permanently Uninstall Applications / Programs On Mac

