The Automatic Ear Detection feature is a game-changer, allowing your AirPods to seamlessly pause or play audio when you take them in or out of your ears. While this feature is incredibly convenient for many, some users prefer to have complete manual control over their audio playback.
Whether you’re looking to save battery life, avoid interruptions, or tailor your AirPods’ functionality to your specific needs, this tutorial will help you get the most out of your AirPods 4. It doesn’t matter if you’re using an iPhone, iPad, or Mac—our instructions cover all compatible devices.
By the end of this article, you’ll have a clear understanding of how to toggle this feature, along with tips to optimize your AirPods’ performance.
Watch: How To Enable Noise Cancellation with One Airpod On Airpods 4
Turn ON/ OFF Automatic Ear Detection On Airpods 4
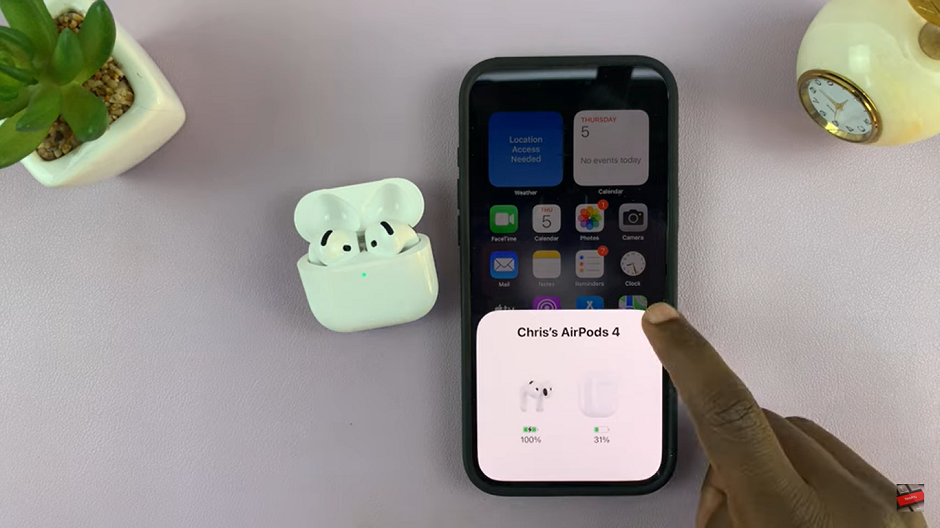
Begin by opening your AirPods case while they are near your device. This action automatically connects your AirPods to the device. There is a pop up that will appear on your device to show that the Airpods have been successfully connected.

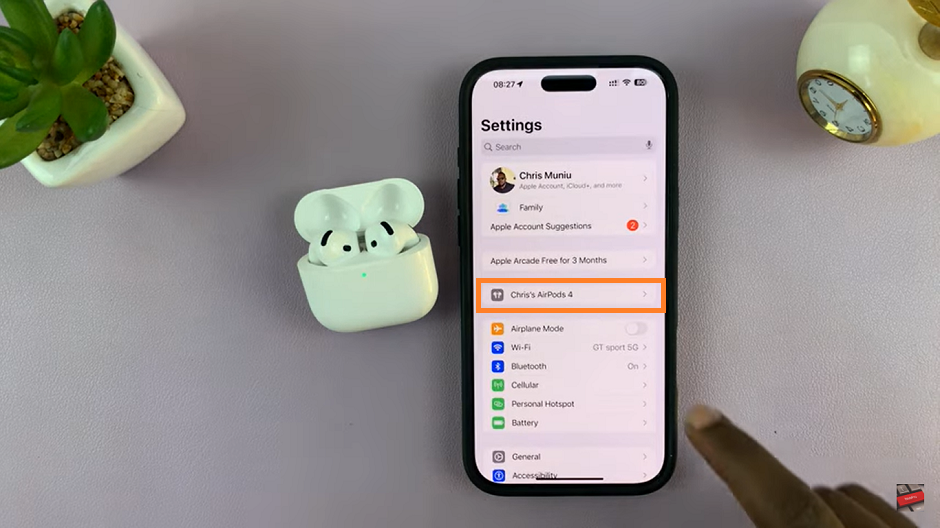
In settings menu, locate and tap on your AirPods 4. This will typically appear as “AirPods” or the custom name you’ve assigned to them.

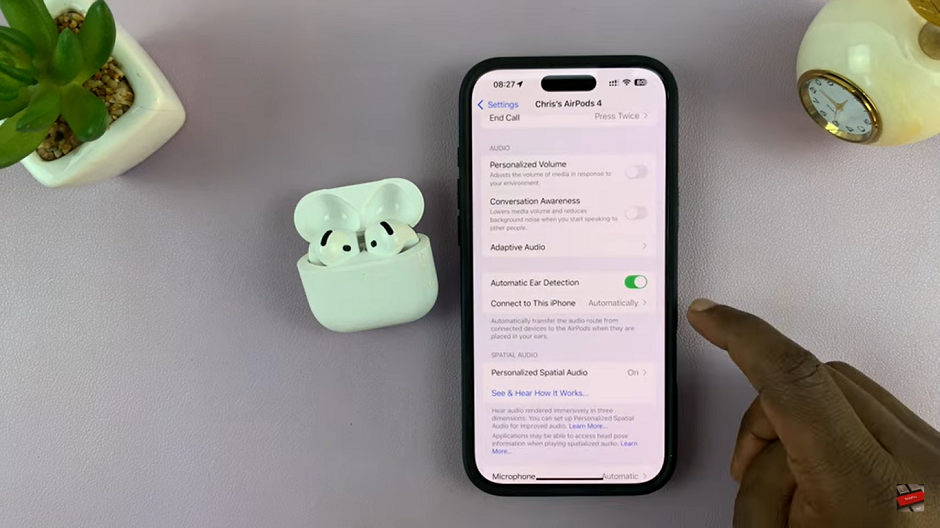
Scroll down in the AirPods settings menu until you see the option Automatic Ear Detection. Tap on the toggle to switch it ON . The toggle should turn green in color

Enabling or disabling Automatic Ear Detection on your AirPods 4 is a simple yet impactful customization that allows you to control how your device interacts with you. Whether you enjoy the seamless pause-and-play functionality when removing your AirPods or prefer a more manual approach to playback, this feature can be tailored to your preferences with just a few taps in your device’s settings.
Read: How To Enable Noise Cancellation with One Airpod On Airpods 4

