Have you ever struggled to manually sync audio and video, spending too much time dragging clips around? Well, say goodbye to the hassle because CapCut for PC has an amazing Auto Sync feature that will save you time and effort.
CapCut has become a go-to video editing tool for creators, offering powerful features for seamless editing on both mobile and PC. One of the most convenient features is Auto Sync, which allows users to automatically synchronize clips with music, ensuring precise timing and professional-quality results.
Enabling this feature on CapCut for PC is straightforward and can save you valuable time during editing.
Watch: How To Sync Sound & Video On Capcut
How To Enable Auto Sync On CapCut Pc
Open the CapCut application on your PC. Click on the “New Project” option to create a project or continue with an existing one.
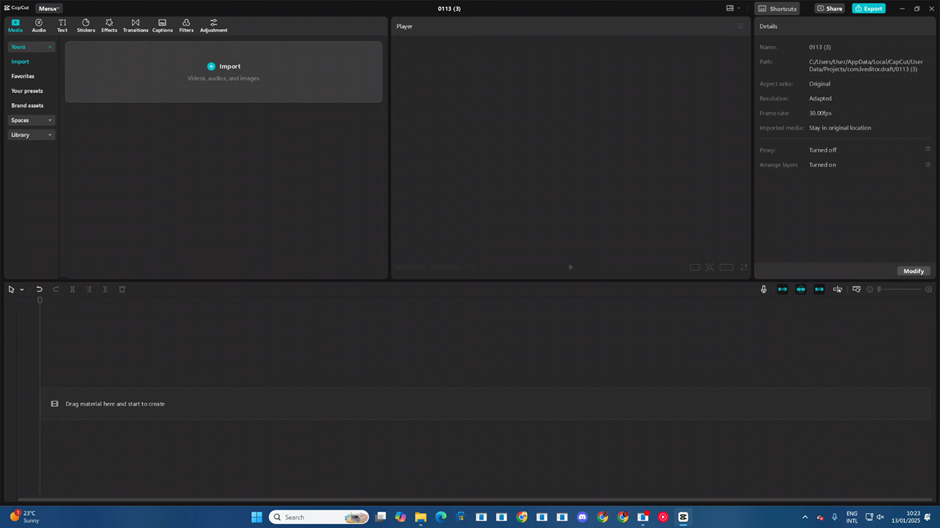
In the top corner of the CapCut interface, locate and click on the menu option. From the drop-down menu, select Settings to open the configuration panel.
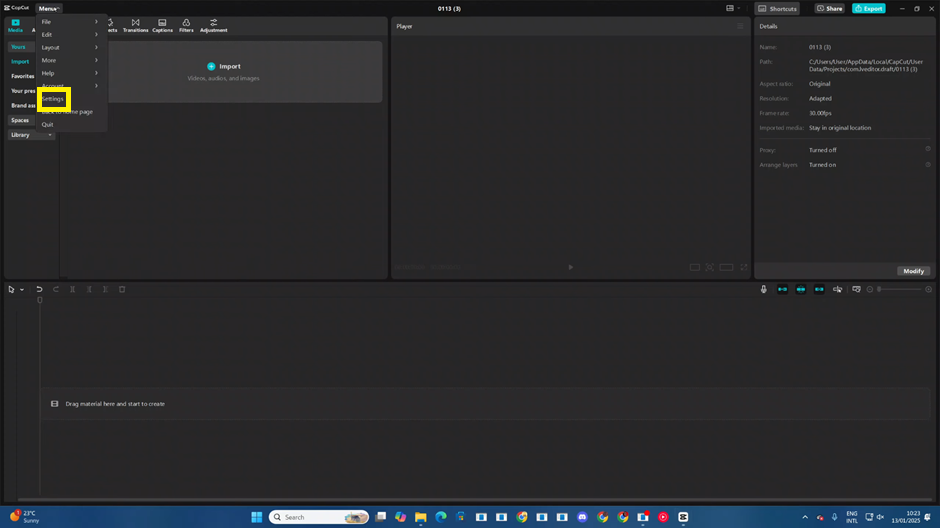
In the Settings menu, scroll or navigate to the Draft section where you can adjust your project-saving preferences.
Locate the Auto Sync option and toggle it on to enable automatic saving for your projects.
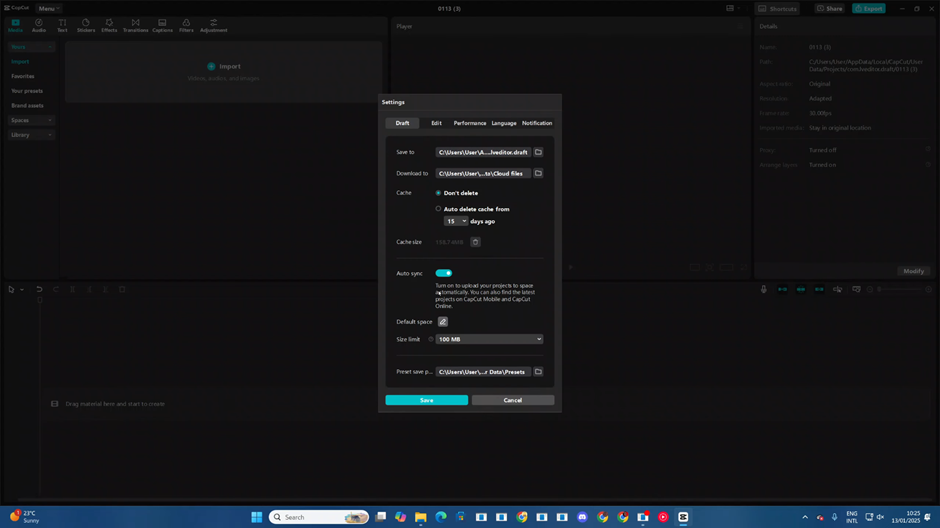
Choose the account where you’d like your projects to be synced and saved. Make sure you’re logged into the correct account for seamless synchronization.
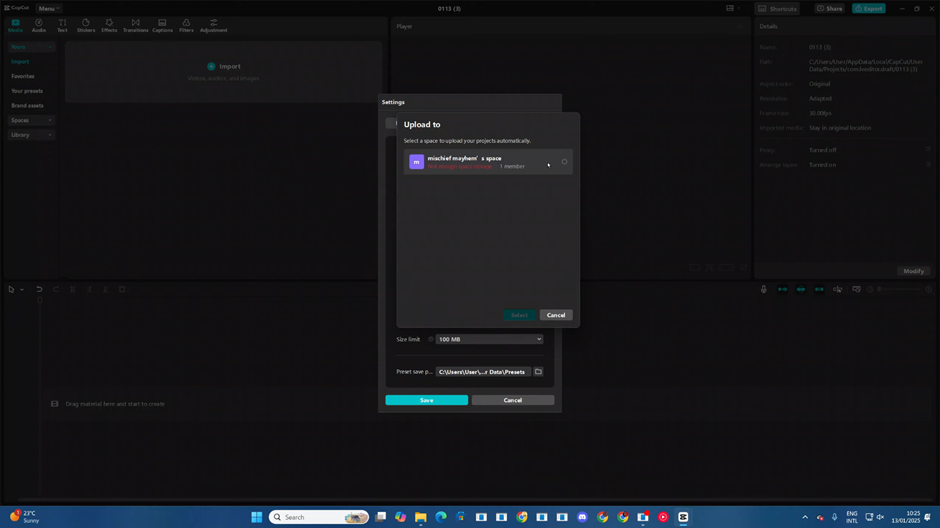
By following these steps, you can easily enable Auto Sync in CapCut on PC and never worry about losing your progress again! Let me know if you’d like help with anything else.
Read: How To Make Google Default Search Engine In Microsoft Edge (2025)
