In this article, we’ll walk you through the step-by-step process to edit photos on the iPhone 16, iPhone 16+, iPhone 16 Pro & iPhone 16 Pro Max, using the native Photos app. You’ll learn how to make basic adjustments, apply creative filters, and fine-tune your images for the best results.
The iPhone 16 lineup is once again packed with advanced camera systems and editing tools that make it easier than ever to enhance your photos right on your phone.
You’ll get to see how you can use the newest editing tool, the Photographic Styles, to enhance your photos. Knowing how to edit your photos can make all the difference in getting that perfect shot or making your photos stand out.
Read: How To Mark ALL Messages as Read On iPhone 16
Edit Photos On iPhone 16
Editing photos comprises of a lot of components that one can stylistically take advantage of. This of course depends on a number of variables, more so, how you wish to use the photo. There are a number of editing tools at your disposal, especially on the iPhone 16 models.
Photographic Styles
This is a new feature that has made its debut with the launch of iPhone 16. To use it:
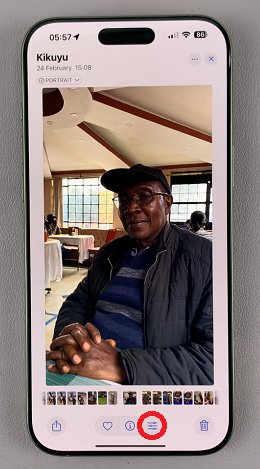
Start by launching the Photos app on your iPhone 16 and find the image you wish to edit. Next, tap on the Edit option in the bottom menu. The edit icon displays three horizontal lines with circles on them.
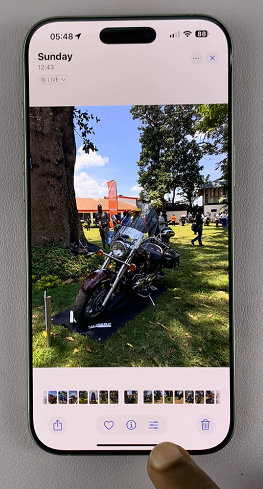
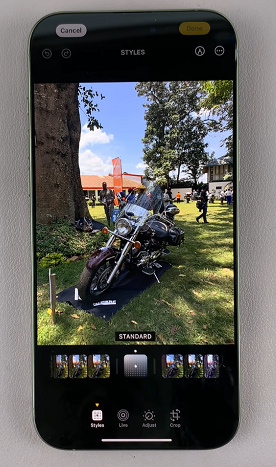
You will land on the Styles option, which is set to Standard by default. Scroll right to select a photographic style of your choice. They include Amber, Gold, Rose Gold, Neutral and Cool Rose.
To make adjustments to a style, tap on it. Then use the dot on the pad to set your level of Tone and Colour for the photo. You can also use the slider to adjust the Palette level.
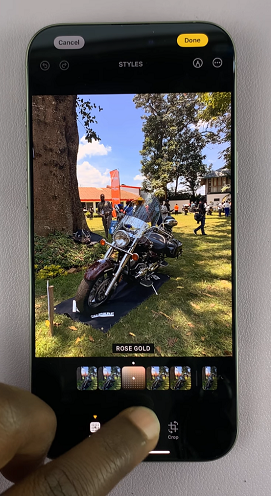
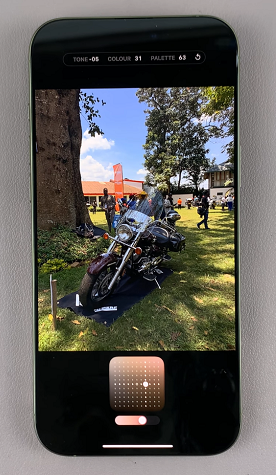
To the right of the Standard style, you have your traditional photo effects which you can also select and make adjustments to. You also receive a dotted pad and a slider to make your adjustments.
Tap on the undo arrow next to the Palette option to go back to the previous change made if you don’t like it. Once you’re through with the changes, tap on the photo then select Done in the top-right corner to save them.
Edit Live Photos
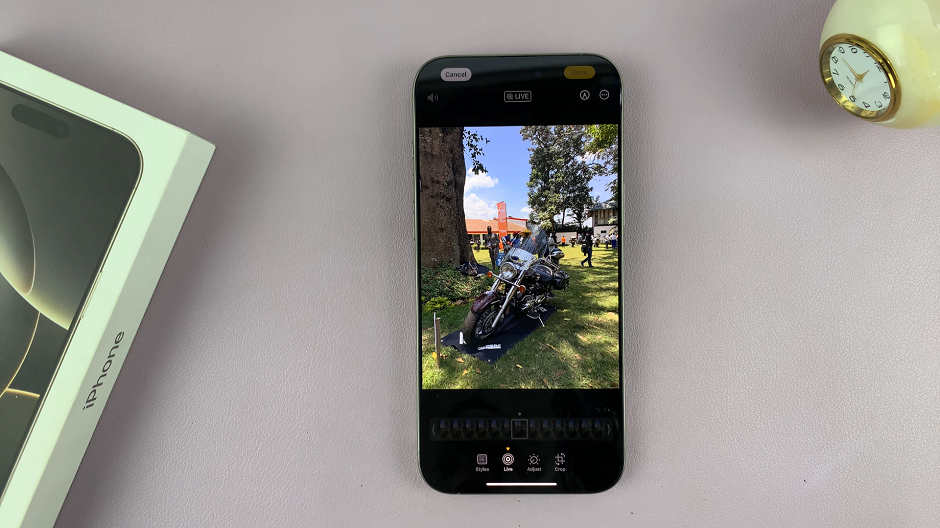
After the Styles menu, you can select the Live option which allows you to edit a photo if it is a live photo.
Adjust Photo Settings
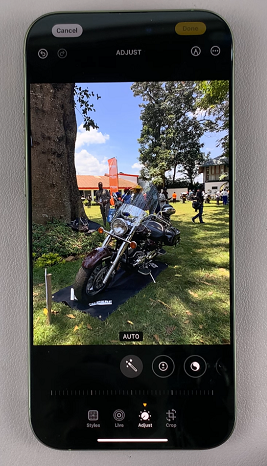
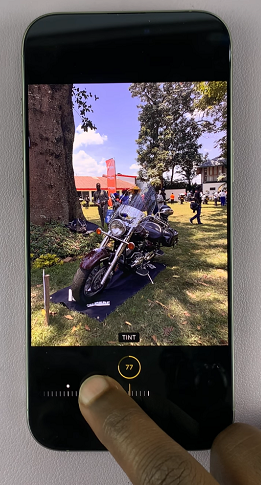
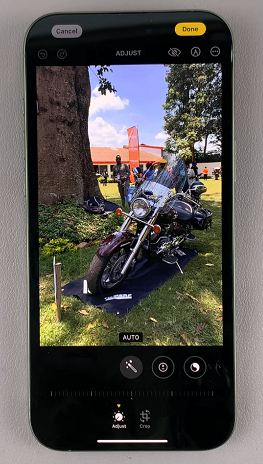
Select the Adjust option to make changes to Auto, Exposure, Brilliance, Highlights, Shadows, Contrast, Brightness, Black Point, Saturation, Vibrancy, Warmth, Tint, Sharpness, Definition, Noise Reduction and Vignette. A slider is available for each option to make the adjustment as you preview it in real time.
Crop Photos
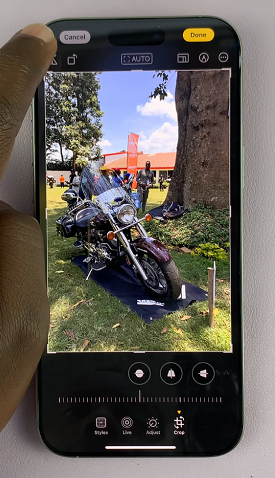
The last option in the edit menu is Crop. Here, you can be able to resize your photo by using a border to leave out areas you don’t want on your photo.
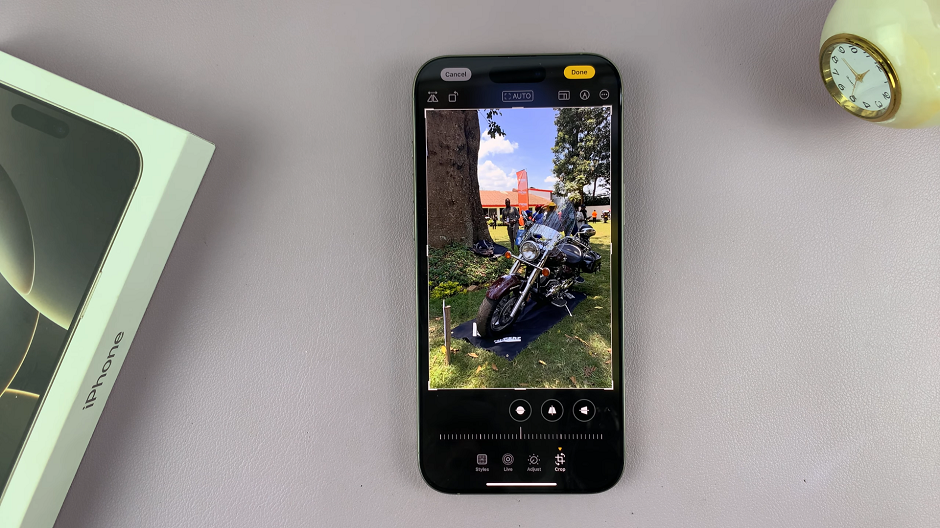
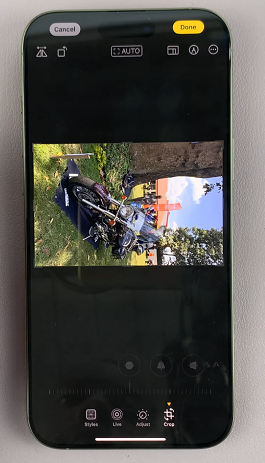
In the Crop menu at the top, you have the Flip option in the top-left corner that allows you to invert the photo by flipping it. Next to it is the Rotate option that allows you to rotate your photo by 90° until you achieve the rotation you need.
Markup Photos
The pen icon in the top-right corner is known as the Markup tool. Tap on it to select a range of pens to annotate your photo with.
For more markup options, tap on the + icon in the bottom right corner. Here you’ll have a couple of options to choose from.
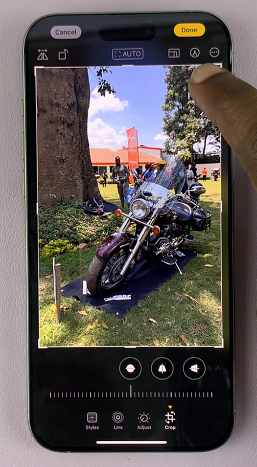
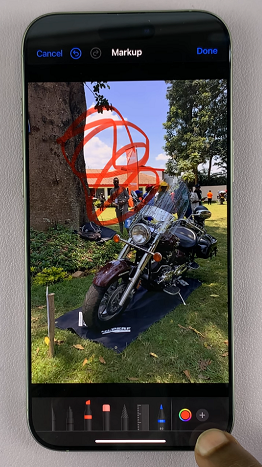
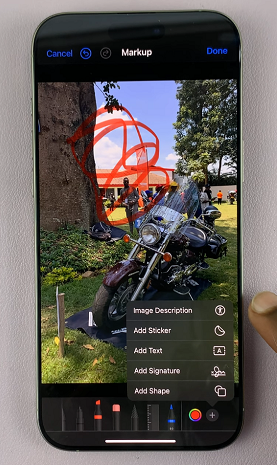
Image Description: You’ll be able to input a description of the image on the photo.
Add Sticker: Tap on this option to add a sticker from the available sticker options, or add a custom one you had made.
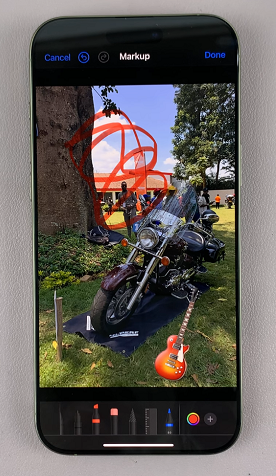
Add Text: Key in overlaid text on the image.
Add Signature: You can also add a signature you had created, or simply create or add one and use it on your photo. The color of the signature can be changed to be visible against your image.
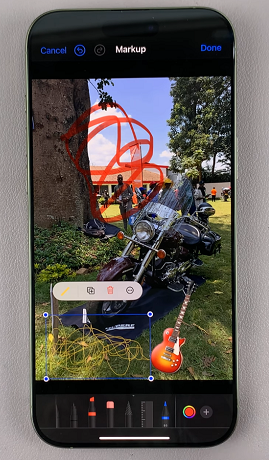
Add Shape: Choose shapes to overlay on your photo.
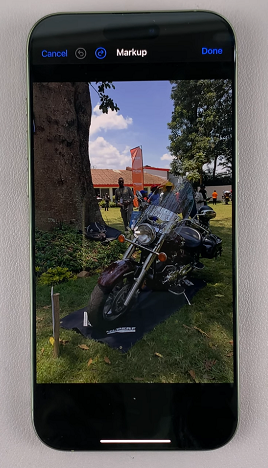
If you make mistakes, you can always undo the markup edits using the undo arrow in the top-left corner. This undoes the last edits as far back as they can go. Tap on Done to apply your markup changes to the photo, then tap on Done once again to save the overall changes.
Create Portrait Photos
You can also edit Portrait photos. Simply find one from your gallery. At the bottom of the Edit menu, look for the Portrait option. If the photo doesn’t have depth, then this option will not be available.
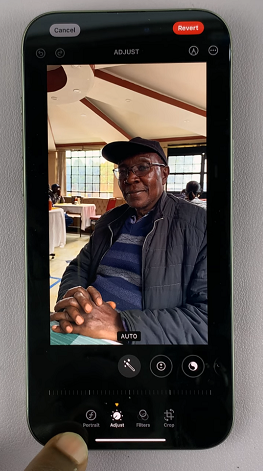
Use the slider to adjust how blurry you want your background to be. By default, it is set to OFF. Slide it to the right until you achieve the blurriness that best suits you.
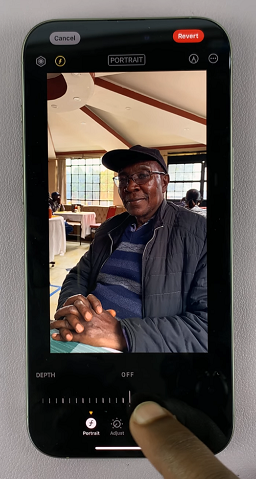
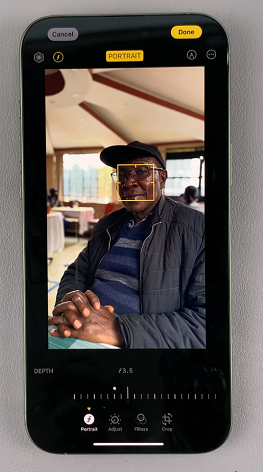
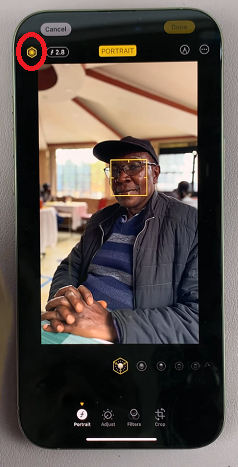
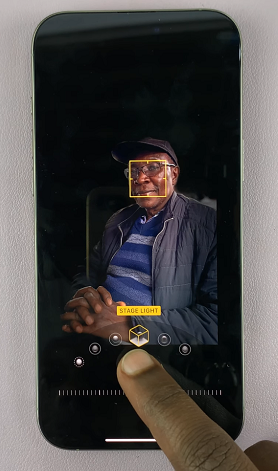
Select the icon in the top-left corner of the Portrait photo settings. This is the portrait style icon. From there, skim through the styles and choose the one that best suits your photo.
Finally, tap on the Done button in the top-right corner to save your work.
Remove Background From Any Photo
To delete a background, you obviously need to find the image you wish to erase the background from.
Next, tap and hold on the subject you wish to preserve, then let go of it to reveal a couple of options. You will have the option to copy, add sticker or Share.
Copy: Select this option, then go to another app like the Notes or Messages app, and paste it there. In the Notes app, open a new note, then release the subject on it. On the Messages app, tap on the text box, then release the subject on it.
Add Sticker: Here, you will be able to add the image to your stickers collection. You will have the chance to add effects to it immediately, or delete it if you don’t like it.
Share: This option allows you to send the image without a background to various platforms, including Airdrop, Mail, Notes, Messages, WhatsApp and many more. You can also copy the image from here, as well as use the image for other options.
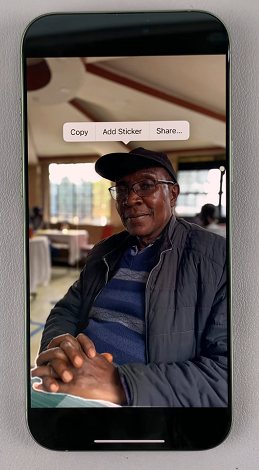
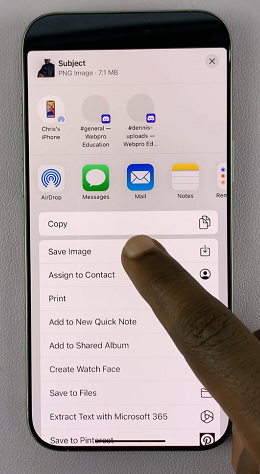
Tap on Share, then select the Save Image option. This will save your photo without a background as the most recent image on your camera roll.
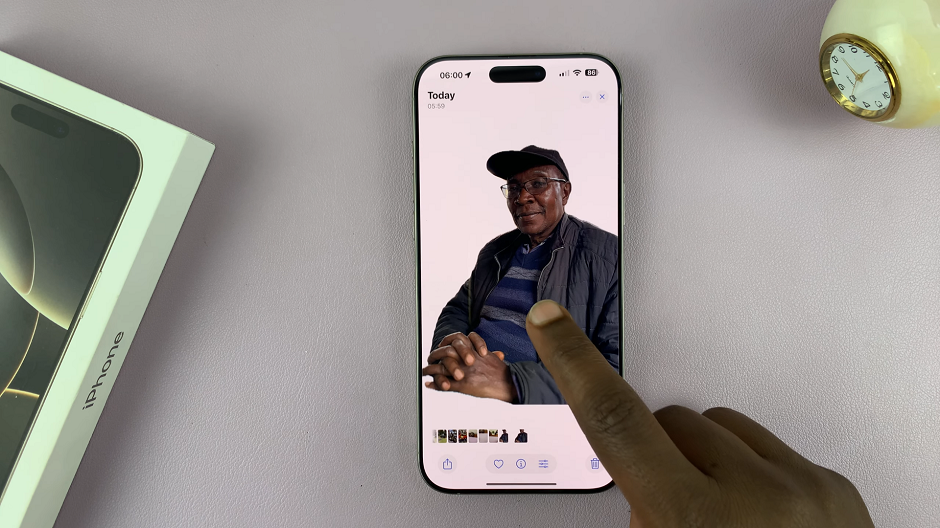
You will now be able to share or use it for later as you wish. These instructions will apply to any iPhone.
