In today’s digital era, streaming music is the easiest and most enjoyable way to access your favorite tunes and discover new artists.
Apple Music, one of the leading streaming platforms, offers an extensive catalog of songs, expertly curated playlists, and exclusive content.
If you’re ready to dive into the world of Apple Music, here’s a comprehensive guide on how to download and install it on your Windows PC or laptop.
Read: How To Back Up iPhone To Windows PC / Laptop
Download & Install Apple Music On Windows
To start, open the Microsoft Store app from the pinned icon on the taskbar. You can also search for it using the start menu search bar.
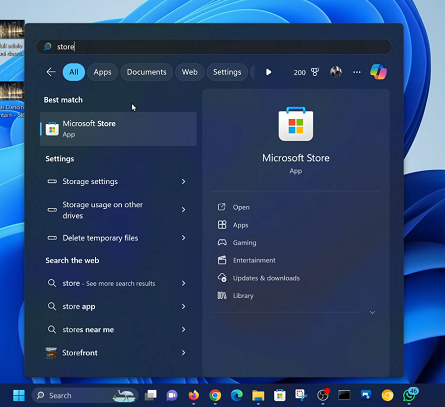
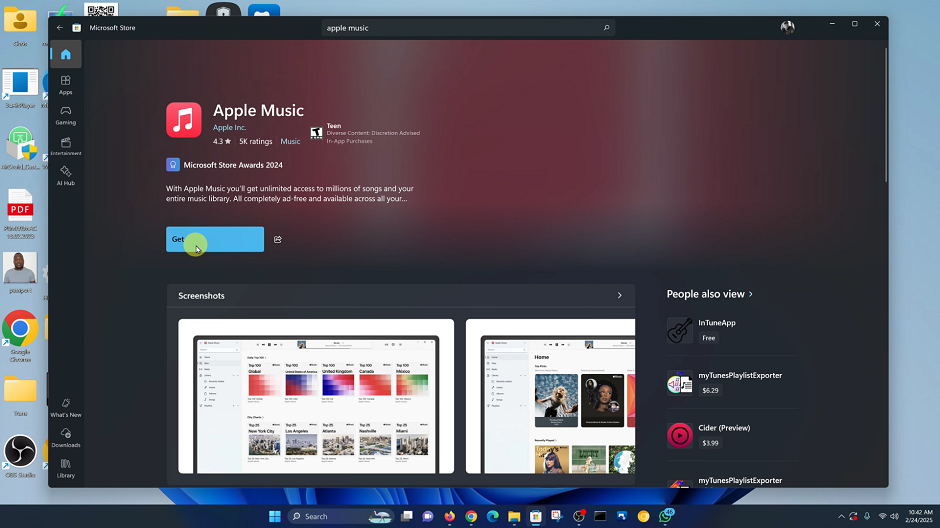
Search for Apple Music using the Microsoft Store search bar. Locate the official app from Apple Inc. in the search results and click on the Get button to download and install it on your Windows device.
Once the installation is complete, launch the Apple Music app by clicking on the Open option.
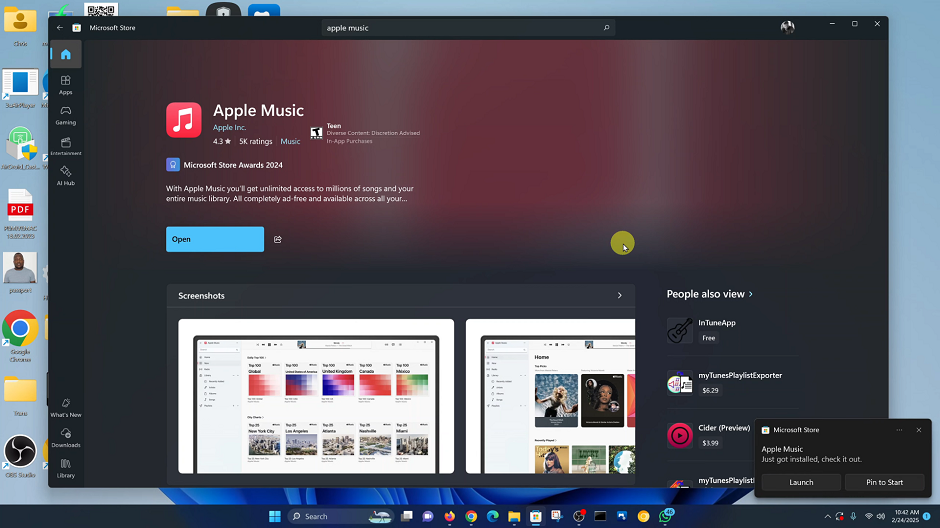
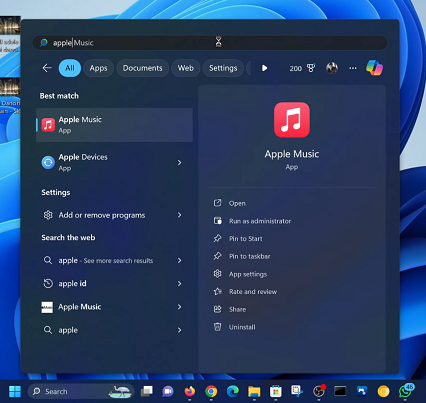
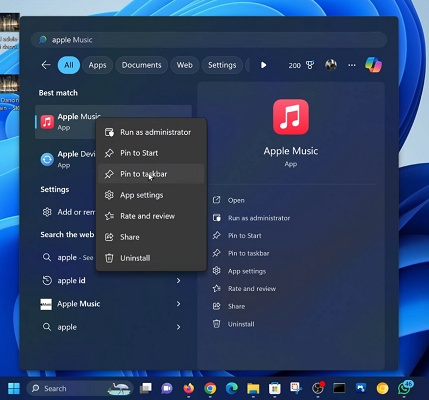
You can also use the start menu search bar to locate it to launch the app from there. Alternatively, you can right-click on the app icon and select either Pin to Taskbar or Pin to Start to have an easier way to launch the app in future.
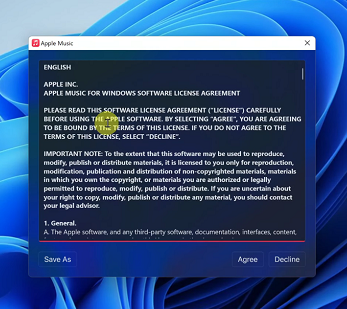
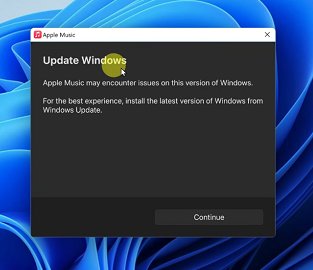
After you launch the app, you’ll be required to read the terms and conditions, then click on Agree to proceed. You may be prompted to update your Windows PC for the app to work properly. Tap on Continue.
Once the app launches, click on Start Listening in the Welcome to Apple Music prompt. The Sign In page may come up automatically to allow you to sign in with your existing Apple ID.

If not, click on the Sign In option in the bottom-left corner of the app, then select Sign In.

If you don’t have an Apple ID, select Create New Apple Account and follow the process. For each option, you will need to click on Continue to proceed.

With Apple Music installed and your subscription set up, you can now enjoy a variety of features in Apple Music on your Windows PC or laptop.
Watch: Back Up iPhone To Windows PC

