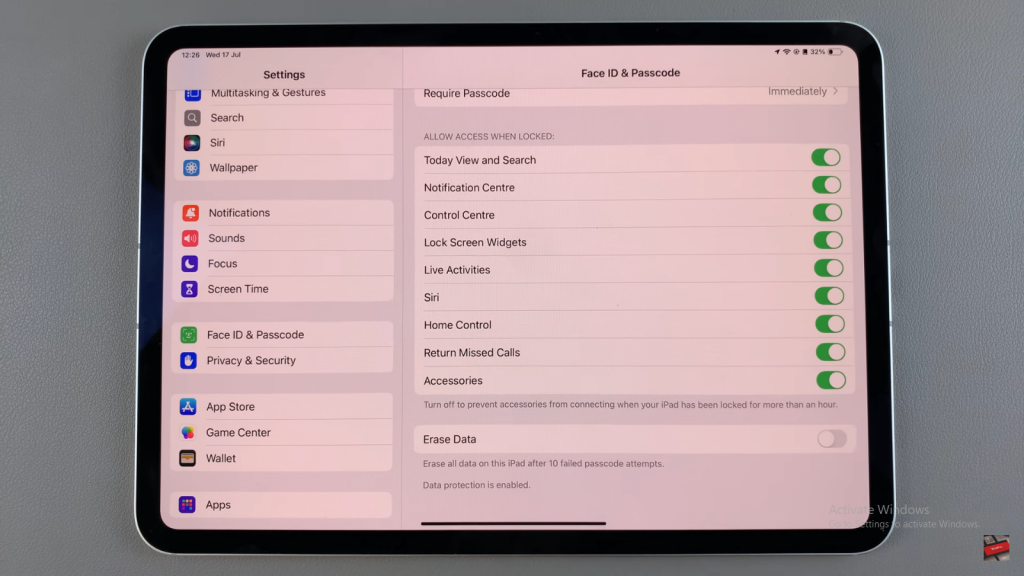
Turning off this feature prevents accidental data loss from incorrect password entries. Follow these steps to adjust your iPad’s settings and keep your data safe without the risk of automatic deletion.
Watch:How To Install Amazon Prime Video On iPad
Disable ‘Erase Data’ After 10 Failed Password Attempts On iPad
Step 1: Open Settings
Begin by launching the Settings app on your iPad. This app is typically found on your home screen and has a gear icon.

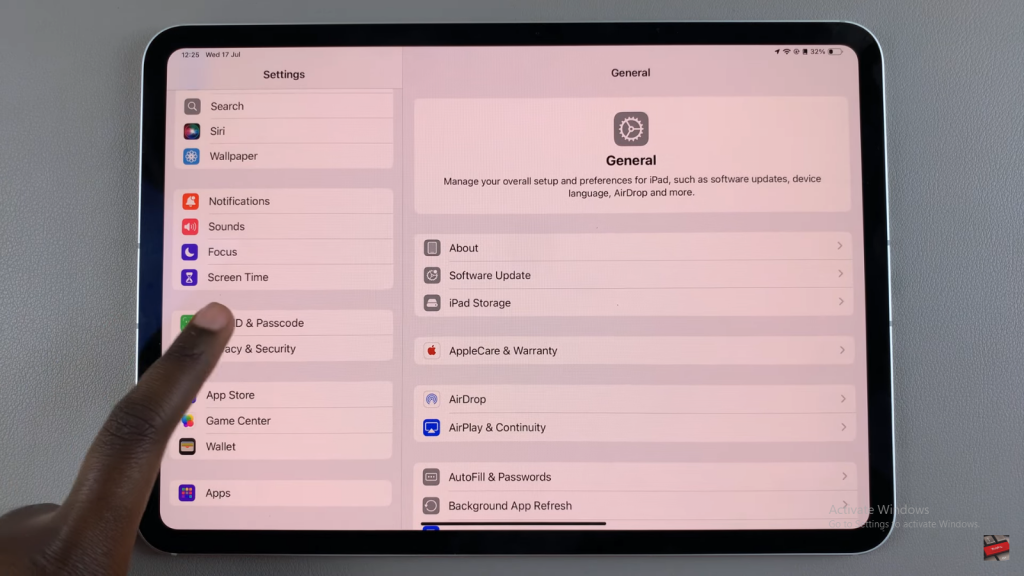
Step 2: Access Face ID & Passcode
Next, scroll down and select “Face ID & Passcode.” This section manages your security settings related to Face ID or Touch ID and passcodes.
Step 3: Enter Passcode
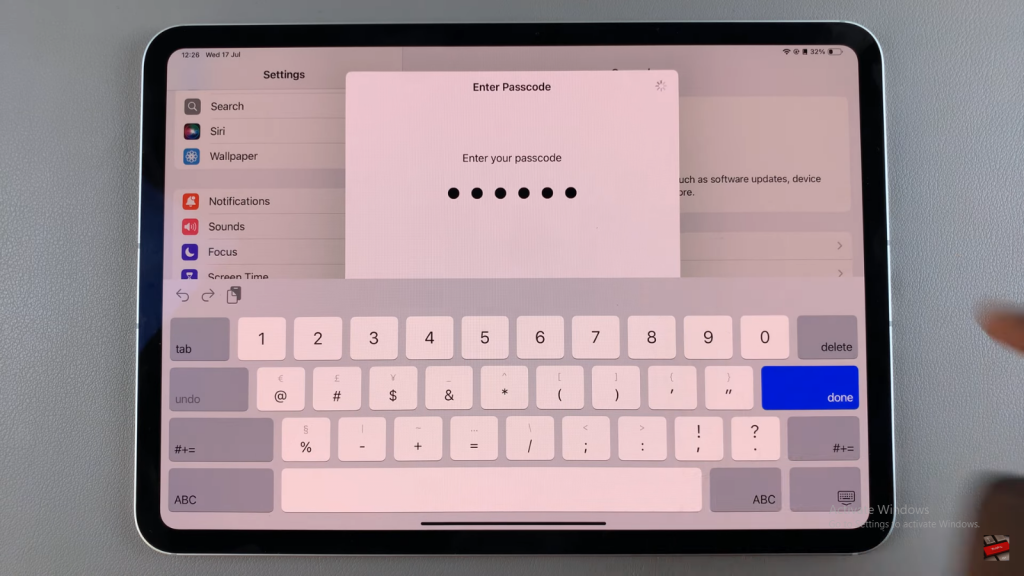
After that, enter your current passcode to confirm your identity. This step ensures that only authorized users can make changes to these security settings.
Step 4: Find Erase Data Option
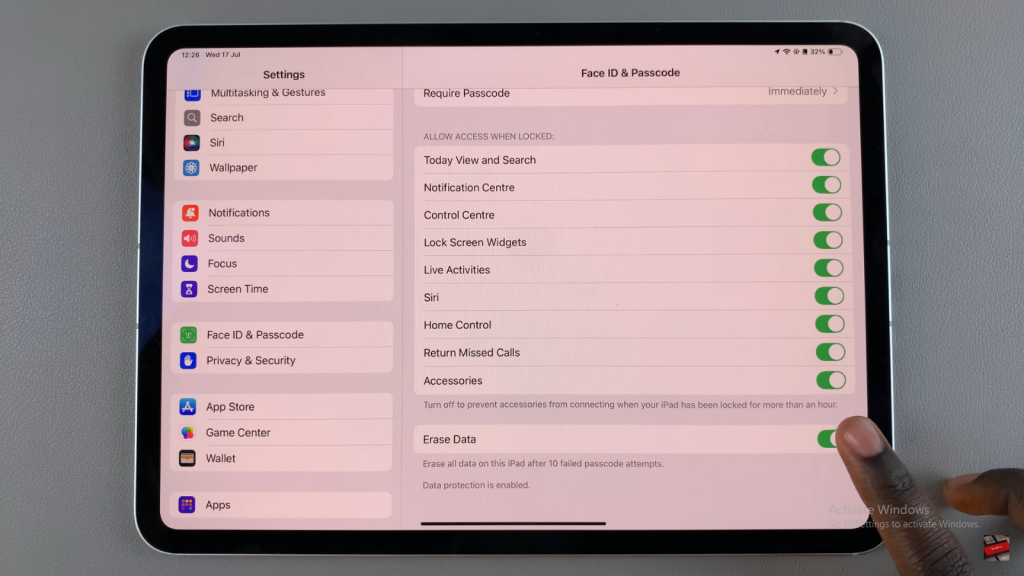
Once you’re in the Face ID & Passcode settings, scroll through until you find the “Erase Data” option. This feature erases all data on your iPad after 10 failed passcode attempts.
Step 5: Disable Erase Data
Finally, tap the switch next to “Erase Data” to turn off the feature. By doing this, you will prevent your iPad from automatically erasing data after 10 incorrect password attempts.
