Organizing your Discord server is essential for smooth communication and engagement. Creating text and voice channels helps structure discussions, gaming sessions, and community interactions. Whether you want to add a public, private, or category-based channel, setting it up is quick and easy.
In this guide, we’ll walk you through how to create a channel on a Discord server, customize its settings, and manage permissions for a better server experience.
Read: How To Connect Steam Account To Discord
How To Create Channel On Discord Server
Open the Discord app on your PC or mobile device and log in to your account.
Find and select the Discord server where you want to create a new channel.
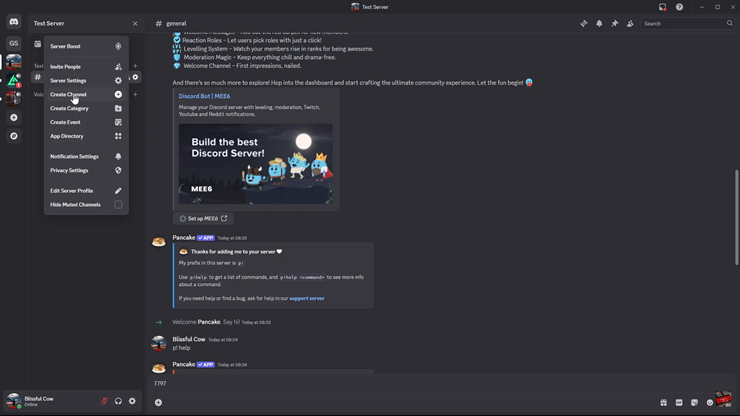
Click on the server name at the top of the channel list to open the dropdown menu.

From the dropdown menu, tap on “Create a Channel.”
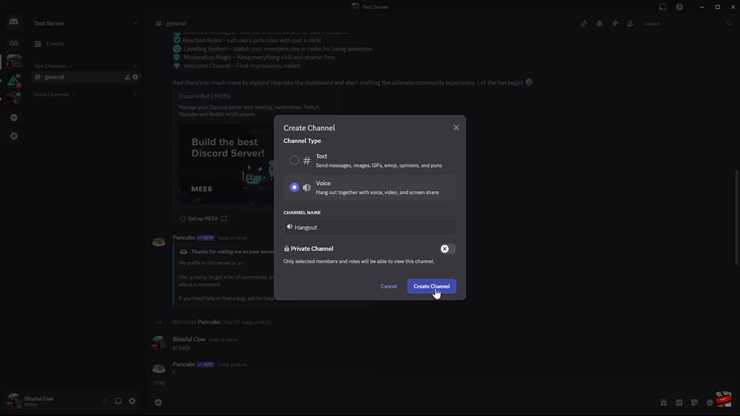
Select whether you want a Text, Voice, or Announcement channel.
Enter a channel name and adjust privacy settings if needed.
Click “Create Channel.”
If you want to customize settings, highlight the new channel and click on the settings icon (⚙️) to open the customization page.
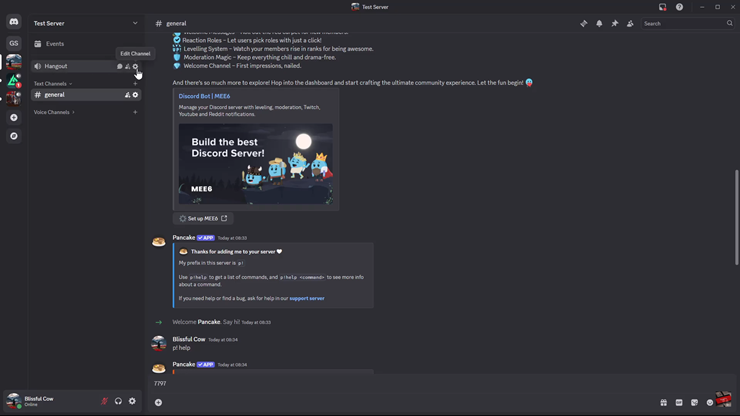
You’ve successfully created a channel on your Discord server. You can now manage permissions, add roles, and customize settings to improve the server experience.
Watch: How To Stream On Discord

