Bluesky is fast gaining ground as a social media platform of the future where people meet, brainstorm, and consume content. As a decentralized network, it promises much more control over your data and an entirely different approach to social life online. But before you can indulge in the possibility of this new platform, you must set up an account with them.
If you’re wondering how to get started, you’re in the right place. In this guide, we will walk you through the steps to create a Bluesky account. From signing up with your email to completing your profile to understanding the platform’s top features, we have the entire process covered.
Whether you’re tech-savvy or a beginner, our step-by-step instructions will ensure that you have the tools to embark on your Bluesky journey. Are you ready to embrace the future of social media? Get started!
Watch: How To Enable Two Factor Authentication On Bluesky
Create Bluesky Account
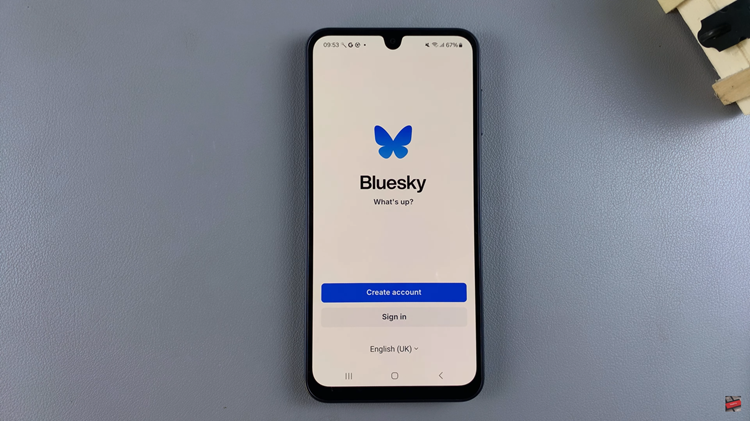
Firstly, you’ll need to install the Bluesky application on your device. To do this, simply head to the Google Play Store or App Store and install the application. Then, launch the application and you’ll see a few options on the home page; ‘Sign In’ & ‘Create Account.’ Tap on Create account.
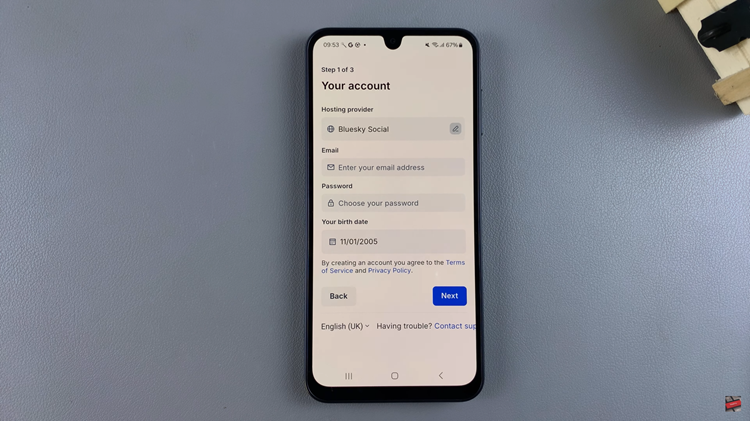
Following this, you’ll be given a few text fields that you’ll need to add information to. From here, add the required details; email address, password, birth date, and hosting provider. Once you’ve added the info, tap on ‘Next‘ to proceed.
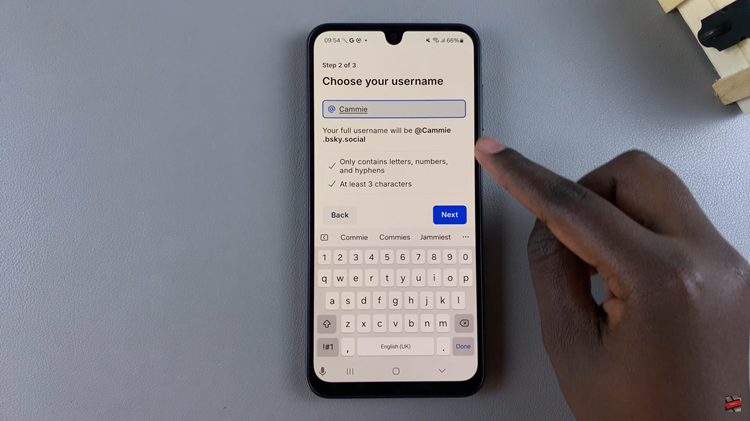
At this point, you’ll be required to create a username that you’ll use on the platform. Tap on the ‘Username‘ text field and type in your desired username. Once satisfied with the username, tap on ‘Next‘ to continue.
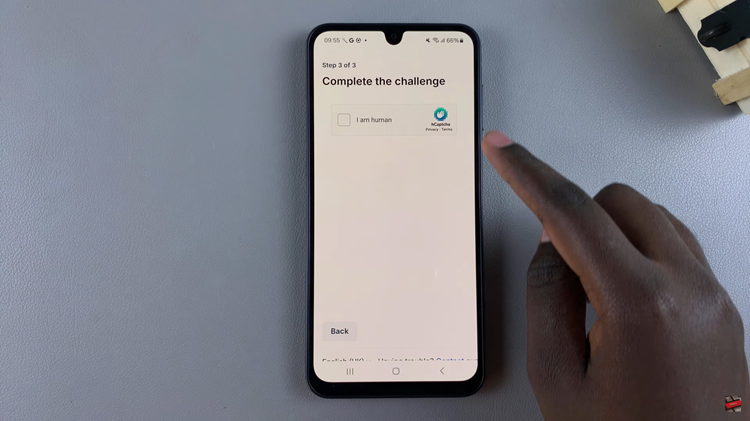
On the next page, you’ll be required to complete a security challenge. This is to ensure that you’re not a robot. Follow the instructions that might appear to complete the challenge.
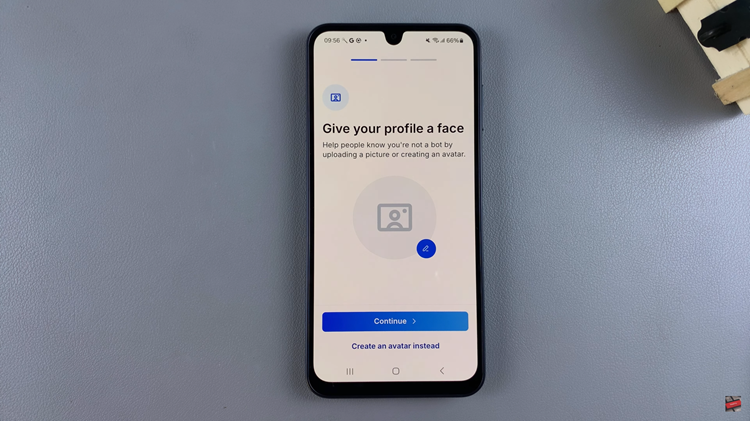
Afterward, you’ll be prompted to customize your profile. You can tap on the profile icon and add an image to your account. Once done, tap on ‘Continue.’
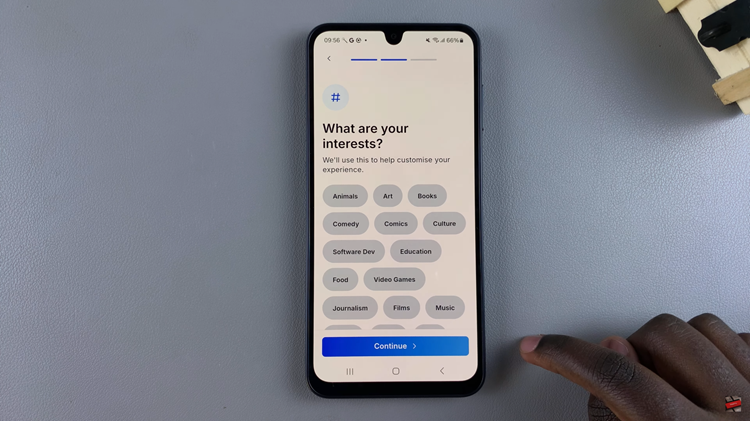
After customizing your profile icon, you’ll be prompted to choose your interest. At this point, select as many interest you prefer and once done, tap on Continue. Then, select ‘Lets go‘ to finalize the set up. Once done, you can now use the app.
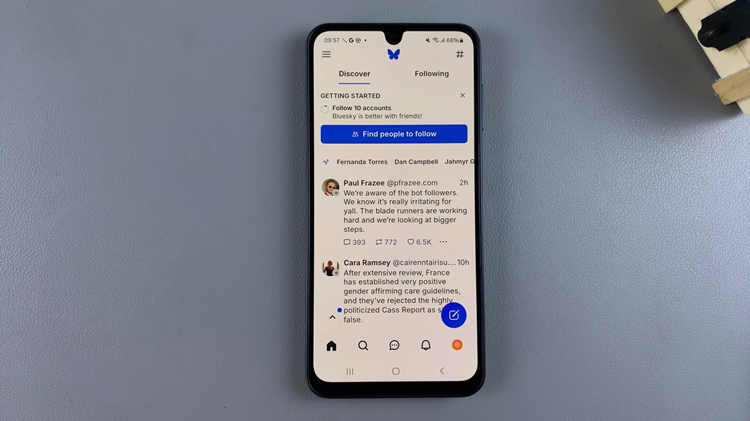
By following the steps in this guide, you’ve successfully created your Bluesky account and are now ready to personalize your profile, start following other users, and dive into the unique social experience that Bluesky offers.
