Want to play Marvel Rivals with just your friends? Creating a custom game allows you to set up private matches, experiment with different strategies, and enjoy casual or competitive gameplay without random players. Whether you’re practicing, hosting a friendly battle, or setting up a tournament, custom lobbies give you full control over the match settings.
In this guide, we’ll walk you through the step-by-step process to create a custom game and invite your friends in Marvel Rivals. Follow along and get ready to dominate the battlefield on your terms!
Watch: How To Use & Equip Sprays In Marvel Rivals
How To Create A Custom Game & Invite Friends On Marvel Rivals
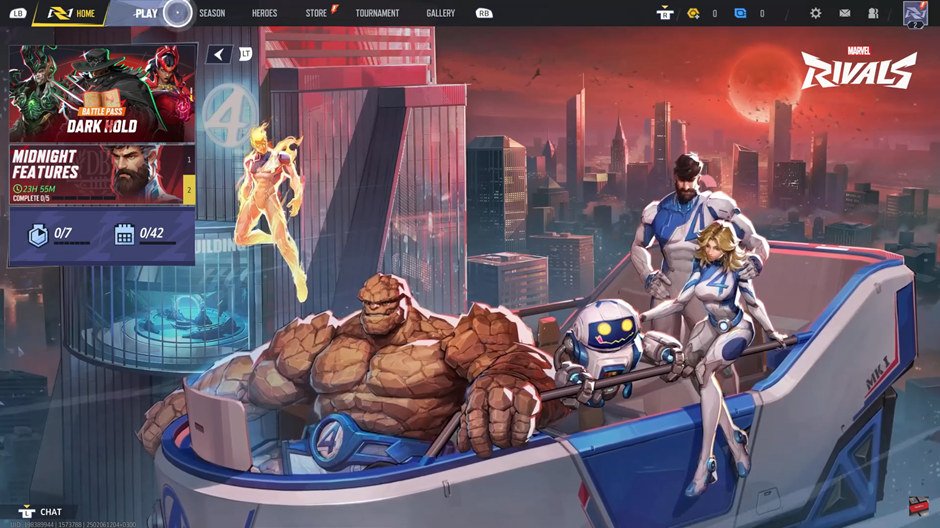
Open Marvel Rivals and wait for the main menu to load.
From the main menu, click on Play to access game modes.
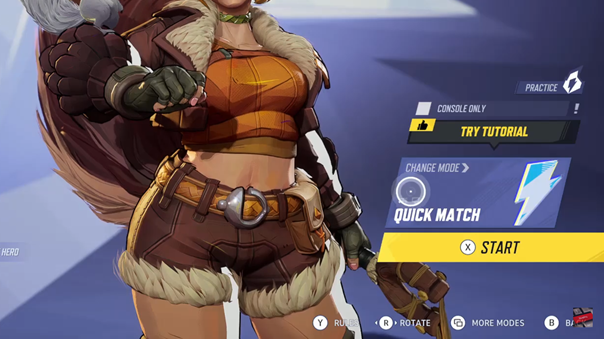
Look for the Change Mode option and tap on it to view available game modes.
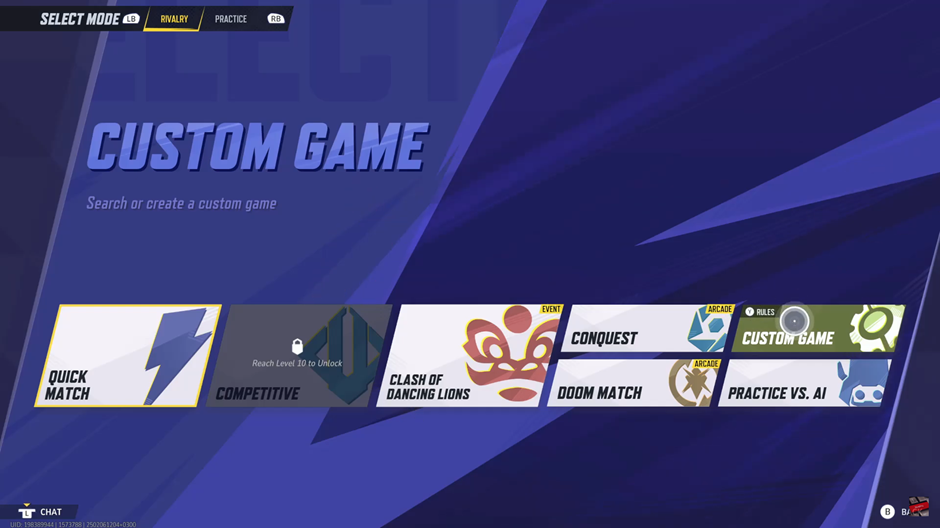
Scroll through the list and choose Custom Game to create your own private match.
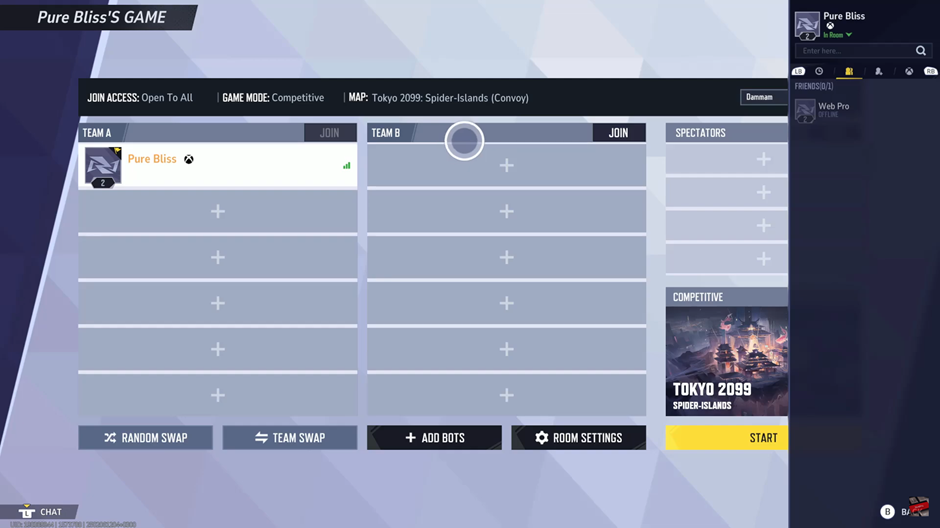
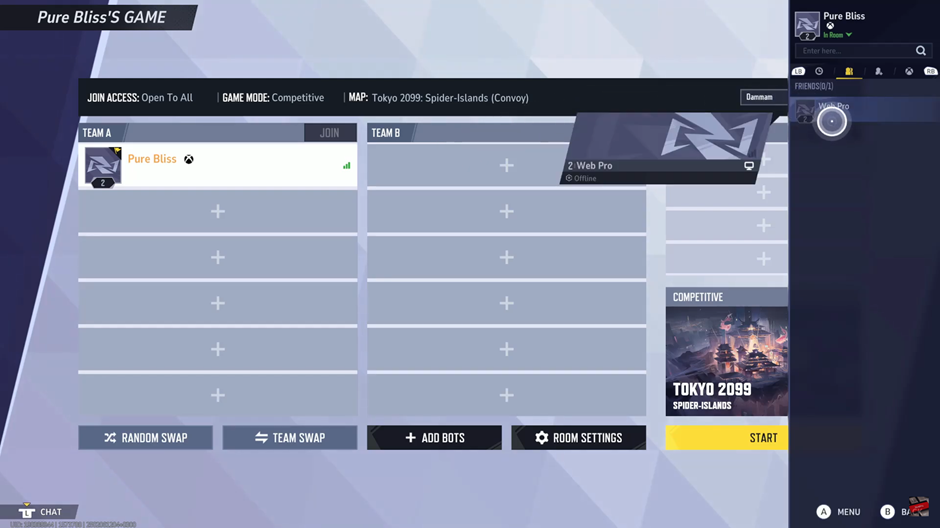
Once inside the Custom Game menu, set up your match by choosing the game settings.

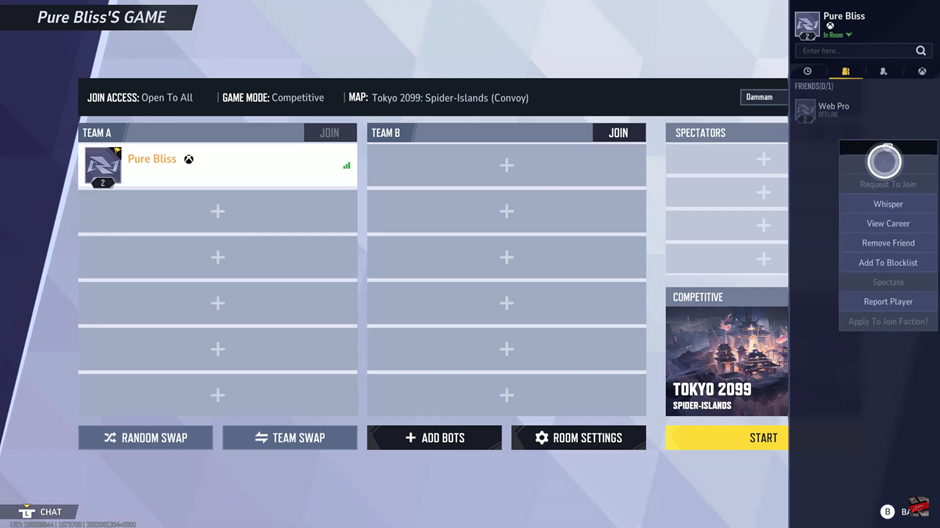
Click on the + icon to open your friends list and invite other players.
Scroll through your friends list to find the player you want to join your match.
Click on your friend’s name and select Invite from the drop-down menu. They will receive a game invitation to join your lobby.
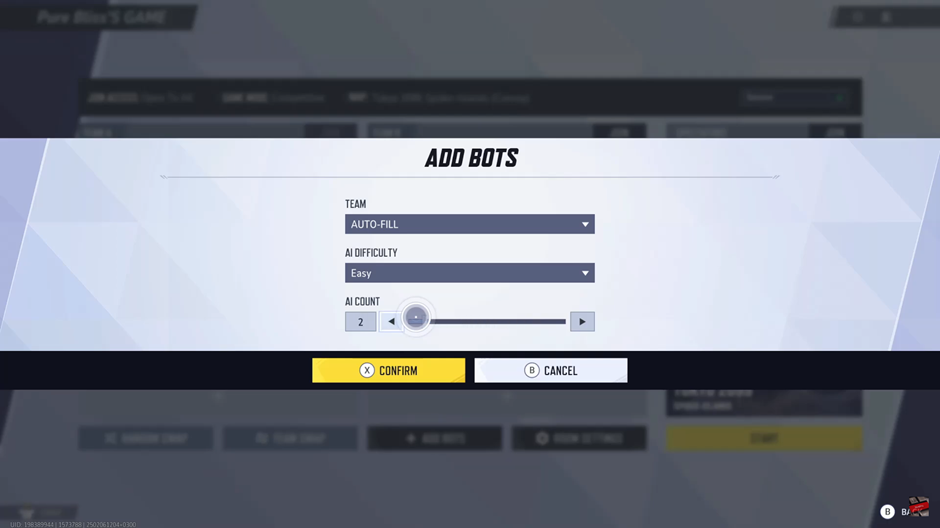
If you want to customize gameplay further, you can add and modify bolts to tweak game mechanics.
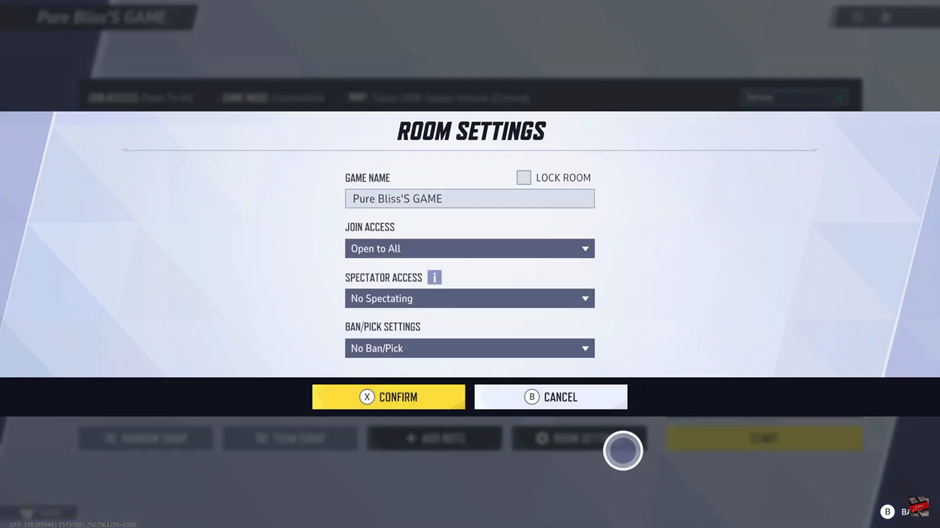
Customize your match by adjusting settings and other in-game preferences.
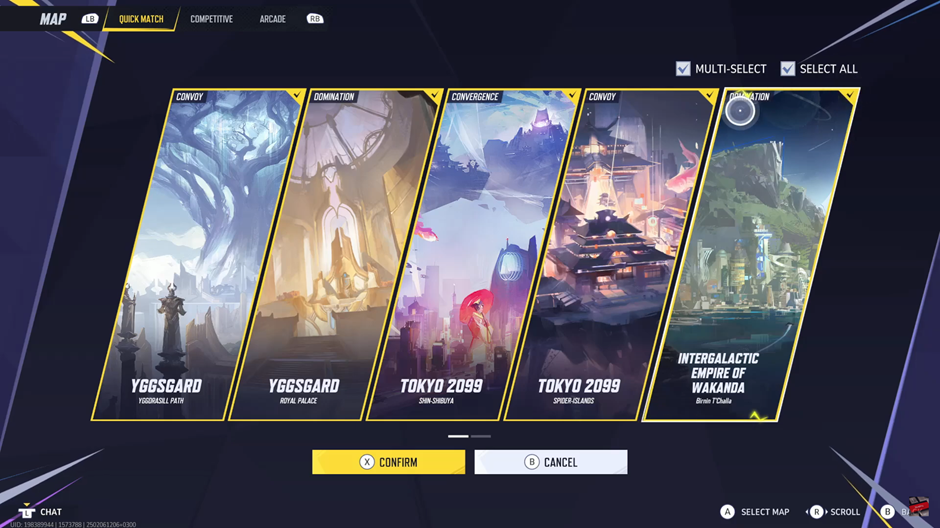
Choose the map where the match will take place based on your preferred battleground.
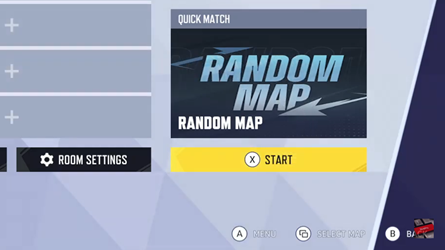
Once everything is set, click Start to launch the game and begin playing with your friends!
Now you’re all set to enjoy a custom match in Marvel Rivals with full control over the settings! Have fun and dominate the battlefield!
Read: How To Change Reticle Type In Marvel Rivals

