Converting video to audio is a simple yet powerful technique that lets you extract the sound from your videos for use in podcasts, music projects, or other creative endeavors. Whether you want to save background music, dialogue, or sound effects, CapCut Desktop makes the process quick and easy even for beginners.
In this guide, we’ll walk you through the step-by-step process of converting video to audio using CapCut Desktop. With this tool, you can effortlessly separate audio from any video file in just a few clicks.
Watch: How To Make Photo Negative In CapCut Desktop
How To Convert Video To Audio In CapCut Desktop
Open the CapCut Desktop application on your computer. Start by creating a new project to work on your video.
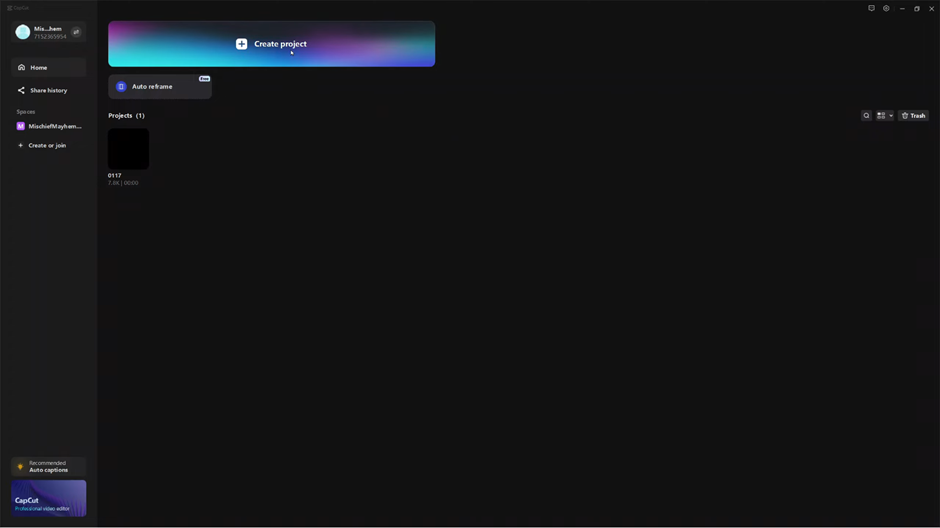
Click on the Import button.
Select your video file from the file explorer and tap Open.
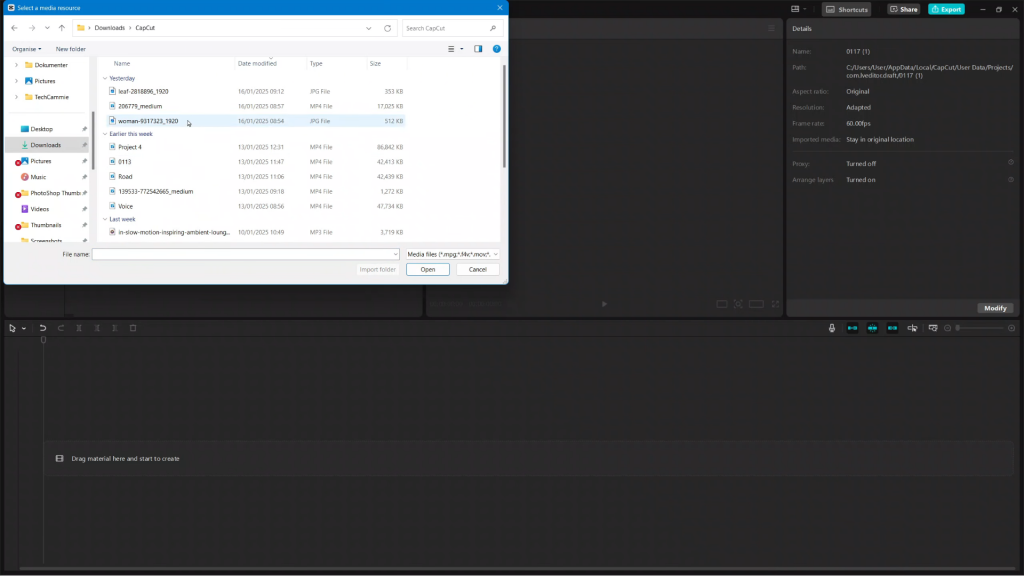
Drag and drop the imported video onto the timeline to begin editing.
Select the video on the timeline. Right-click on it and choose Extract Audio from the menu.
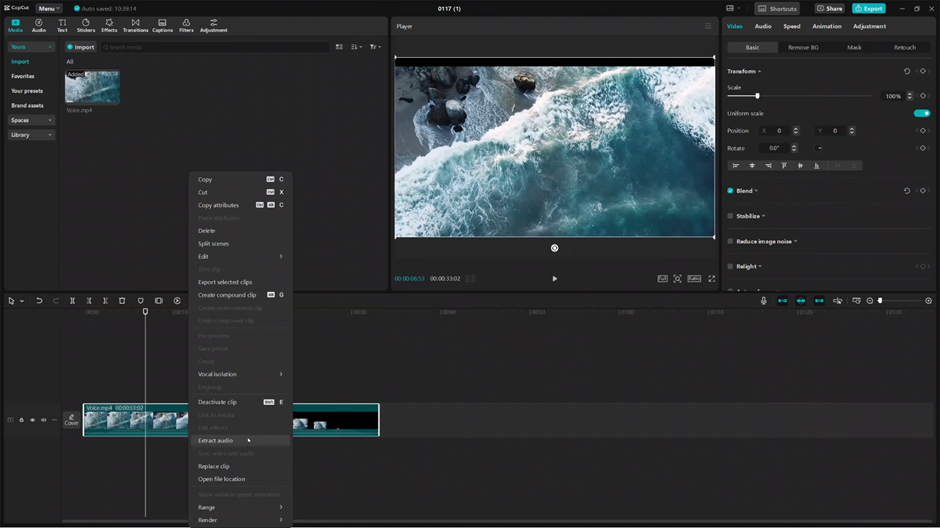
After extracting the audio, delete the video layer from the timeline, leaving only the audio.
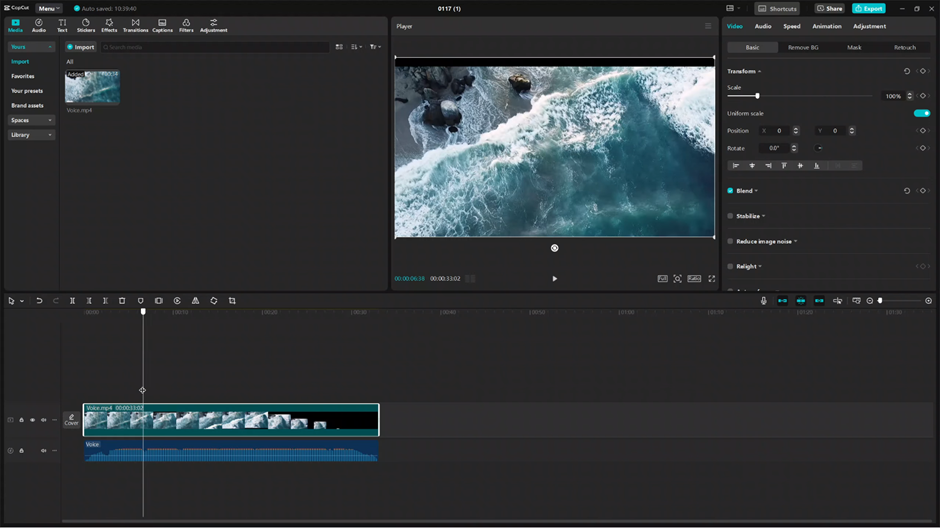
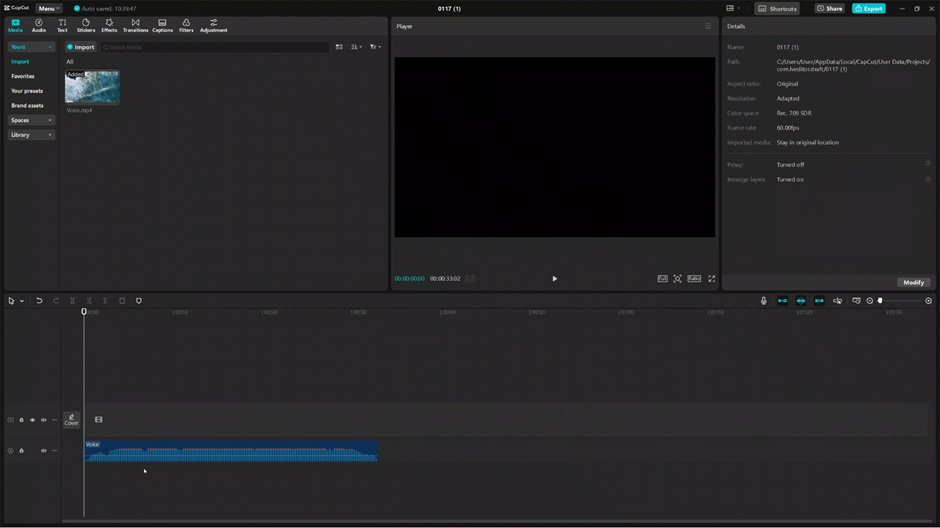
Make any necessary edits to the audio, such as trimming, adjusting volume, or adding effects.
Once you’re satisfied with your edits, click Export. Deselect the Export Video option and ensure Export Audio is selected.
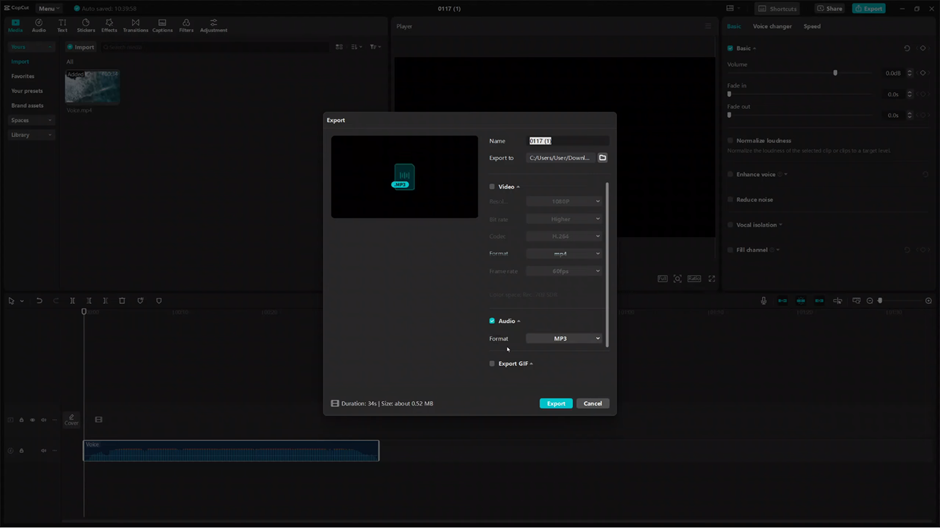
Select your preferred audio format, such as MP3, AAC, or WAV, depending on your needs.
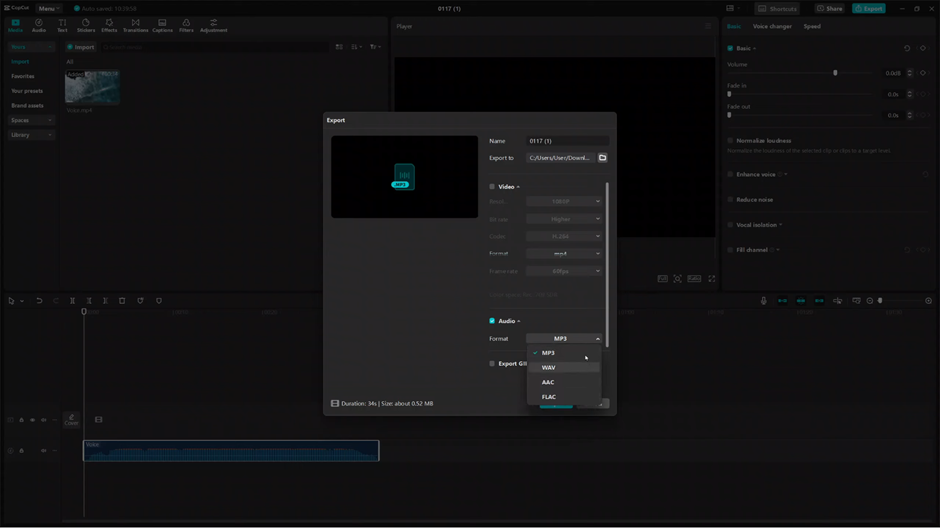
Tap on Export to save your audio file.
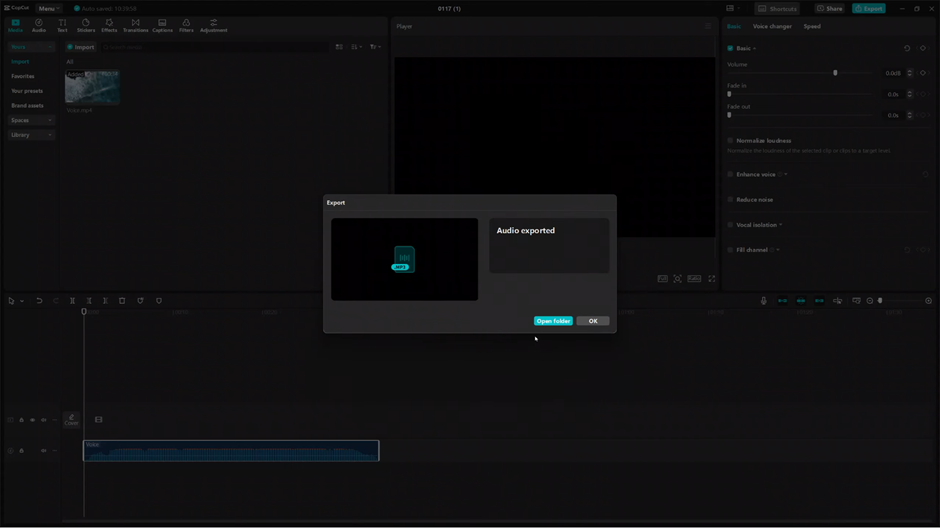
With these steps, you can effortlessly convert any video into an audio file using CapCut Desktop. Perfect for podcasts, soundtracks, or creative projects, this process is quick and beginner-friendly.
