One of the standout features on the iPhone 16 and previous iPhone 15 is the ability to apply the Portrait Mode effect to any image. This is possible even if the photo wasn’t originally taken in Portrait Mode. With this function, you can create stunning, professional-looking shots by blurring the background and drawing attention to your subject.
Here’s a step-by-step guide on how to convert any photo into a portrait photo on your iPhone 16, 16+, 16 Pro & iPhone 16 Pro Max. This can give your photo a professional look by enhancing your subject.
Portrait Mode isn’t just for selfies—it’s a great way to make any photo feel more polished. Whether you’re editing pictures of people, pets, or even objects, the portrait effect helps your subject stand out by softening the background and creating a sense of depth. It’s especially useful for transforming everyday photos into shots that look like they were taken with a professional camera.
Watch: Connect Wireless Microphone To iPhone 16
Convert ANY Photo Into Portrait Photo On iPhone 16
Start by launching the Photos app on your iPhone 16 and find the image you wish to convert into a portrait. Make sure the photo has a discernible subject and has some depth.
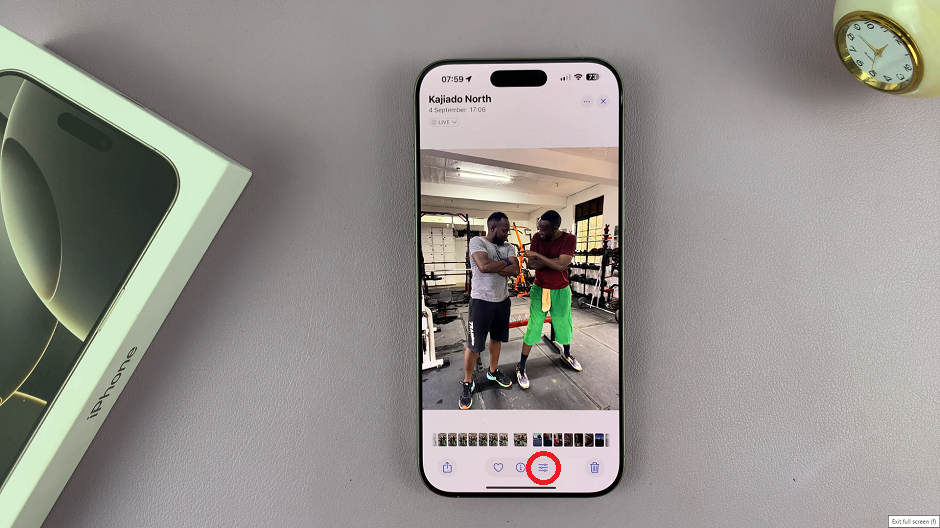
Next, tap on the Edit option in the bottom menu. The edit icon displays three horizontal lines with circles on them.
At the bottom of the Edit menu, look for the Portrait option. If the photo doesn’t have depth, then this option will not be available.
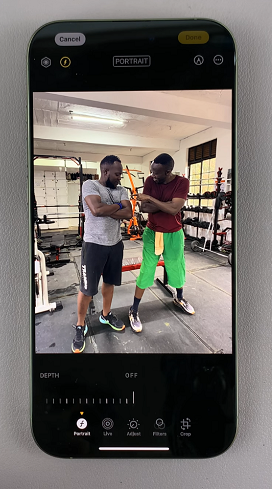
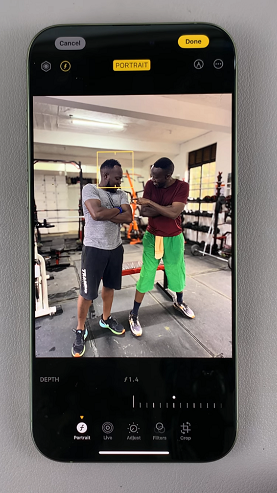
Use the slider to adjust how blurry you want your background to be. By default, it is set to OFF. Slide it to the right until you achieve the blurriness that best suits you.
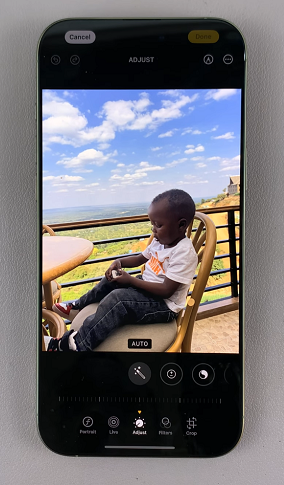
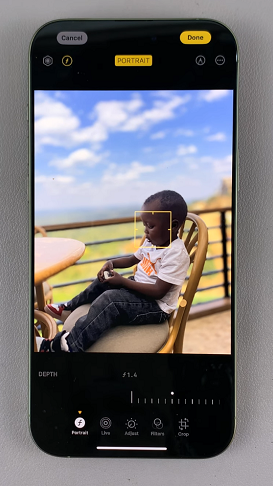
Finally, tap on the Done button in the top-right corner to save your work.
