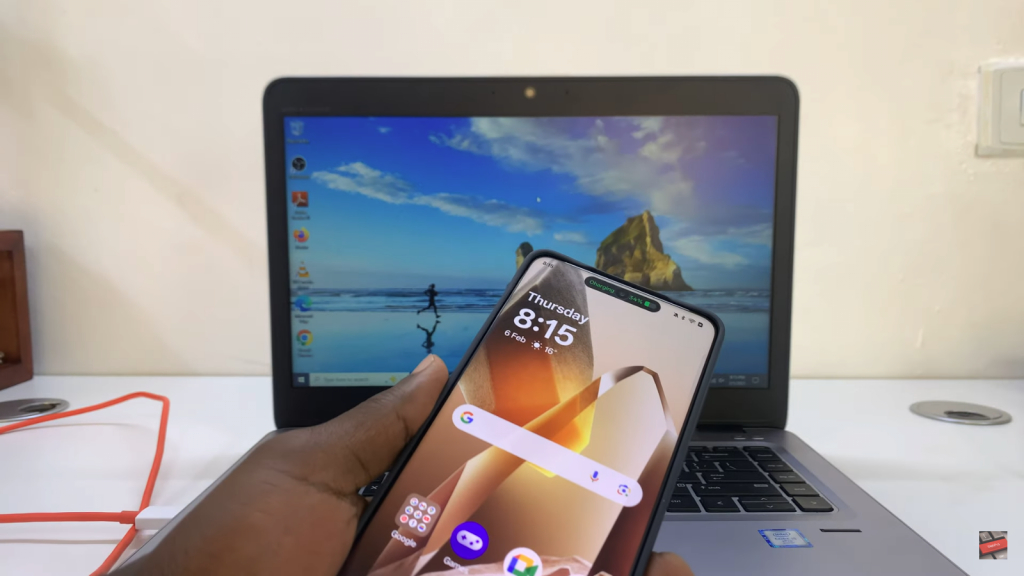
Connecting OnePlus 13 to Windows PC for file transfer via USB cable is a quick & easy way to move photos, videos, and other files. This method does not need Wi-Fi, so you get a fast & stable connection without delays. Whether you want to back up files or free up space, using a USB cable makes the process simple and direct.
Once the right settings are on, OnePlus 13 connects to Windows PC right away, letting you access & manage your files easily. Many people like this method because it works with all file types and does not depend on the internet. With a USB cable, you can move big files quickly, keep your data safe, and stay organized without any trouble.
Watch:How To Transfer Files From OnePlus 13 To Windows PC Via Data Cable
Connect Oneplus 13 To Windows PC For File Transfer Via USB Cable
Use a Data Cable – Preferably use the original OnePlus cable, but any good-quality USB cable should work.
Connect to PC – Plug one end into your OnePlus 13 and the other into a USB port on your Windows PC.
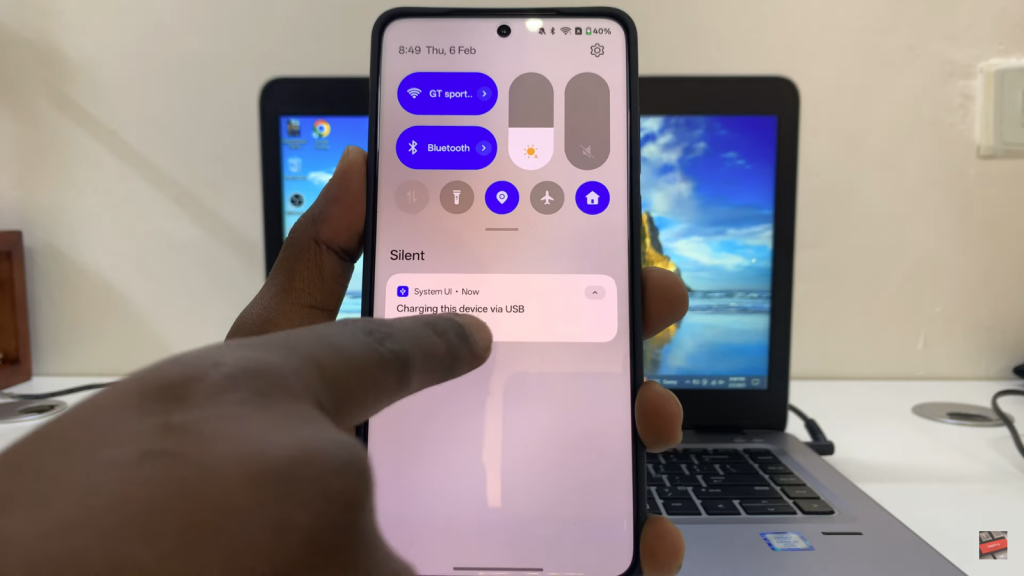
Check Connection – Your phone will start charging by default without showing the file transfer option.
Open Quick Settings – Swipe down from the top of your OnePlus 13 to access the Quick Settings panel.
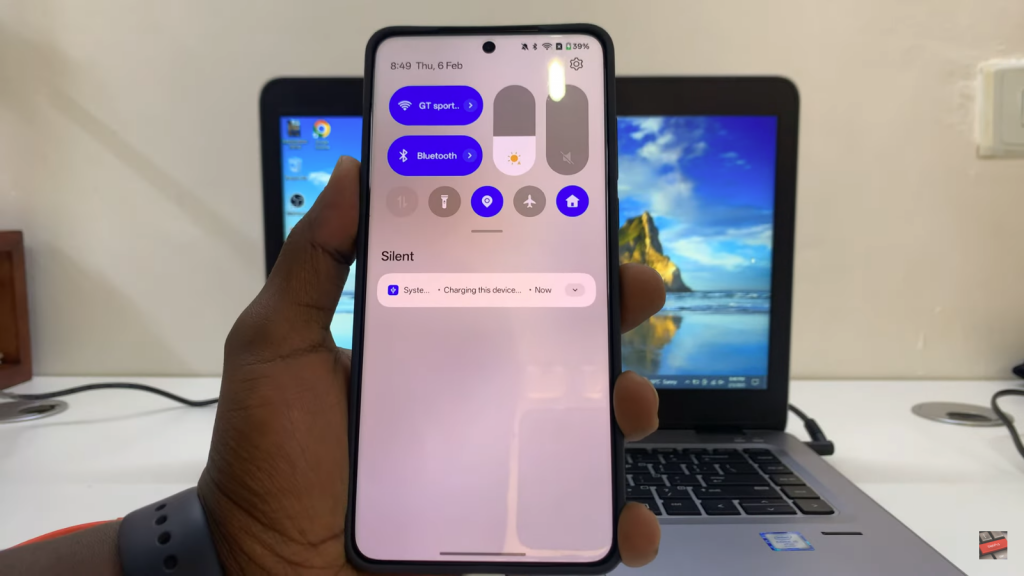
Select USB Preferences – Tap on “Charging this device via USB” to open the connection options.
Enable File Transfer – Choose “File Transfer / Android Auto” to allow file sharing.
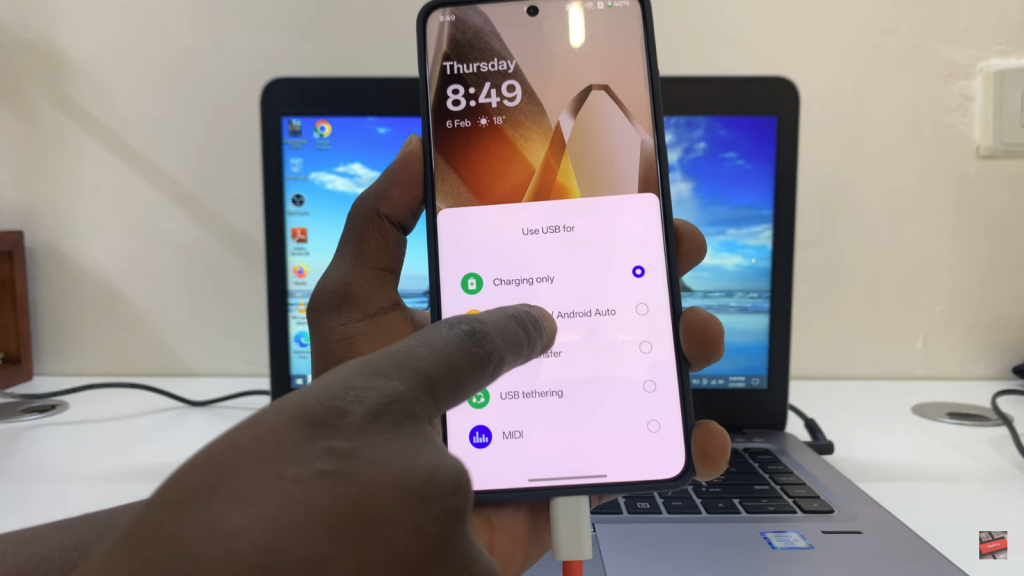
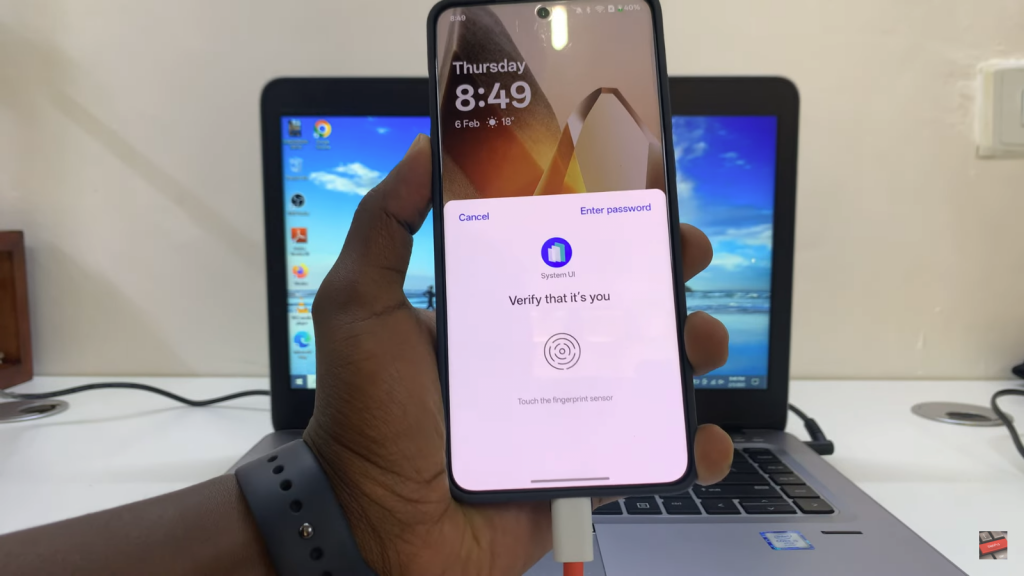
Authenticate if Needed – Enter your phone’s password if prompted to verify the connection.
Access Files on PC – Open File Explorer, go to “This PC”, and find your OnePlus 13.
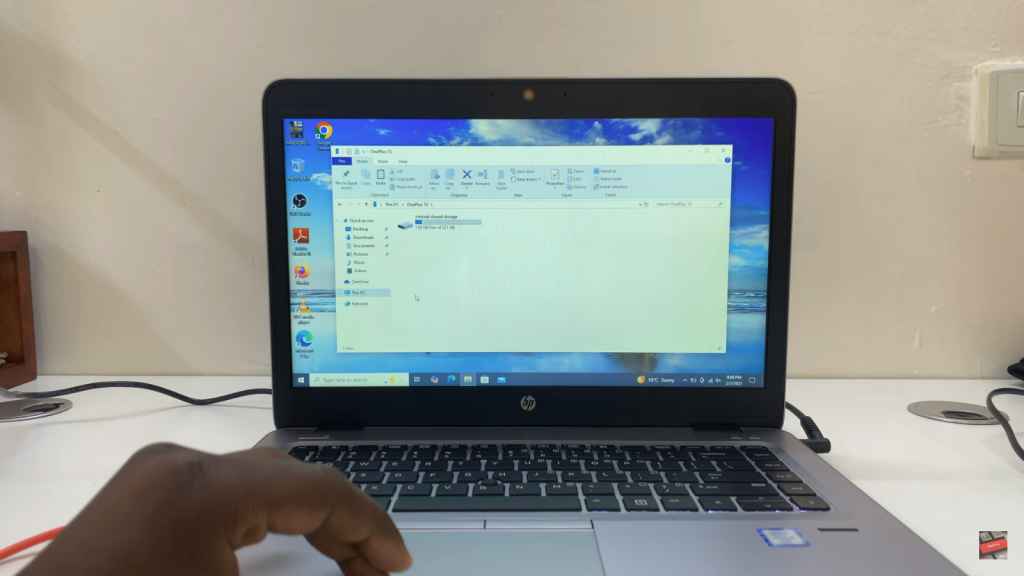
Transfer Files – Open internal storage and move files between your phone and PC as needed.
Read:How To Transfer Files From OnePlus 13 To Windows PC Via Data Cable

