Combining photos in CapCut is a great way to create dynamic content, whether you’re making a photo slideshow, a collage, or a creative video. With CapCut’s intuitive tools, you can seamlessly merge multiple images into one project to tell a story or highlight key moments.
Whether you’re a beginner or experienced editor, CapCut’s easy-to-use interface helps you achieve professional results. The ability to combine photos allows for a wide range of creative possibilities. You can control the timing, effects, and transitions between images, which is perfect for creating engaging visual presentations.
CapCut also lets you adjust the duration and positioning of each image to ensure it flows smoothly . From adding your images to customizing them with transitions and effects, you’ll learn how to put together an impressive photo sequence that captures your audience’s attention.
Watch: How To Add Music In CapCut
How To Combine Photos In CapCut
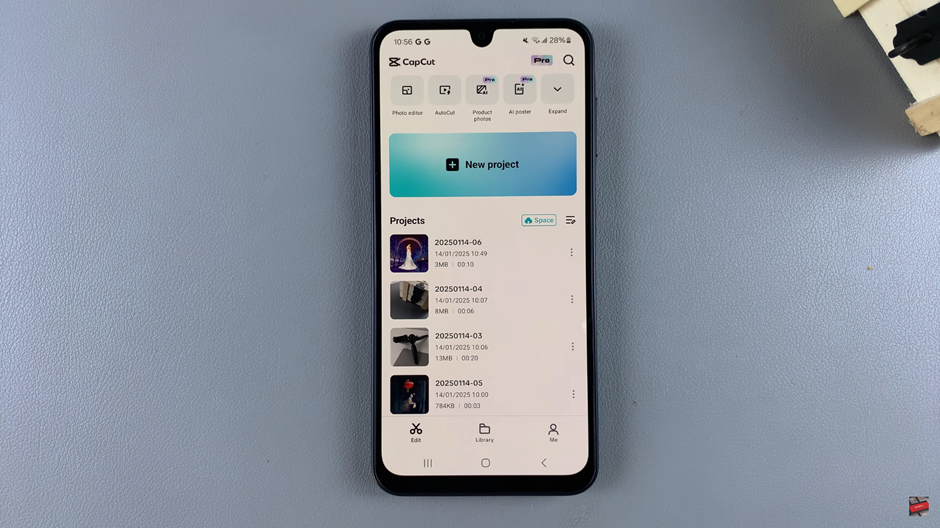
Open the CapCut app on your device to get started with your project.
Tap on “New Project” to create a fresh editing project. This is where you will import and combine your photos.
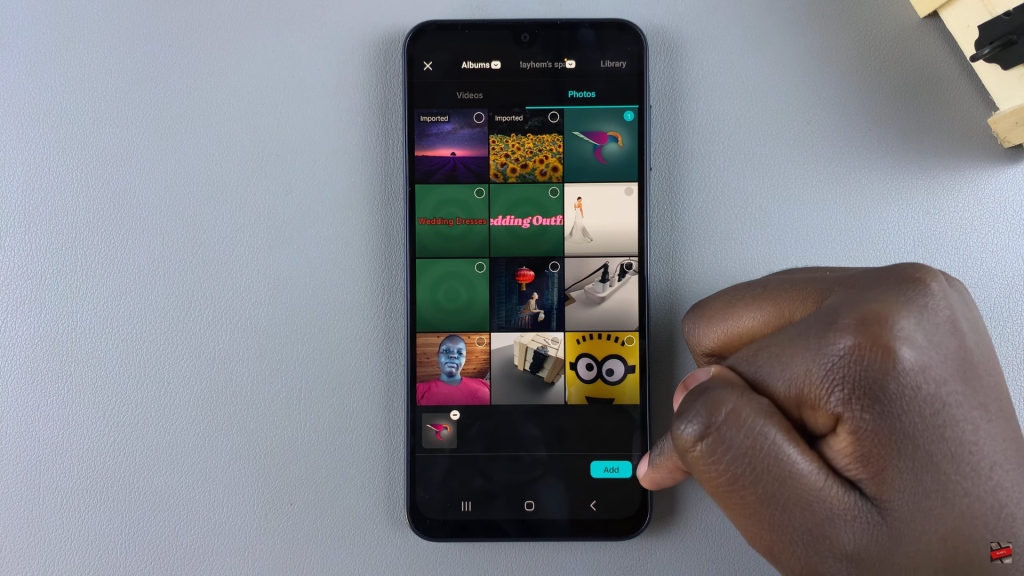
Select the images you want to use from your gallery and tap “Add” to import them into the timeline.
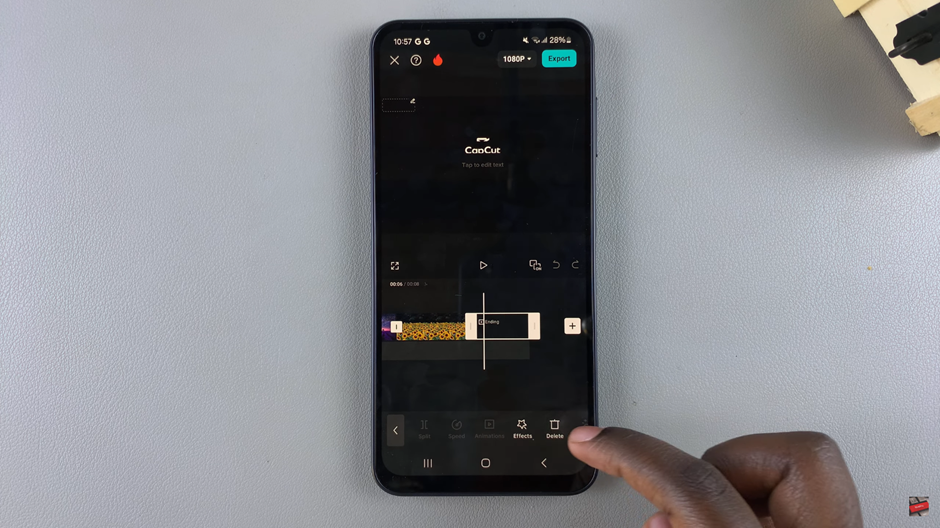
If your project has an ending card or unnecessary clips. Tap on them to delete it to keep your timeline clean.
Choose the second image you want to combine with the first photo in your timeline.
Tap the “Overlay” option in the toolbar at the bottom to add the second image as an overlay on top of the first photo.
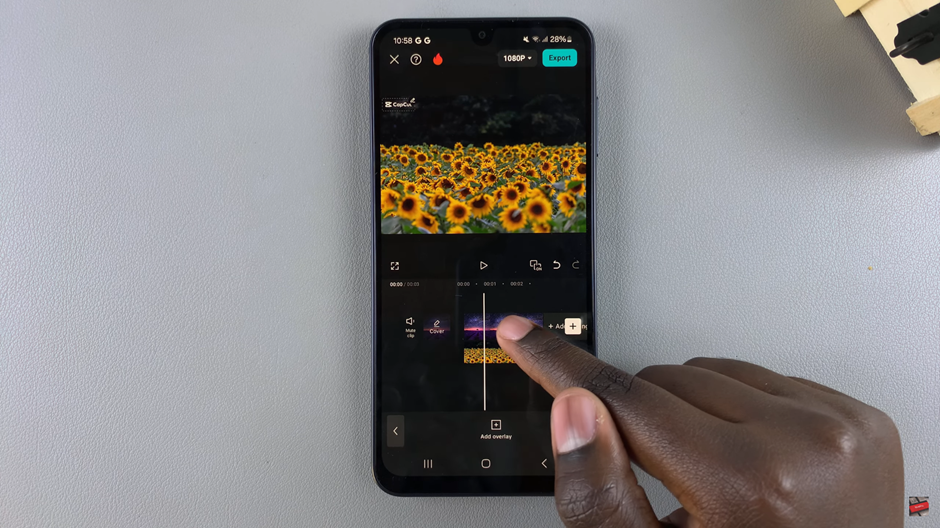
Move the second image along the timeline to align with the first photo, ensuring they appear together seamlessly.
Adjust the size of both images by dragging the corners to fit them appropriately within the frame.
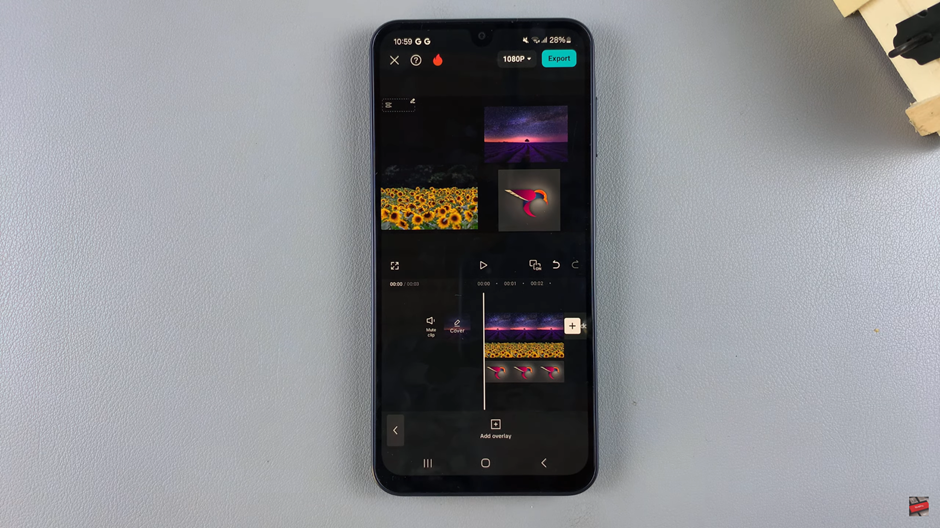
To add more images, simply repeat the same process: tap on “Overlay,” adjust the size, and drag them to align in the timeline.

