The Logitech MX Master 3S is one of the most advanced and feature-rich mouse available in the market, recognized for its ergonomic design, precise scrolling, and easy multi-device connectivity. But one of the strong features that set it apart has to do with impressive battery life, though, which requires you knowing exactly how to properly charge it for continuous functionality.
Charging the MX Master 3S is pretty straightforward with the USB-C port, but understanding the best practices can help you extend battery life and ensure consistent performance. In this tutorial, we show you how to charge the Logitech MX Master 3S.
Whether you are setting up for the first time or looking for a quick refresher, this article will have all the information you need to keep your mouse charged and ready to go.
Watch: How To Use Gestures On Logitech MX Master 3S
Charge Logitech MX Master 3S
Begin by locating the charging port on your Logitech MX Master 3S mouse. The port is located on the front edge of your MX Master 3S.
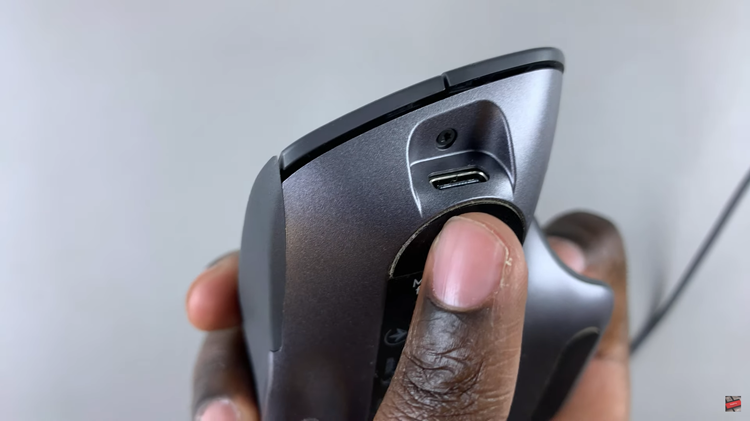
At this point, take the provided USB-C to USB-A cable that comes with the mouse and connect the USB-C side into the port on your mouse. Connect the other end to a power source such as your computer, a wall charger, or a USB power adapter.
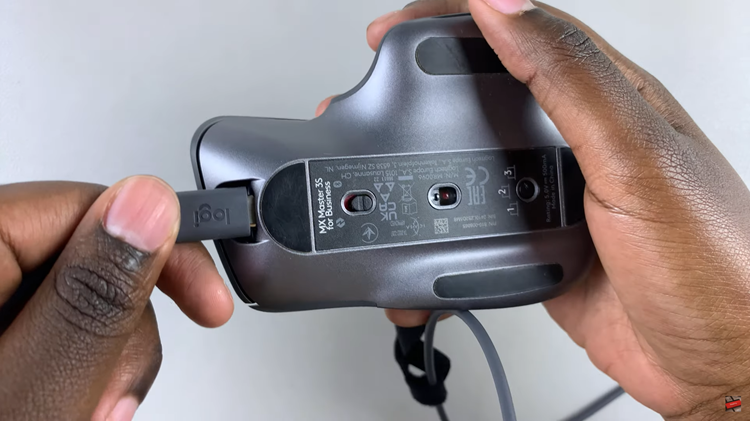
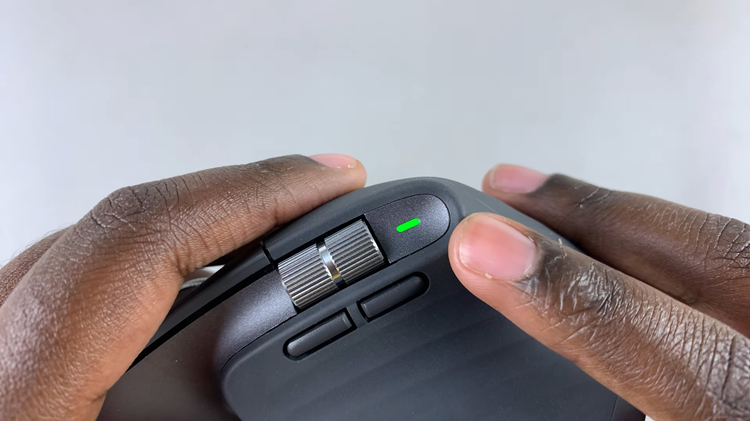
When the charger is plugged in, a green LED light on your mouse will begin to blink. This indicates that the mouse is charging.
In conclusion, charging your Logitech MX Master 3S is a simple and efficient process that ensures your mouse remains ready for all your tasks. Follow the steps above to learn how.
Read: How To Disable Lock Screen Notifications On Samsung Galaxy A16
