In this guide, we’ll show you how to change the speed of your video in CapCut, whether you’re looking to create smooth slow-motion effects or high-speed sequences.
Changing the speed of your video is a powerful editing technique that can significantly enhance your storytelling, create dramatic effects, or help fit your content into a specific time frame. Whether you want to speed up a fast-paced action scene or slow down a moment for emphasis.
Adjusting video speed is a simple yet effective way to add impact to your videos. CapCut offers an intuitive and easy-to-use interface for changing video speed, allowing you to fine-tune the pace of your clips. Let’s get started
Watch: How To Convert Video To Audio In CapCut
How To Change Video Speed In CapCut
Open CapCut and load the video project you want to edit.
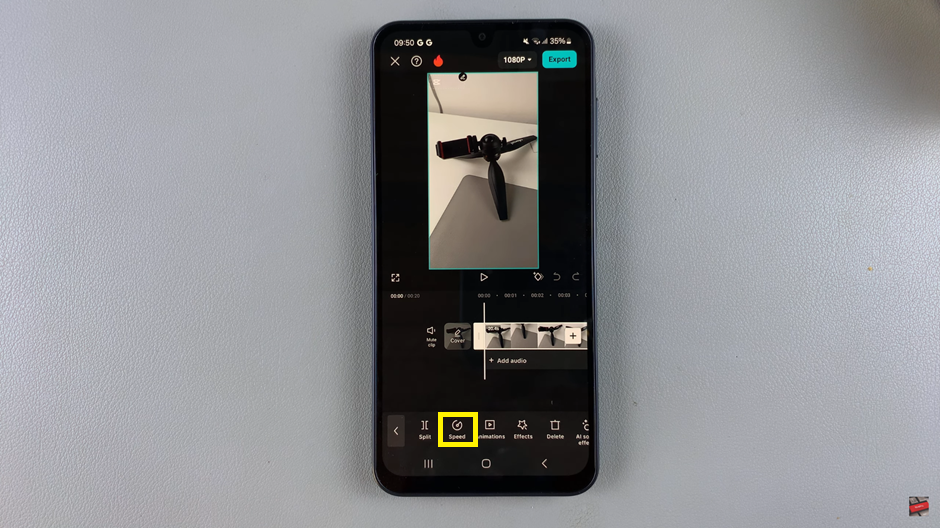
Click on the video clip in your timeline that you wish to adjust the speed for.
Select the “Speed” option that appears on your screen once the video is selected.
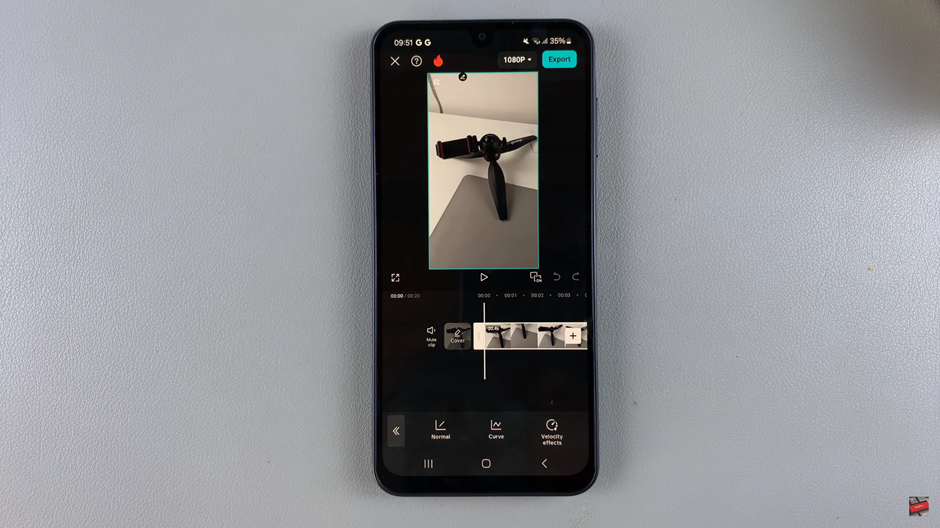
Choose the “Normal” speed option from the available settings.
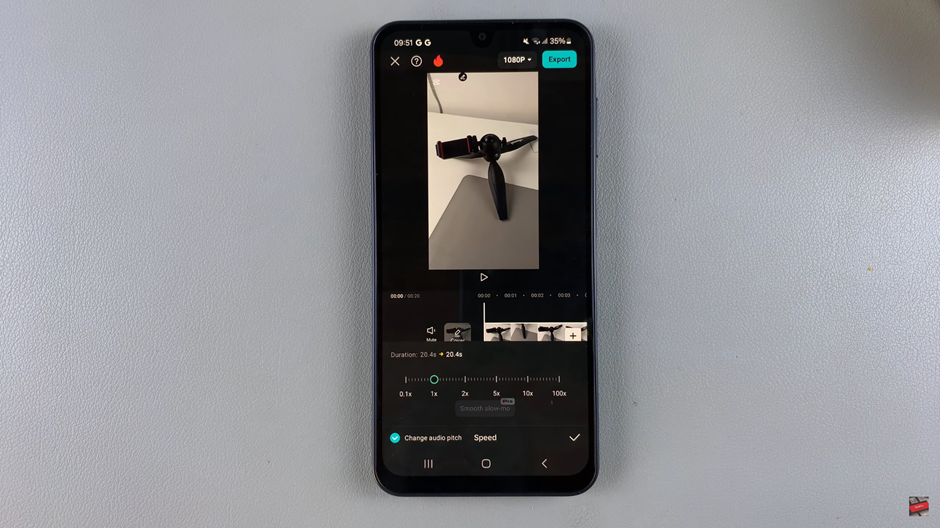
Use the slider to either speed up or slow down the video to your preferred pace.
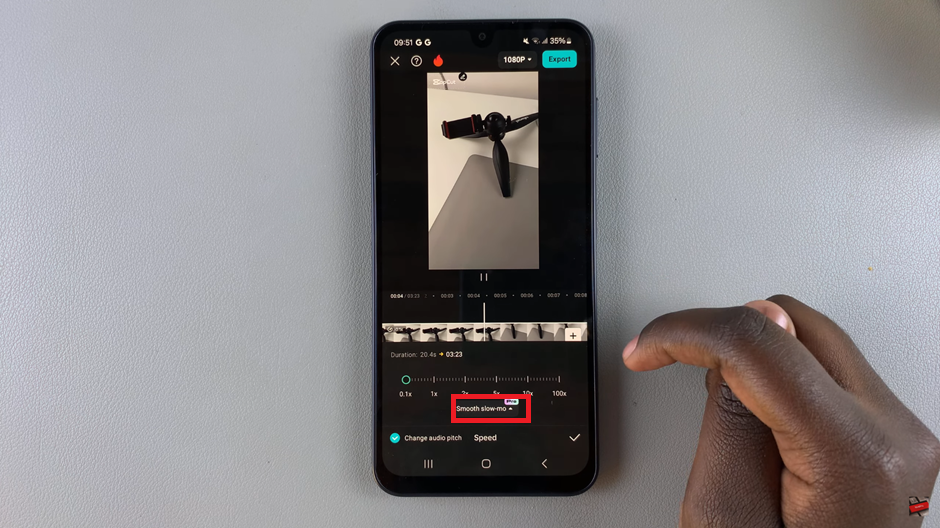
If you’re slowing down the video, tweak the “Smooth Slow-mo” slider to ensure smooth playback without lag.
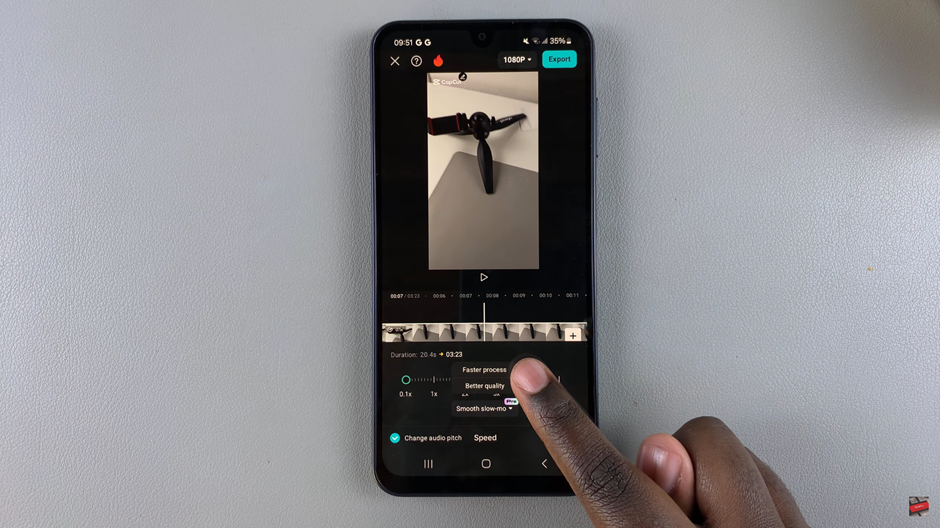
Once you’re satisfied with the adjustments, tap the check mark to apply the speed change.
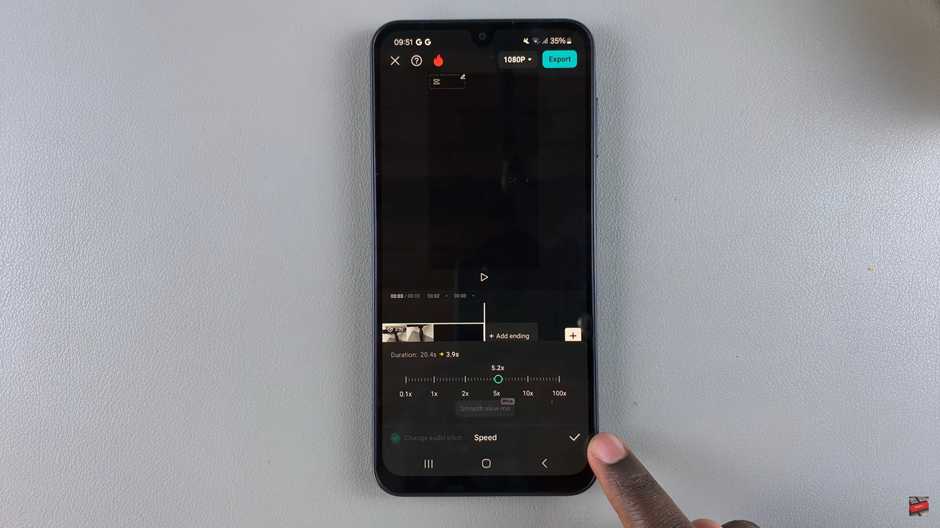
If you’re not happy with the speed changes, click the undo icon to revert to the previous version.
These steps will allow you to easily modify the speed of your video in CapCut and perfect the pacing of your content.
Read: How To Add Text To Photo or Video In CapCut

