In this article, we’ll guide you step-by-step on how to change the mode of the horizontal scroll button on the MX Master 3S. Whatever custom settings you prefer, you have the options to set them.
The horizontal scroll wheel is located conveniently on the side of the mouse. By default, it allows you to scroll horizontally through spreadsheets, timelines, or documents, but what if you want to change its behavior?
Logitech provides an easy way to customize the horizontal scroll button using their software, Logi Options+. You can use this software on either a Windows PC or a Mac.
Watch: Invert Mouse Buttons On MX Master 3S
Change Mode For Horizontal Scroll Button On MX Master 3S
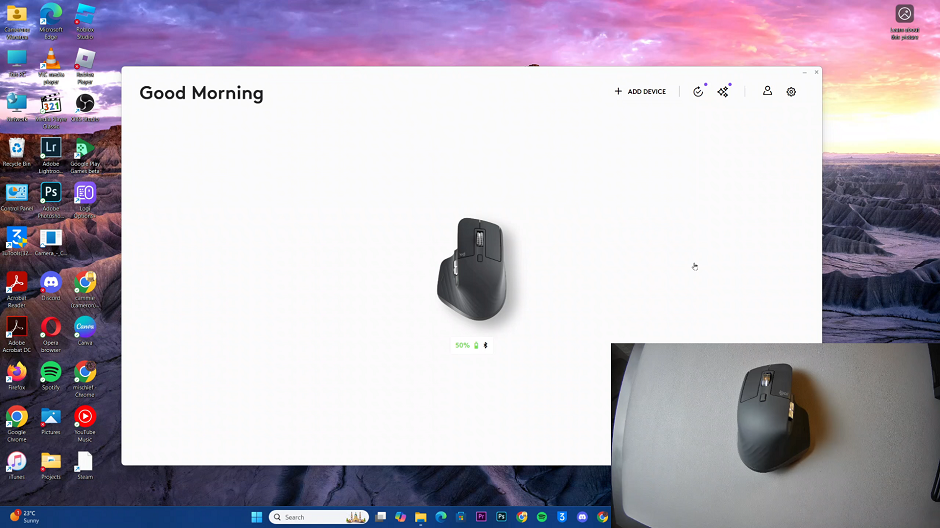
First, launch the Logi Options+ software on your computer, and your mouse should appear on the dashboard. Once you have Logi Options+ running, select Your MX Master 3S by clicking on it in the software interface.
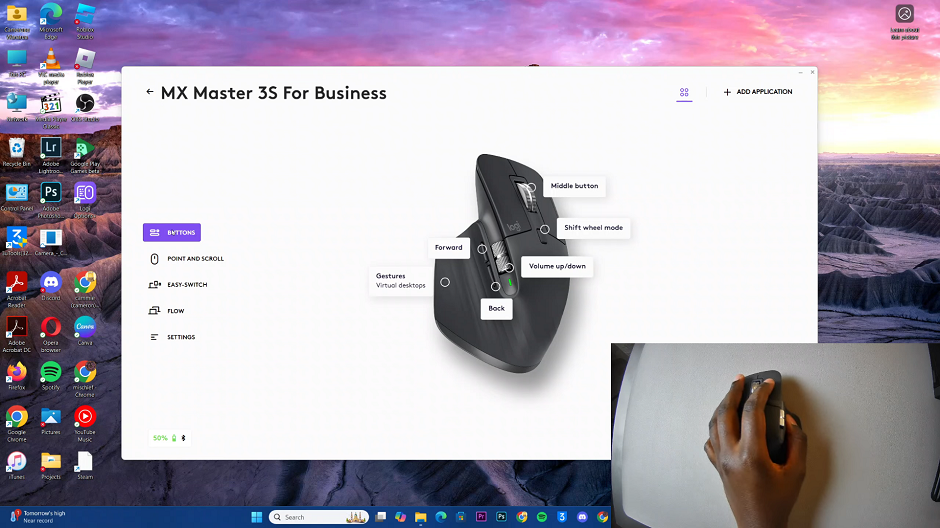
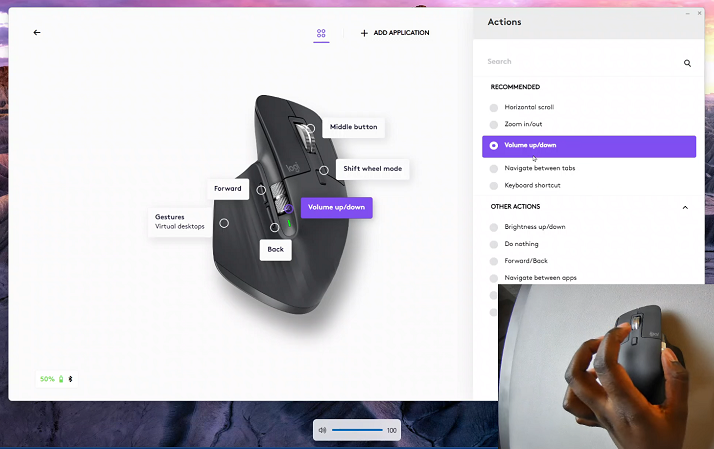
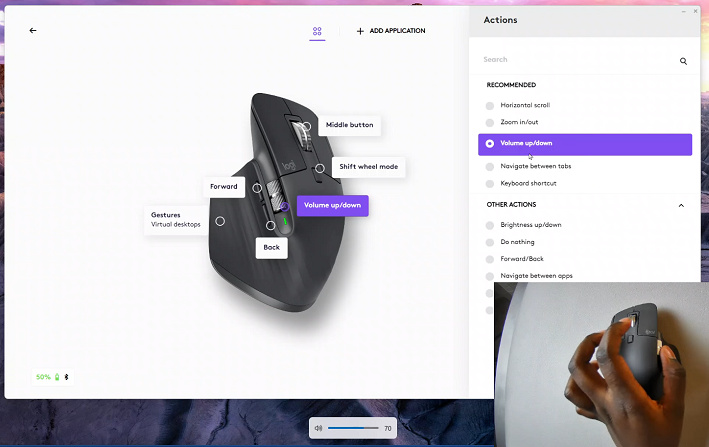
In the left-hand side panel, select the Buttons option. Here, you select the Horizontal Scroll option on the mouse.
You should see a couple of options listed under the Recommenced and Other Actions categories.
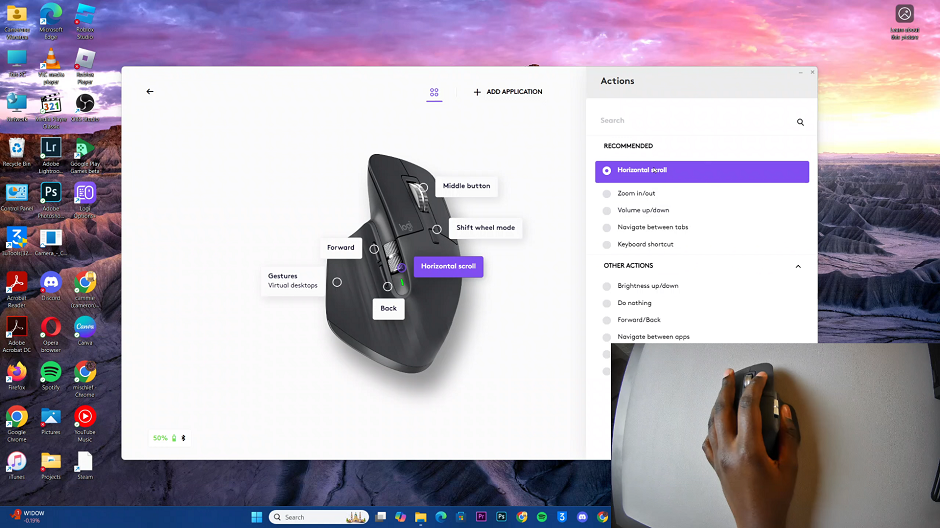
Recommended: Choose Zoom in/out, volume up/down, navigate between tabs or keyboard shortcut.
Other Actions: Choose brightness up/down, do nothing, forward/back, navigate between apps, next/previous or switch between desktops.
Select the mode that works best for you and the changes will be saved automatically.
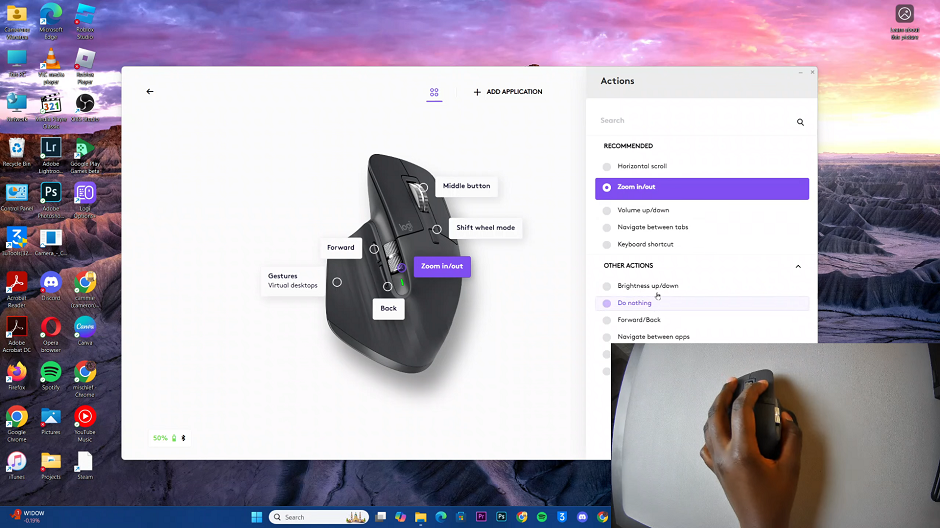
Scroll up or down with your mouse to ensure the functions you chose are at play. For instance, if you select the Volume Up/Down option, you should be able to scroll up to increase the volume. Scroll down to reduce the volume.
The horizontal scroll button on the MX Master 3S can drastically improve productivity in tasks such as navigating large Excel spreadsheets, editing video or audio timelines in tools like Adobe Premiere, Final Cut Pro or Audacity and scrolling through wide PDF documents or panoramic design layouts.
By tailoring the scroll mode to your specific needs, you can save time and work more efficiently.

