Learn How To Change Aiming Sensitivity Curve Type In Marvel Rivals.
Mastering your aim in Marvel Rivals is essential for landing precise shots and outplaying your opponents. One of the best ways to fine-tune your aiming experience is by adjusting the Aiming Sensitivity Curve Type to match your playstyle.
In this guide, we’ll walk you through the step-by-step process of changing your Aiming Sensitivity Curve Type in Marvel Rivals. Whether you prefer a linear response for quick flick shots or a gradual curve for smoother tracking, customizing your settings can significantly improve your gameplay.
Watch: How To Text In Game In Marvel Rivals
How To Change Aiming Sensitivity Curve Type In Marvel Rivals
Launch Marvel Rivals and ensure you are in the main menu.
Select the “Settings” icon located at the top right corner of your screen.

From the menu that appears, click on “Settings” to open the game settings.
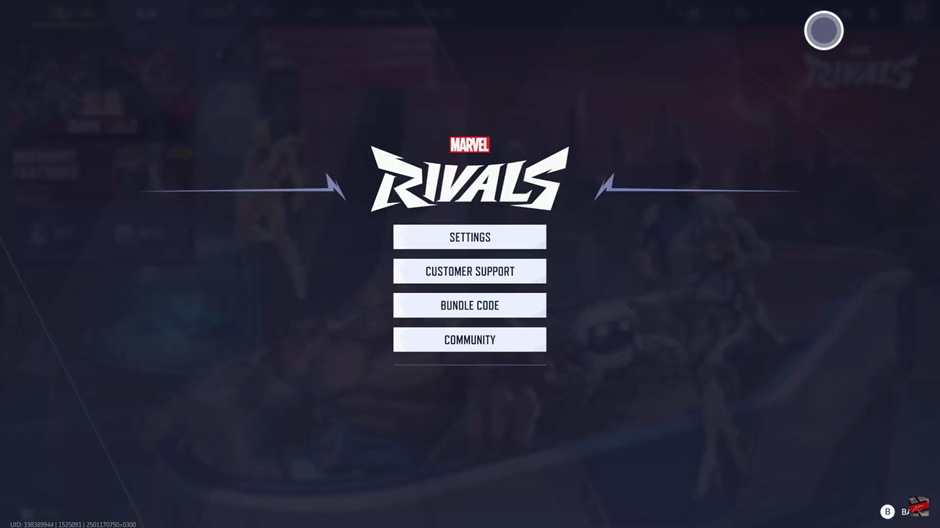
Navigate to the “Controller” section using the RB or LB buttons.
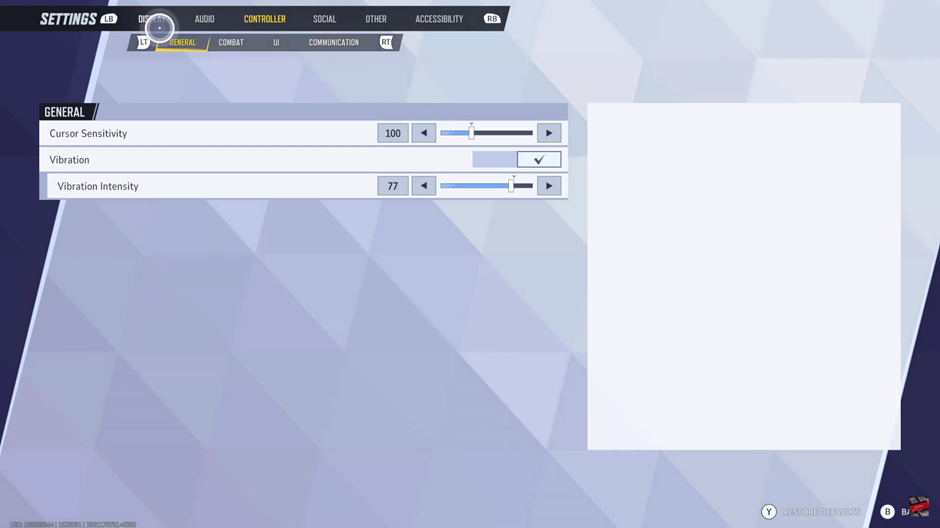
Tap on the “Combat” section using the RT or LT buttons.
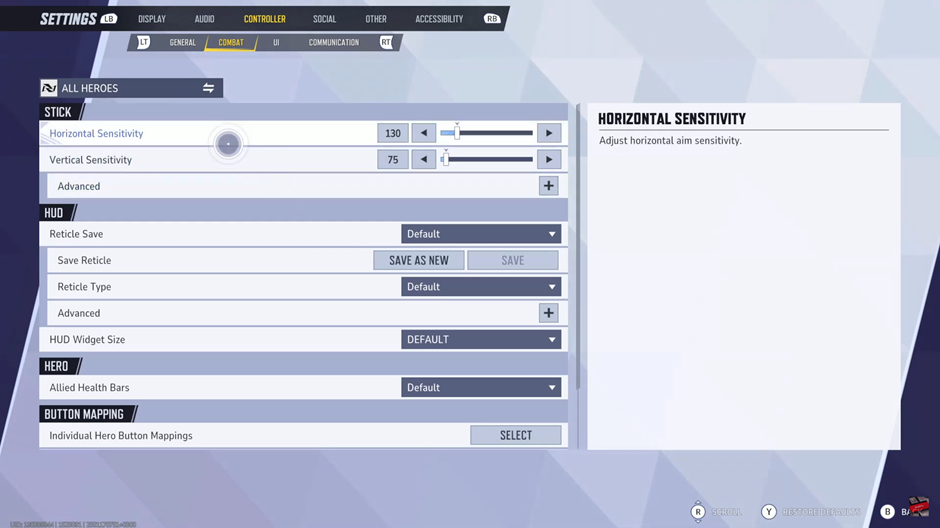
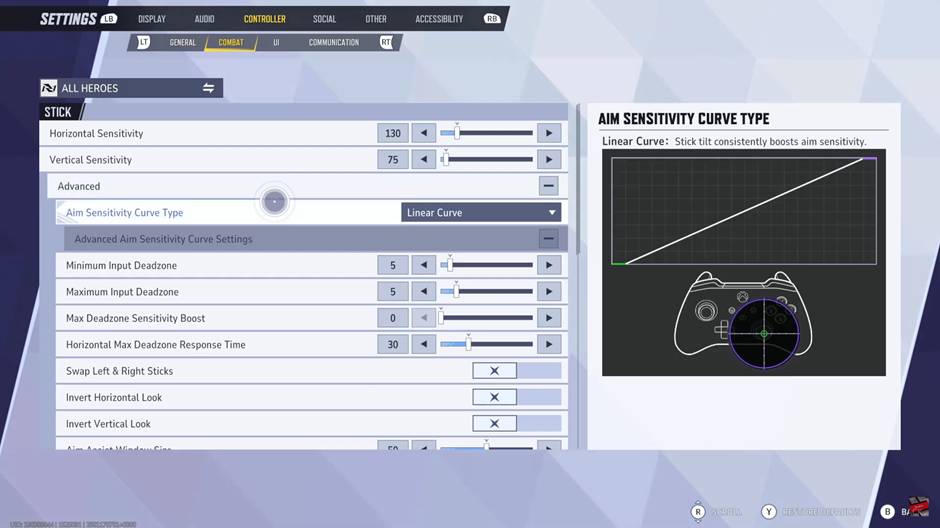
Within the Stick Option, find “Advanced” and tap on the Plus (+) icon to reveal more settings.
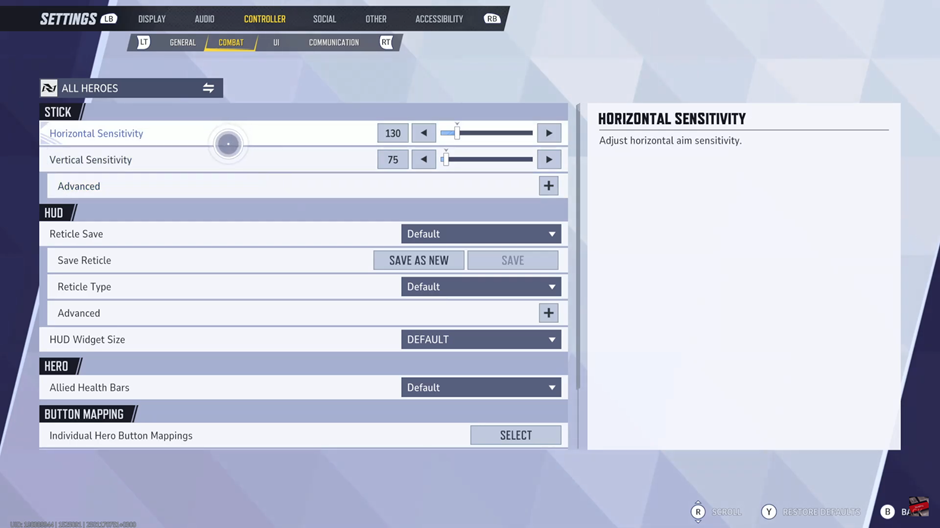
Scroll down to locate “Aim Sensitivity Curve Type” in the menu.
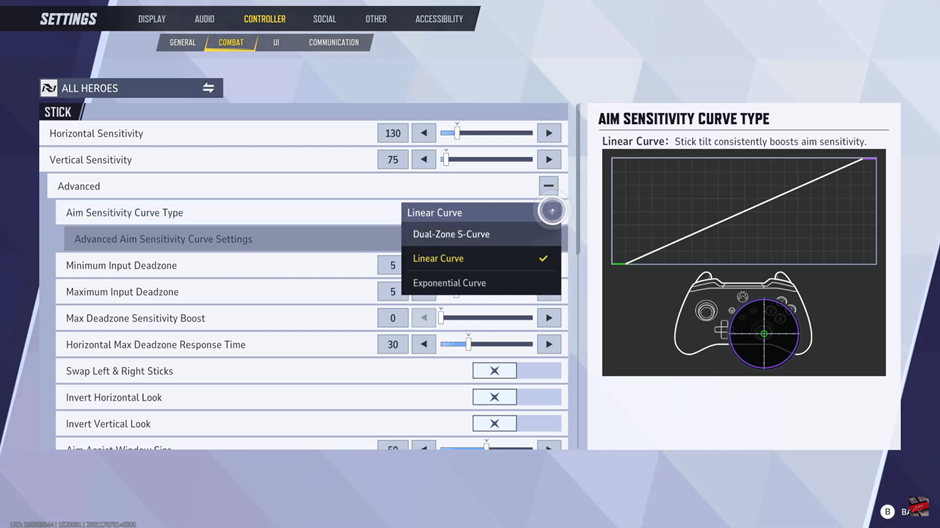
Select your preferred curve type from the available options.
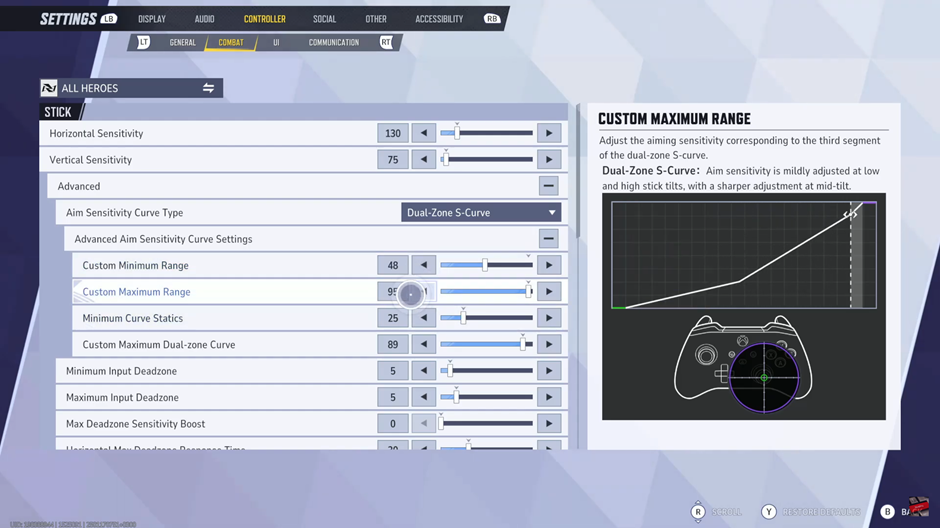
Customize your curve further based on your preferred aiming style.
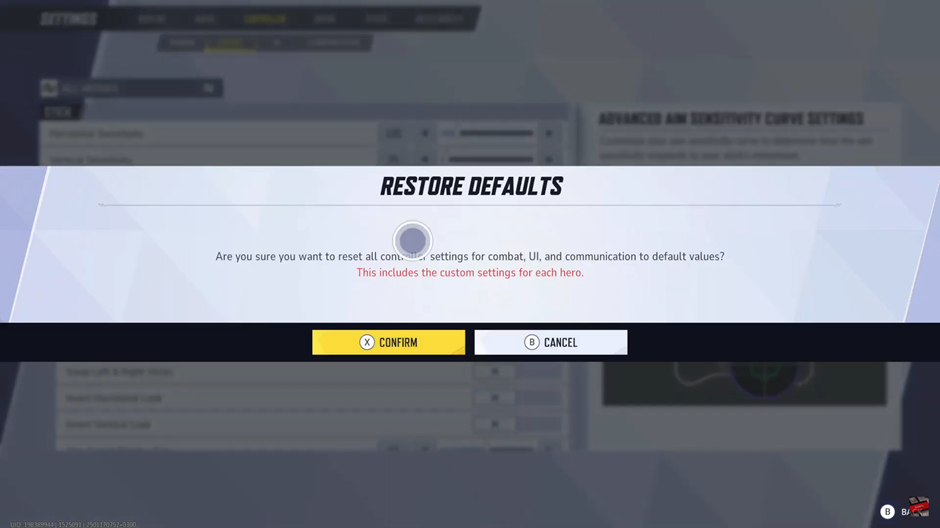
Confirm the prompt that appears
Exit the settings menu for the changes to apply automatically.

